9-7
User Authentication and Accounting (User Login, Job Accounting) > Setting User Login Administration
2
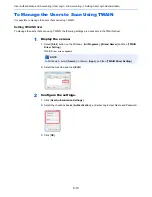
Enter the user information.
1
Enter the name displayed on the user list (up to 32 characters) and select the [
OK
] key.
2
Enter the login user name to login (up to 64 characters) and select the [
OK
] key.
3
To enter detailed user information, select [
▲
] [
▼
] key > [
Detail
] > [
OK
] key
To exit the operation, select [
▲
] [
▼
] key > [
Exit
] > [
OK
] key
4
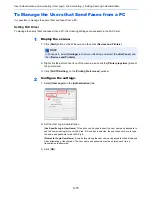
Enter the detailed user information.
Select [
Edit
], [
Change
] or [
Detail
] on each item, enter the information and then select the [
OK
] key.
Select the [
►
] key to view the next screen. Select the [
◄
] key to return to the previous screen. The
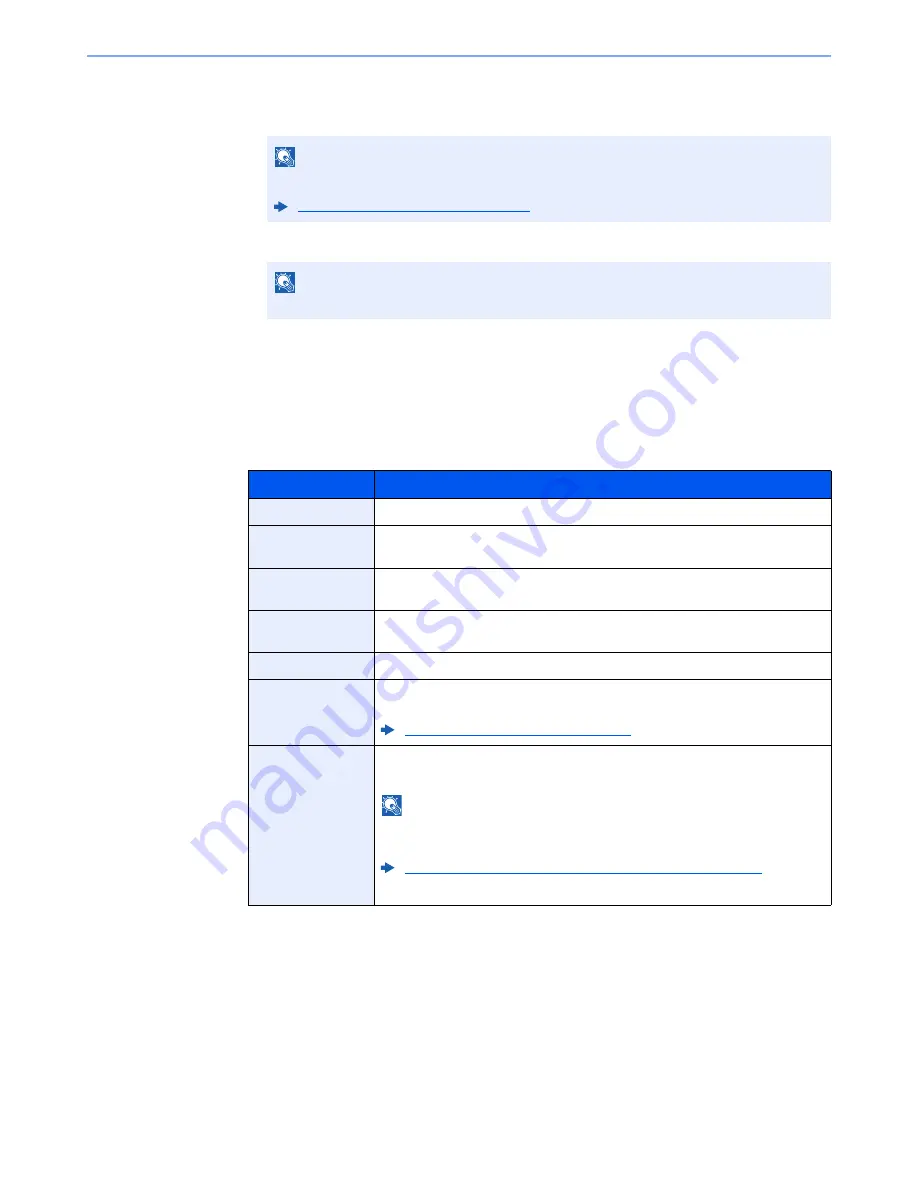
table below explains the user information to be registered.
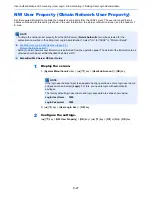
NOTE
For details on entering characters, refer to the the following:
Character Entry Method (page 11-11)
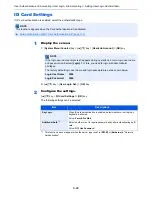
NOTE
The same login user name cannot be registered.
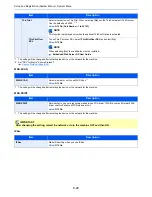
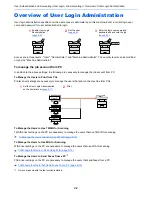
Item
Descriptions
User Name
*1
*1 Mandatory at user registration.
Enter the name displayed on the user list (up to 32 characters).
Login User
Name
*1
Enter the login user name to login (up to 64 characters). The same login user
name cannot be registered.
Login Password
Enter the password to login (up to 64 characters). Reenter the same password
for confirmation and select the [
OK
] key.
E-mail Address
The user can register his/her E-mail address. The registered address will be
automatically selected for subsequent operations that need any E-mail function.
Access Level
*1
Select "Administrator" or "User" for user access privileges.
Account Name
Add an account where the user belongs. The user, who registered his/her
account name, can login without entering the account ID.
Overview of Job Accounting (page 9-24)
ID Card
Information
Register ID card information. Select [Read] and the [
OK
] key.
Place the ID card on the ID card reader, and select [
Read
].
NOTE
This function is displayed when the optional ID Card Authentication Kit is
activated.
Card Authentication Kit(B) "Card Authentication Kit" (page 11-3)
To delete IC card information, select [
Delete
] > [
OK
] key.
Summary of Contents for P-C3060
Page 1: ...Operation Guide P C3060 MFP P C3065 MFP ...
Page 48: ...2 3 Installing and Setting up the Machine Part Names 17 Handles 18 Rear Cover 1 17 18 ...
Page 356: ...10 37 Troubleshooting Troubleshooting 3 4 5 6 ...
Page 360: ...10 41 Troubleshooting Troubleshooting 2 3 4 ...
Page 363: ...10 44 Troubleshooting Troubleshooting 4 5 6 A2 A2 ...
Page 365: ...10 46 Troubleshooting Troubleshooting 4 5 6 7 A2 A2 A3 ...
Page 366: ...10 47 Troubleshooting Troubleshooting 8 Document Processor 1 2 3 ...
Page 367: ...10 48 Troubleshooting Troubleshooting 4 5 ...
Page 368: ...10 49 Troubleshooting Troubleshooting Clearing a Staple Jam 1 2 3 ...
Page 408: ......

