3NF-2
1-4-9
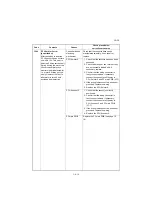
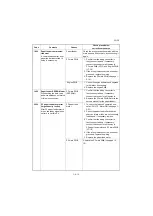
Conveying
roller, feed
roller
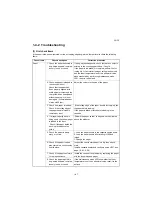
1. Check the conveying rollers
have no paper dusts, toner,
or foreign objects
stucked.Check a variation of
the external diameter of the
roller or abrasion is not
observed with the coveying
roller.
Clean the conveying rollers or the pollyes.
If variation in the external diameter or abrasion is
observed, replace.
2. Turn the cover safety switch
on and perform motor and
clutch, check they operate
normally.
* : At checking the clutch by
U247, confirm that the
roller won't turn when the
motor is turned on. (see
page 1-3-23)
If the conveying motor or the clutch is inoperative,
replace.
If stained, replace the clutch.
If the clutch is kept turned on due to a tensioned wire,
reroute wires.
3. Check the conveying roller
rotates without overloading.
Check the axle holder or the
roller shaft are not
contaminated.
4. Check that the spring has not
fallen off and is mounted so
that it is properly applying
pressure against the rollers
or pulleys.
Clean the roller axle or the axle holder.Re-assemble it
while checking the pressure of the spring.
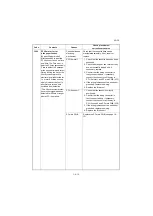
Sensor
1. Check if it does not operate
with smoothness due to an
abnormal move or dropping
off of the actuator of the
coveying switch.
Re-assemble the actuator or the return spring.
2. Check that the surface of the
sensor and the recveptor
black felt pieces are not
contaminated with toner,
paper dusts, etc.
If dirty, clean the sensor or the black felt piece.
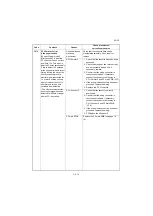
Static
Check if the location is
susceptible to build static
discharge at the conveying guide
during printing.
Re-assemble and re-wire the static discharge sheet at
the ejection unit or the metal guide at the tranfer unit so
that they are properly grounded.
Check items
Check description
Corrective measures
Summary of Contents for PF 740
Page 1: ...Service Manual Paper Feeder 3 PF 740B Rev 2 0 Date 28 10 2013 3NFSM062 ...
Page 2: ...Service Manual Paper Feeder 3 PF 740B Rev 2 0 Date 28 05 2013 3NFSM062 ...
Page 5: ...This page is intentionally left blank ...
Page 11: ...This page is intentionally left blank ...
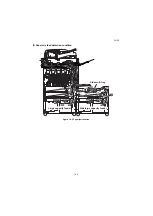
Page 16: ...3NF 1 1 3 1 1 3 Machine cross section Figure 1 1 2 Paper path ...
Page 17: ...3NF 1 1 4 This page is intentionally left blank ...
Page 57: ...3NF 1 3 30 This page is intentionally left blank ...
Page 99: ...3NF 2 2 4 This page is intentionally left blank ...
Page 105: ...3NF 2 3 6 This page is intentionally left blank ...
Page 109: ...1 1 INSTALLATION GUIDE INSTALLATION GUIDE FOR LARGE CAPACITY FEEDER ...

