ADJUSTING THE VIEWING ANGLE
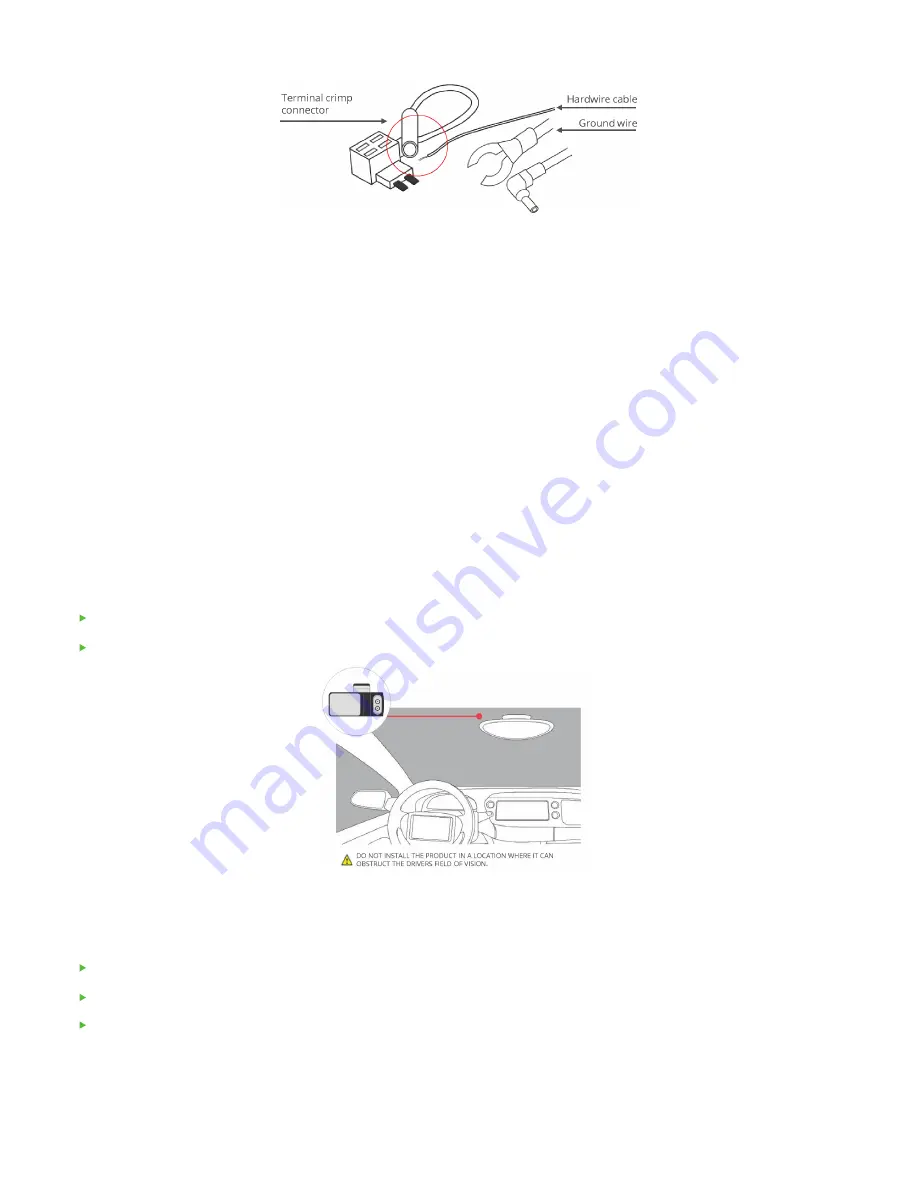
The ground wire is usually in a C shape or a ring. To connect the ground wire, slip it under a metal bolt or
screw in your vehicle.
STEP 4. Ground the Hardwire Kit
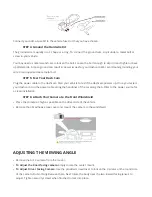
Plug the power cable to the dashcam. Start your vehicle to test if the dashcam powers up. Once you tested
your dashcam, run the power cable along the headliner of the car along the A-Pillar to the power source for
a clean installation.
STEP 5: Test Your Dash Cam
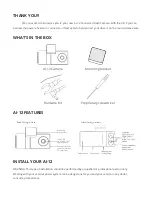
Place the camera as high as possible on the driver side of the vehicle
Remove the 3M adhesive tape cover and mount the camera to the windshield
STEP 6: Attach Your Camera to the Front Windshield
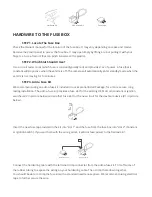
Connect your Add-a-Fuse Kit to the vehicle fuse slot that you have chosen.
You may need a socket wrench set to loosen the bolt. Loosen the bolt enough to slip it in and tighten it back
up afterwards. A loose ground can result in power issues for your dashcam. We recommend grounding your
wire to an unpainted bare metal bolt.
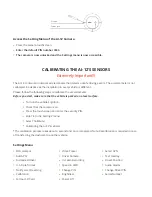
Remove the AI-12 camera from the mount.
To Adjust the Road-facing camera
simply rotate the center mount.
To Adjust Driver Facing Camera
, Use the provided screwdriver to loosen the 3 screws onthe round side
of the camera, Do Not Fully Remove them. Next rotate the body near the two inward facing lenses to
adjust. Tighten security screws when finished to lock into place.


