background image

INSTALLATION INSTRUCTION

WEEE Number: 80133970

WIFI PIR SENSOR

Ok Google

works with

INTRODUCTION & WARRANTY

TECHNICAL DATA

Thank you for selec�ng and buying V-TAC SMART LED Ligh�ng. V-TAC will serve you the  best. 

Please read these instruc�ons carefully before star�ng the installa�on and keep this manual 

handy for future reference. If you have any other query, please contact our dealer or local vendor 

from whom you have purchased the product. They are trained and ready to serve you at the best. 

The warranty is valid for 2 years from the date of purchase. The warranty does not apply to 

damage caused by incorrect installa�on or abnormal wear and tear. The company gives no 

warranty against damage to any surface due to incorrect removal and installa�on of the product. 

This product is warranted for manufacturing defects only.

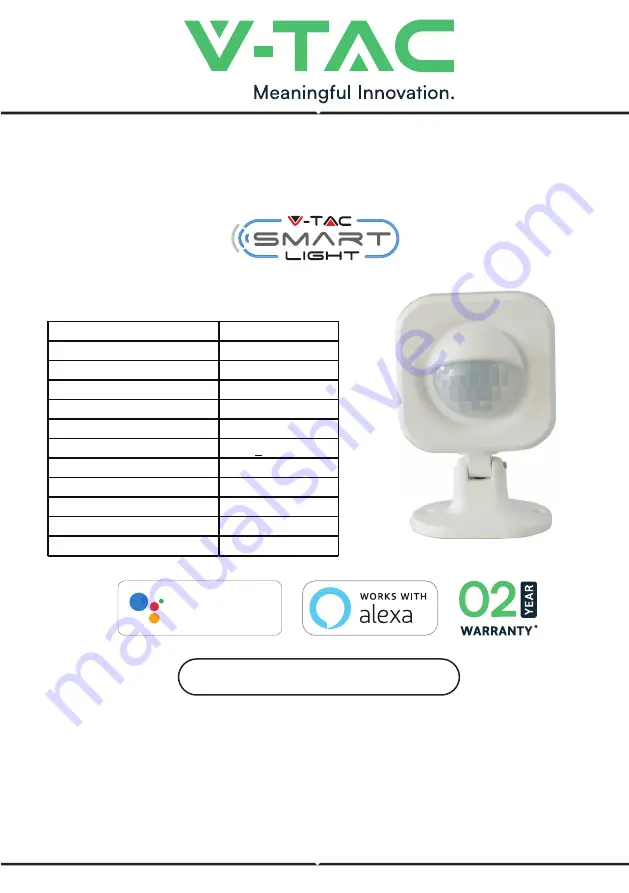
MODEL

VT-5176

BATTERY TYPE

AAA, 1.5V(2Pcs)

STANDBY CURRENT

40uA

WIRELESS TYPE

WIFI(2.4G)

PROTOCOL

IEEE 802.11b/g/n

OPERATION TEMPERATURE

-10°C to +50°C

WORKING HUMIDITY

<85%RH

SENSITIVITY DISTANCE

2~8m

SENSITIVITY ANGLE

120°

DIMENSION

66.9x87.8x56.5mm

BODY TYPE

ABS

LED INDICATOR

BLUE

Summary of Contents for VT-5176

Page 1: ...rained and ready to serve you at the best The warranty is valid for 2 years from the date of purchase The warranty does not apply to damage caused by incorrect installa on or abnormal wear and tear Th...

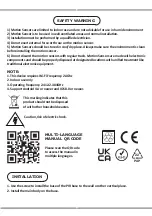
Page 2: ...o on Sensors are made with electronic components and should be properly disposed at designated loca ons with uni ed treatment like tradi onal electronic equipment INSTALLATION 1 Use the screw to insta...

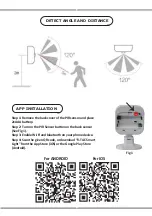
Page 3: ...or and place 2xAAA ba ery Step 2 Turn on the PIR Sensor bu on on the back sensor See Fig 1 Step 3 Enable WI FI and bluetooth on your phone device Step 4 Scan the given QR code or download V TAC Smart...

Page 4: ...ntry then enter your mobile number Once done tap Next B E Mail Enter your email id and tap on Next Step 7 Enter the veri ca on code which will be sent to your mobile number email id then assign a new...

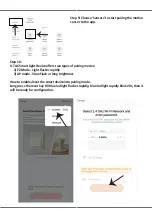
Page 5: ...Device o ers two types of pairing modes 1 EZ Mode Light ashes rapidly 2 AP mode Slow Flash or long brightness How to enable reset the smart device into pairing mode Long press the reset key ll blue le...

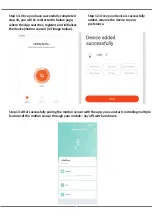
Page 6: ...gisters and ini alizes the device mo on sensor ref image below Step 12 Once your device is successfully added rename the device to your preference Step 13 A er successfully pairing the mo on sensor wi...

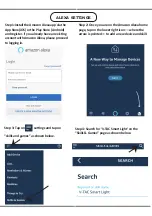
Page 7: ...with Amazon Alexa please proceed to logging in Step 3 Tap on se ngs and tap on skills and games as shown below Step 4 Search for V TAC Smart Light on the Skills Games page as shown below Step 2 Once y...

Page 8: ...ogin ID and password and tap on Link Now Step 7 Once you tap on Link Now you will be redirected to a new page reques ng for authoriza on Ref Image below Tap on Authorize Step 8 You will receive con rm...

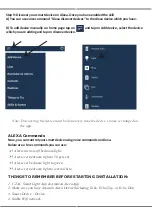
Page 9: ...he device which you are adding and tap on discover device Now you can control your smart device using voice commands on Alexa Below are a few commands you can use Alexa turn on off bedroom light Alexa...

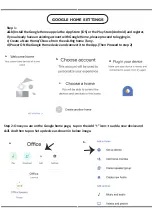
Page 10: ...LE HOME SETTINGS Step 1 a b Install the Google Home app via the App Store iOS or the Play Store Android and register If you already have an exis ng account with Google Home please proceed to logging i...

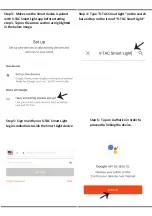
Page 11: ...n the arrow sec on as highlighted in the below image Step 5 Sign In with your V TAC Smart Light Login creden als to Link the Smart Light device Step 6 Tap on Authorize in order to proceed to linking t...

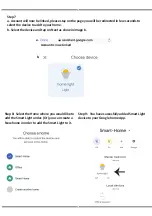
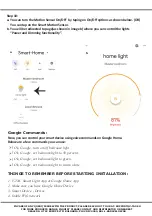
Page 12: ...to add to your home b Select the device and tap on Next as show in image b Step 8 Select the Home where you would like to add the Smart Light under Or you can create a New home in order to add the Sm...

Page 13: ...Y PLEASE CONTACT OUR DISTRIBUTOR OR NEAREST DEALERS V TAC EUROPE LTD BULGARIA PLOVDIV 4000 BUL L KARAVELOW 9B Now you can control your smart device using voice commands on Google Home Below are a few...

Reviews: