background image

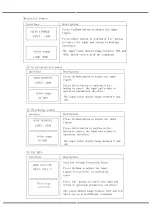
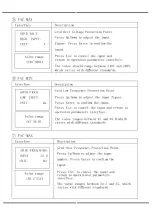
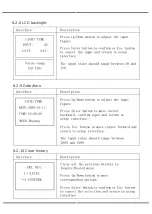
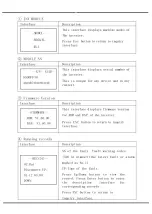
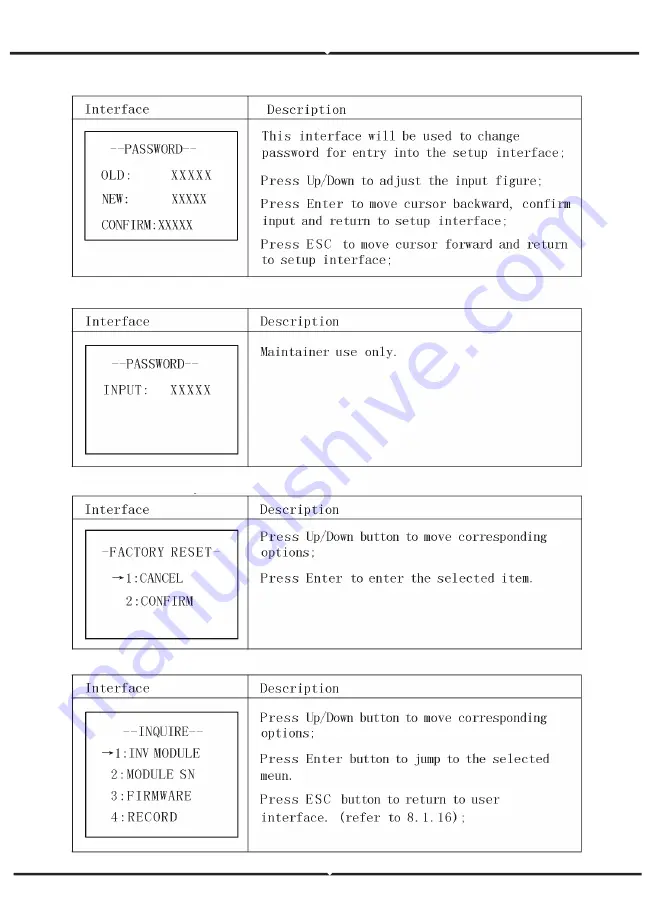
8.2.11 Password Setting


8.2.12 Maintenance

8.2.13 Factory reset

8.2.14 Inquiry

Summary of Contents for VT-6608303

Page 1: ...BUL L KARAVELOW 9B Thank you for selecting and buying V TAC Product V TAC will serve you the best Please read these instructions carefully keep this user manual handy for future reference If you have...

Page 2: ...ing operation Possible damage to health as a result of the effects of radiation Do not stay closer than 20 cm to inverter for any length of time Ensure input DC voltage Max DC voltage Over voltage may...

Page 3: ...he electrolyte capacitors inside the device Do not open the device before hand since the capacitors require time sufficiently discharge Measure the voltage between terminals UDC and UDC with a multi m...

Page 4: ...is used for protection in case of direct or indirect contact only an RCD or RCM of type B is allowed on the supply side of this product For United Kingdom The installation that connects the equipment...

Page 5: ...h voltages in the inverter Danger Risk of electric shock The inverter can not be disposed together with the household waste Disposal information can be found in the enclosed documentation Do not opera...

Page 6: ...connecting device and ready for connection to the mains and PV supply the unit shall be installed in accordance with national wiring regulations Compliance with safety regulations depends upon instal...

Page 7: ...hether there is any special regulations for grid connection Inverter provides multiple work modes based on different requirements Work Modes Work modes Self use with PV Power Priority load battery gri...

Page 8: ...nd export control The PV generated power will be used to supply the local loads firstly then export to the public grid The redundant power will charge the battery Work modes Back up mode Priority batt...

Page 9: ...served D BAT ba ery BAT ba ery MS ba ery manage system communication DRMdemand respond mode Dry IO dry contact for peripheral CAN upper computer communication EMS NTC Reserved temperature sensor CT Po...

Page 10: ...t Current A 12 7 Rated Output Voltage V 400V 3W N PE Rated frequency Hz 50Hz 60Hz Current harmonic distortion Rated Power 3 Power factor 1 0 8 0 8 Model VT 6608303 Dimension W H D 520 550 180 Weight K...

Page 11: ...VT 6608303 IP Rating IP65 Operation Temperature Range 25 60 C dera ng at 45 C Relative Humanity 0 100 A itude derating 2000m Cooling Mode Natural Noise Level 30 dB Installation Wall mounted Model VT...

Page 12: ...iately PACKING LIST Model VT 6608303 Photovoltaic input connection reverse protection YES Ba ery input connection reverse protection YES Insulation monitor YES Residual current detection YES PV Input...

Page 13: ...dition The ambient temperature in the range of 20 to 60 The slope of the wall should be within 5 The wall hanging the inverter should meet conditions below 1 solid brick concrete or strength equivalen...

Page 14: ...to support the inverter 3 Install the expansion tubes in the holes and tighten them Then install the wall bracket with the expansion screws Step 2 Place the inverter on the wall mounted bracket by ho...

Page 15: ...g PV module voltage is very high which already achieve dangerous voltage range please comply with electric safety rules when connecting Please do not make PV positive or negative ground Note The follo...

Page 16: ...or Step 3 Wiring 1 Choose the 12 AWG wire to connect with the cold pressed terminal 2 Remove 10mm of insulation from the end of wire 3 Insert the insulation into pin contact and use crimping plier to...

Page 17: ...ot be connect ed with inverter directly CONNECTION STEPS Step 1 Check the grid voltage 1 Check the grid voltage and compare with the permissive voltage range Please refer to technical data 2 Disconnec...

Page 18: ...res 3 1 Choose the appropriate wire Cable size refer to Table 4 3 2 Reserve about 60mm of conductor material sectional area 3 3 Remove 10mm of insulation from the end of wire Step4 Connect the AC conn...

Page 19: ...ersion means inverter needs to install an external changeover device for EPS function This version applies to the wiring rules which allows Neutral line of alternative supply can be isolated or switch...

Page 20: ...propriate wire cable size refer to picture below 3 2 Reserve about 60mm of conductor material sectional area 3 3 Remove 10mm of insulation from the end of wire Step2 Connect the AC connector to the EP...

Page 21: ...battery Before choosing battery please note the maximum voltage of battery can not exceed 59V and the rated voltage of battery can not exceed 48V and the battery communication should be compatible wit...

Page 22: ...2 AWG wire and strip the cable to 15mm Step2 Select two O terminals with an aperture of M6 Step3 Insert the stripping line into the O terminal and clamp it with a crimping clamp Step4 Remove waterproo...

Page 23: ...verter will also need the data from Meter to achieve the Export Control Function STEP1 2 3 STEP4 STEP6 7 STEP5 Note It is necessary to connect meter to inverter otherwise inverter will shutdown with a...

Page 24: ...8 Please refer to BMS connection steps page32 for Meter connection Please kindly noted the PIN de nition and port position will be slightly di erent Step1 Disassembly of waterproof connectors and wat...

Page 25: ...veloped DRM CONNECTION STEPS Please refer to BMS connection steps page32 for DRM connection Please kindly noted the PIN definition and port position will be slightly different DRM CT Dry contact BMS 4...

Page 26: ...om supplier if needed WIFI CONNECTION STEPS Step1 Plug Wifi into WiFi port at the bottom of the inverter Step2 Build the connection between the inverter and router Step3 Create a user account online P...

Page 27: ...rter after checking all below steps 1 Ensure the inverter fixed well on the wall 2 Make sure all the DC wirings and AC wirings are completed 3 Make sure the meter is connected well 4 Make sure the bat...

Page 28: ...he self test is only required for inverters which are commissioned in Italy The Italian standard requires that all inverters feeding into the utility grid are equipped with a self test function in acc...

Page 29: ...is in fault status Off The inverter has no errors F Esc Return from current interface or function G Up Move cursor to upside or increase value H Down Move cursor to downside or decrease value I Enter...

Page 30: ...ORDING TO ACTUAL NEEDS PV INPUT POWER BATTERY PARAMETERS PEAK LOAD SHIFTING After nishing the setting of Peak load shifting mode the charging and discharging time also need to be set up Note If the ti...

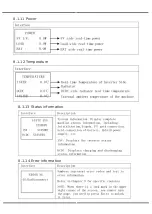
Page 31: ...ote When choosing battery priority mode the corresponding charging current should be opted for according to the battery type The system default current is 25A LCD OPERATION 8 1 LCD Interface 8 1 1 PV1...

Page 32: ...8 1 2 PV2 input display interface 8 1 3 Bus voltage 8 1 5 BMS parameters 8 1 6 BMS parameters 8 1 4 Battery...

Page 33: ...8 1 7 Grid connected output 8 1 8 Inverter output 8 1 9 Load 8 1 10 Power...

Page 34: ...8 1 11 Power 8 1 12 Temperature 8 1 13 Status information 8 1 14 Error information...

Page 35: ...8 1 15 System setting Press ESC button to enter user setting 8 1 16 User setting Enter the password before setting up the user...

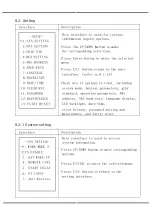
Page 36: ...8 2 Setting 8 2 1 System setting...

Page 37: ......

Page 38: ......

Page 39: ...8 2 2 BAT Setting...

Page 40: ......

Page 41: ...8 2 3 Grid standard...

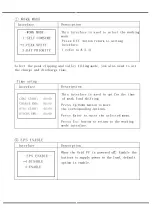
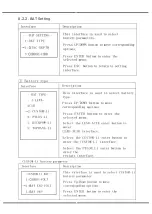
Page 42: ...8 2 4 System setting...

Page 43: ......

Page 44: ......

Page 45: ...8 2 5 485 Address 8 2 6 485 Baud rate 8 2 7 Language...

Page 46: ...8 2 8 LCD backlight 8 2 9 Date time 8 2 10 Clear history...

Page 47: ...8 2 11 Password Setting 8 2 12 Maintenance 8 2 13 Factory reset 8 2 14 Inquiry...

Page 48: ......

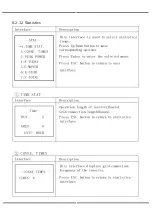
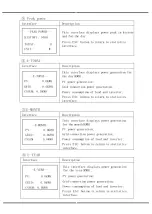
Page 49: ...8 2 12 Statistics...

Page 50: ......

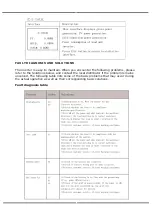
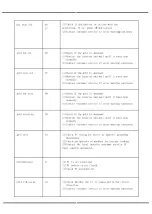
Page 51: ...following problems please refer to the Solutions below and contact the local distributor if the problem remains unsolved The following table lists some of the basic problems that may occur during the...

Page 52: ......

Page 53: ......

Page 54: ......

Reviews: