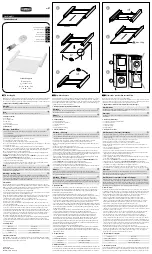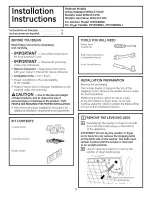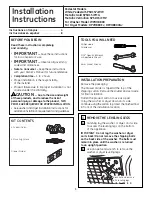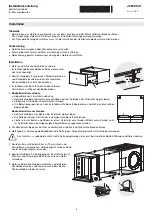


Installation instructions
Convenient storage drawer
for washing machines
J265.050-1
23.3.11 ZES
10
These installation instructions apply to the models:
266
,
268
,
269
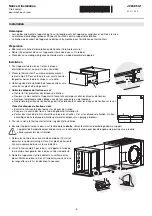
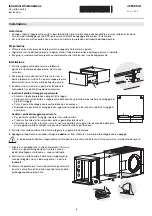
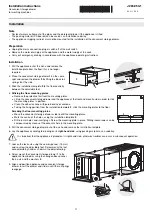
The appliance should be installed by qualified personnel only. Each step must be carried out and checked in full in the order
specified.
Validity
General notes
A full repair can only be guaranteed providing the non-destructive deinstallation of the complete appliance is possible at any
time.
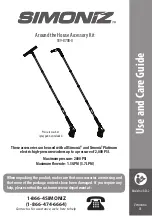
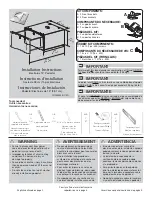
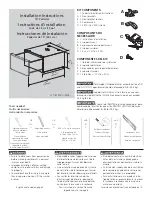
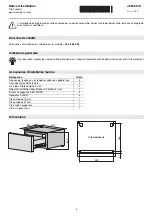
Supplied installation accessories
Designation
Number of items
Floor mounting plate incl. double sided adhesive discs
2
Nylon plug Delta size 6
2
Countersunk head wood screws 5 × 30
2
Installation template for floor mounting plate
1
Hexagon nuts 0.8D St EZN
4
U-washers St EZN
4
Combi spanner 19 mm
1
Combi spanner 27 mm
1
Hexagon box spanner
1
Allen key
1
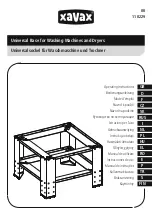
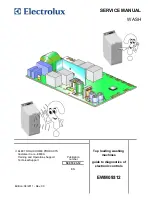
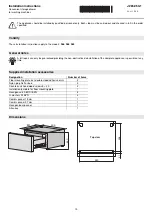
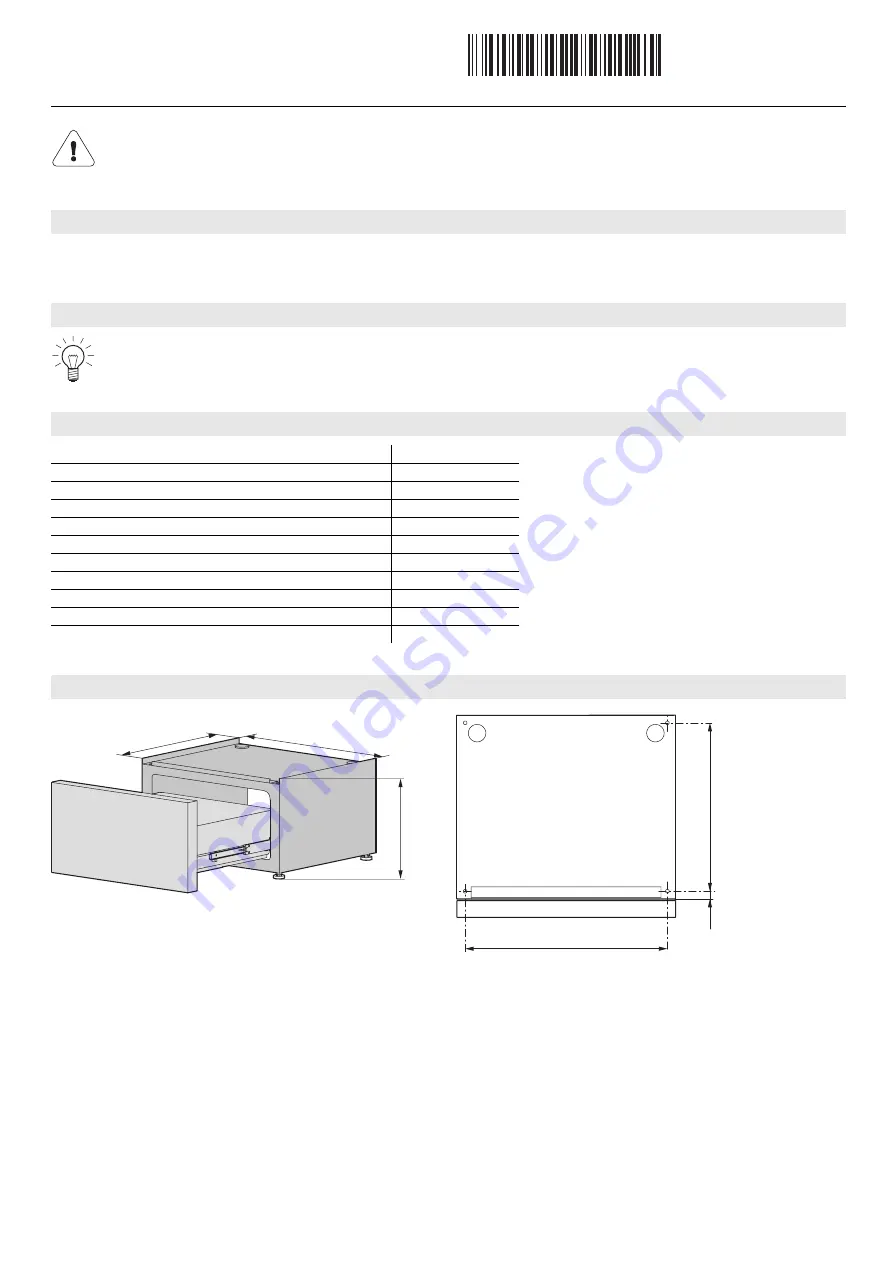
Dimensions
550
458
21
~340
550
595
Top view