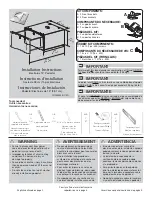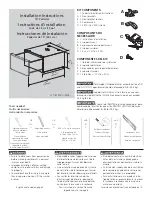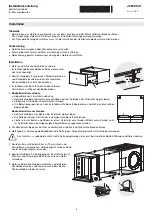


Installation instructions
Convenient storage drawer
for washing machines
J265.050-1
23.3.11 ZES
12
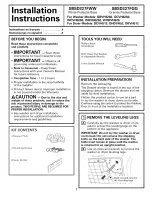
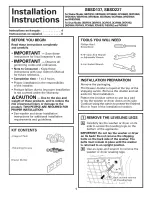
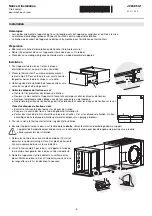
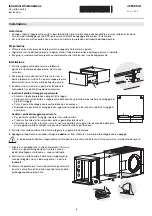
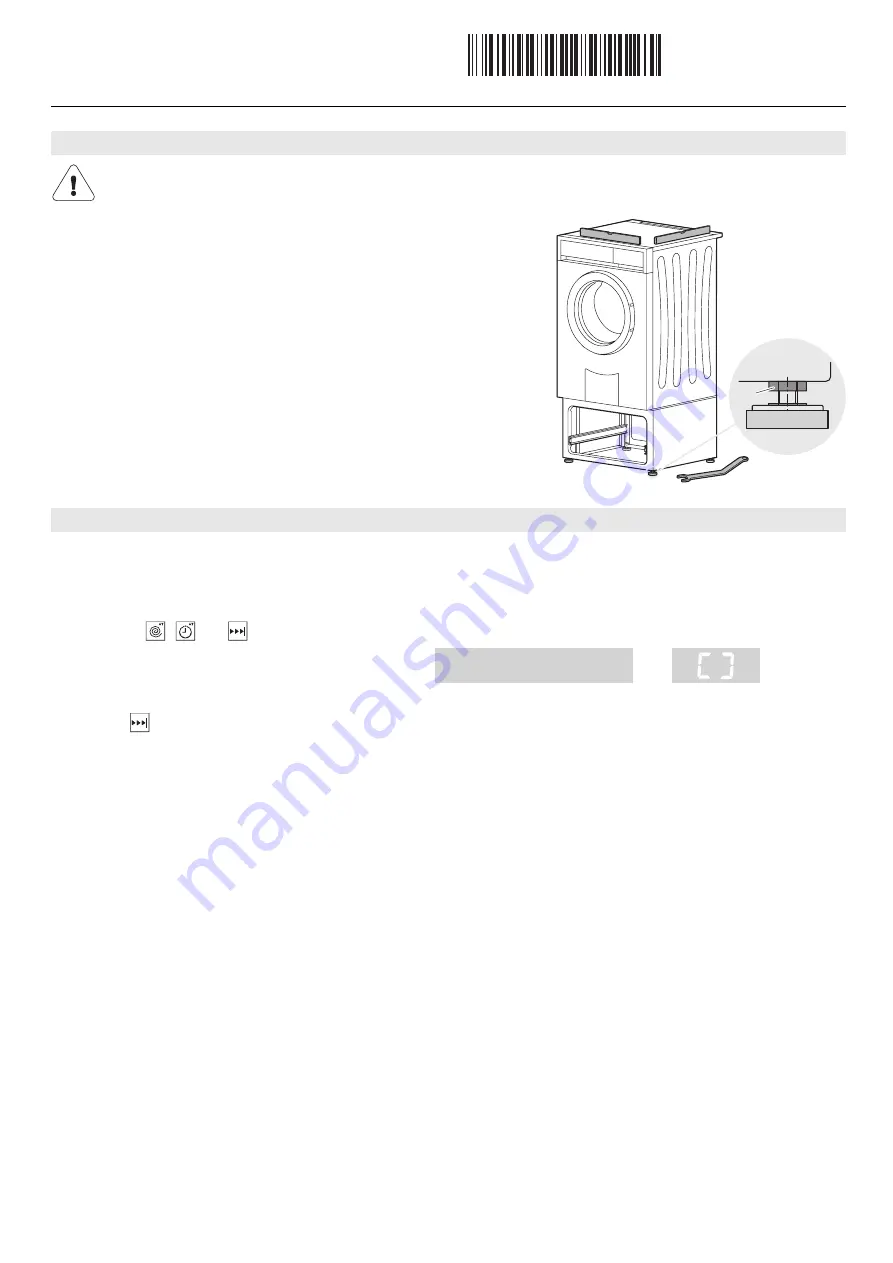
Tools: Combi spanner 19 mm
7
(supplied) and spirit level
8
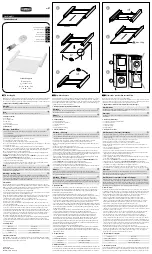
Rear adjuster feet
➤
Loosen lock nuts
9
.
➤
Align convenient storage drawer vertically by turning the foot by hand.
➤
Tighten the lock nuts firmly.
Front adjuster feet
➤
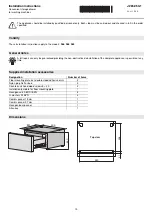
Place the appliance in the floor mounting plate.
➤
Loosen lock nuts
9
.
➤
Align convenient storage drawer vertically by turning the foot by hand.
– Convenient storage drawer and appliance must be absolutely stable.
➤
Tighten the lock nuts.
➤
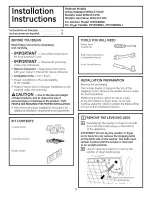
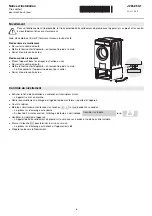
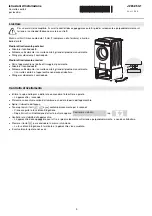
Plug the appliance in at the mains or turn the wall switch on.
– The appliance switches on.
➤
If there are any items in the drum, remove them and then close the appliance door.
➤
Turn the water tap on.
➤
Depress the
,
and
buttons simultaneously for 3 seconds.
– The spinning sequence is carried out.
– After about 2 minutes the following appears in the display:
resp.
.
➤
Check the stability of the appliance.
– The appliance must stand perfectly vertically with all 4 feet firmly on the floor and must not wobble.
➤
Press the
button to complete the initial set-up of the appliance.
– The spinning sequence is finished. The appliance is then drained.
➤
If necessary, repeat
Levelling
.
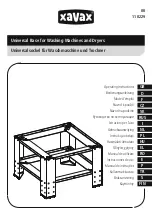
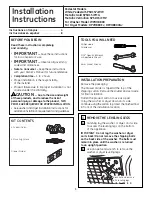
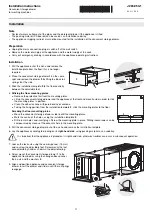
Levelling
For fault-free operation the convenient storage drawer must stand perpendicular to the appliance with all feet firmly on the
ground and the lock nuts
9
must be firmly tightened.
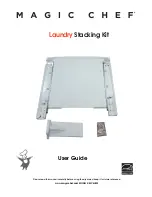
Levelling check
9
7
8
Check stability