18
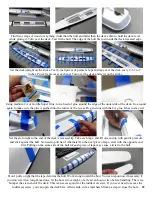
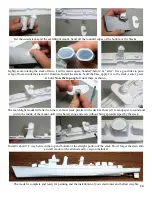
Set the hull on the boat stand. If the prop is off center to the rudder, pushing the motor assembly left or right can
help to align the prop to the rudder. Before the epoxy sets, make a final check to ensure that the prop shaft is still
about 1/8 inch from the front of the rudder and that there is clearance between the prop blades and the hull, that
the stern tube is still sticking out of the hull and that no epoxy is touching the prop shaft or any moving parts.
Once the epoxy is fully cured, it is time to attach the rudder linkage, center the servo, and test the drive system
with your transmitter before gluing on the deck.
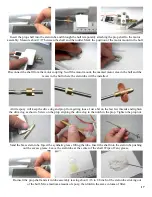
Press once LIGHTLY. Excess epoxy will come out. Gluing both the stern tube and motor mount at the same
time will ensure that they line up with each other once the epoxy sets. Before the epoxy sets, check the space
between the rudder and shaft end. Check prop alignment.
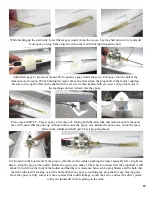
Add filled epoxy to the motor mount. Don’t put any epoxy under the servo. Put epoxy into the hull at the
marked motor location. While holding the motor above the hull, attach the prop shaft to the motor coupling.
Be sure to line up the flats on the shaft with the set screws then tighten both set screws. Align the motor to
the markings and set it down into the epoxy.
While holding up the stern tube, force filled-epoxy under it into the recess. Lay the shaft down into it and add
more epoxy on top. Make sure the stern tube is still sticking through the hull.


