CeilingVIEW HD-18 DocCAM Series
CeilingVIEW HD-18 DocCAM Manual - Document Number 342-0195 Rev. B
11 of 24
STEP-BY-STEP Installation Instructions:
Step 1:
For the most obvious reasons, a ladder is required to install the CeilingVIEW HD-18
DocCAM into an acoustic tile ceiling. Safety comes first, so please use safe tools,
ladders and installation practices.
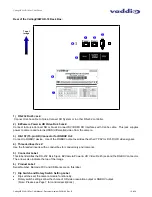
In the tile or ceiling area that the CeilingVIEW HD-18 DocCAM is to be installed, attach
a string or plumb bob to the ceiling tile with a thumbtack and position the string directly
over the table, lectern or work surface to allow easy document and object positioning.
Mark the optimum location on the tile.
Step 2:
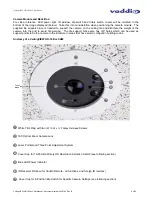
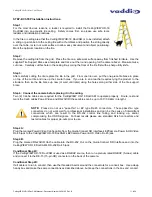
Remove the ceiling tile from the grid. Place the tile on a safe work surface away from finished furniture. Use the
supplied Tile Support Brace as a template and trace out the round opening for the camera bezel. Measure twice,
cut once. Carefully cut this hole in the ceiling tile, scoring the front of the tile first with a sharp utility knife.
Step 3:
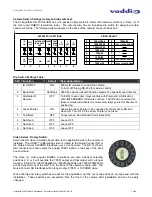
After carefully cutting the tile, replace the tile in the grid. From one tile over, put the one-piece tile brace in place
on top of the cut tile and line up the circular holes. If you are in an area that requires tying the product to the
structure, then tie the tile brace up now (or wait until later) using the holes along either side of the tile support
brace.
Step 4: Connect the camera before placing it in the ceiling.
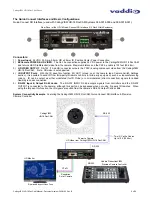
Two (2) Cat-5e cables are required for the CeilingVIEW HD-18 DocCAM to operate properly. Route, test and
mark the Cat-5 cables Power/Video and RS-232/IR (these cables can be up to 100’ /30.48m in length).
NOTE:
Please do not use “pass-thru” or EZ type RJ-45 connectors. These pass-thru type
connectors do not work well for professional installations and can be the cause of intermittent
connections which can result in the RS-232 control line failing and locking up, and/or
compromising the HSDS signals. For best results please use standard RJ-45 connectors and
test all cables for proper pin-outs prior to use.
Step 4A:
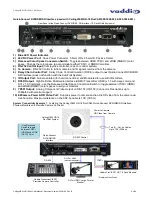
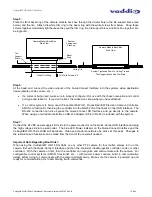
Plug the marked Power/Video Cat-5e cable from the Quick-Connect SR Interface’s EZCamera Power & HD Video
RJ-45 jack to the CeilingVIEW HD-18 DocCAM’s EZCamera Power & HD Video RJ-45 jack.
Step 4B:
Plug the marked RS-232/IR Cat-5e cable into the RS-232 Out on the Quick-Connect SR Interface and into the
CeilingVIEW HD-18 DocCAM’s RS-232 RJ-45 jack.
Conditional Step 4C:
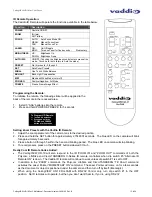
If the CeilingVIEW HD-18 DocCAM is used as a RGBHV source, then run a plenum rated RGBHV (5-coax) cable
and connect it to the DE-15 (15-pin HD) connector on the back of the camera.
Conditional Step 4D:
If all cable is to run in conduit, then use the threaded inserts around the connectors for a conduit box. Use a deep
handy box and make the same connections as described above, but keep the connections in the box and conduit.

