Squiggle Video Whiteboard Kit
Squiggle Manual 342-0172 Rev. B
Page 8 of 16
Step 8 - The “Seems Obvious” Step:
Put the provided batteries in the Digital Pen Sleeve and the Digital Eraser.
•
Pen:
Twist the pen sleeve cap counter-clockwise and put two (2) CR2032 batteries provided, stacked
positive (+) side up, and return the cap. Put the bullet nose black marker in the pen sleeve.
•
Eraser:
With a coin, twist the digital eraser cap counter-clockwise and put two (2) CR2032 batteries
provided, stacked positive (+) side up and return the cap.
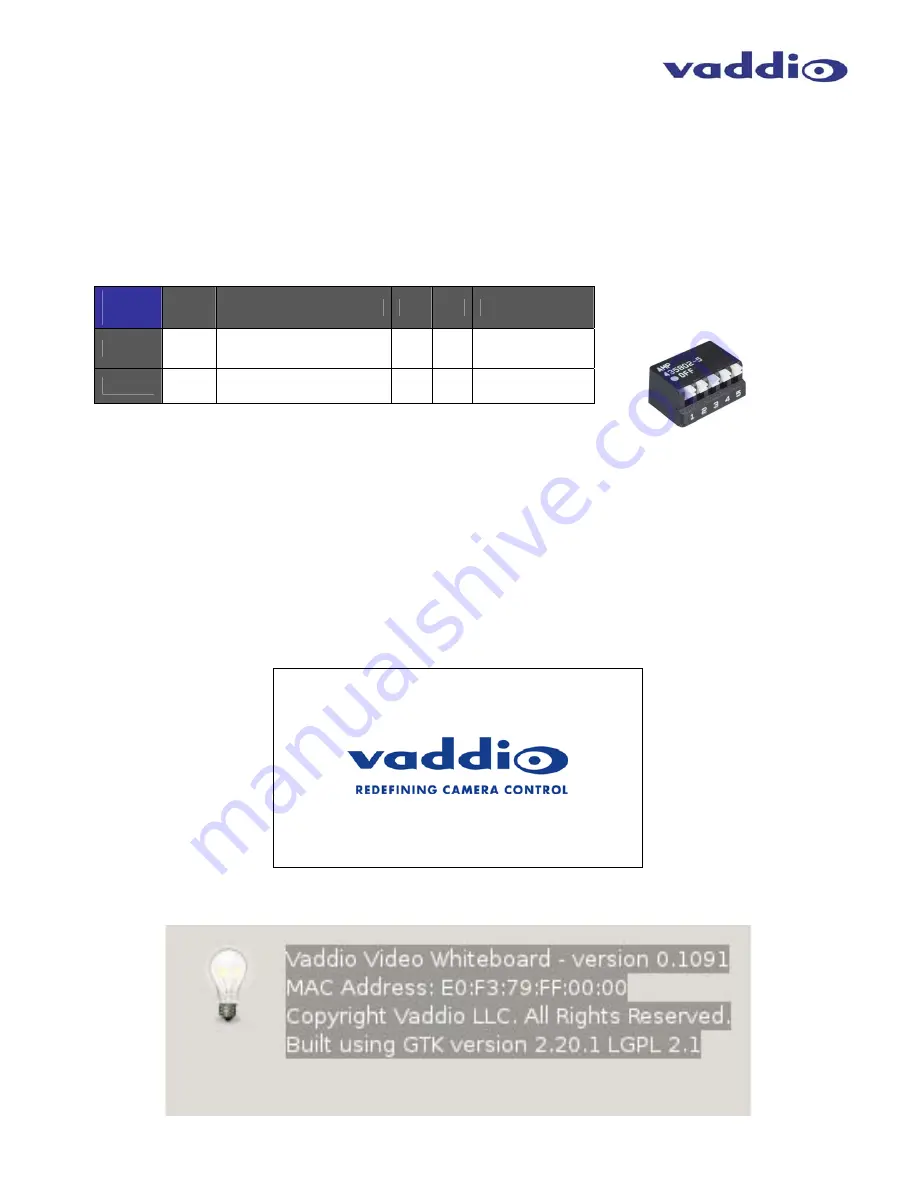
Step 9 - Setting the 5-Position Dip Switch:
The Squiggle Quick-Connect Interface has a 5-position dip switch accessible on the rear panel. Set the switch
settings for your application. The switch settings are on the following table:
Example Set-ups:
•
HD, 720p/59.94, Color Bars Off: SW1 = UP, SW2 = UP, SW5 = UP
•
SD, 480i/NTSC, Color Bars Off: SW1 = DN, SW2 = UP, SW5 = UP
•
HD, 720p/50, Color Bars Off: SW1 = UP, SW2 = DN, SW5 = UP
•
SD, 576i/PAL, Color Bars Off: SW1 = DN, SW2 = DN, SW5 = UP
Notes:
Default Position for all Switches is UP = HD, 720p/59.94, SMPTE Color Bars OFF.
Switches 3 and 4 are not used and are for future features.
The Color Bars are a video testing convenience only.
Using the Squiggle:
Upon connection of the Squiggle and powering up the Squiggle Quick-Connect Interface, the system will boot up
and the Vaddio splash screen will be seen on the HD 720p or SD display device.
Automatically, the Software Version number, MAC address and the legal notices are displayed briefly. The MAC
will be needed as the Ethernet functions are added to the software and for technical support.
Dip
Switch
1
2
3
4
5
UP
HD
HD - 720p/59.94 or
SD - 480i/29.97 - NTSC
- -
SMPTE Color
Bars OFF
DOWN
SD
HD - 720p/50 or
SD - 576i/25 - PAL
- -
SMPTE Color
Bars ON
UP -
↑
Down -
↓
5-Position Dip Switch
Accessible from the rear
panel of the Quick-Connect
Interface


