BaseSTATION
Vaddio BaseSTATION - Document Number 342-0756 Rev A
Page 13 of 40
Installation Instructions:
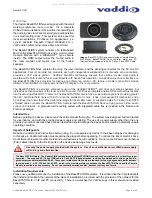
To install the BaseSTATION, follow the Step-by-Step Installation instructions.
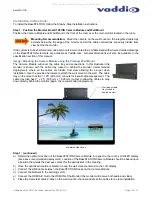
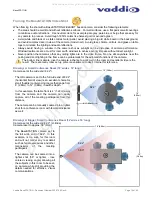
Step 1: Position the Monitor, BaseSTATION Camera Module and Wall Mount
Position the Camera Module and Wall Mount in the front of the room over the main monitor located in the room.
Mounting Recommendation:
Mount the camera on the wall mount so the integrated cable tray
extends below the top edge of the monitor and all the cable connections are easily hidden from
view behind the monitor.
If the system is to be shelf mounted, cabinet mounted or mounted to a portable stand with wheels, detailed drawings
of the BaseSTATION elements are available at Vaddio.com. General dimensions will also be available in the
specification section of this manual.
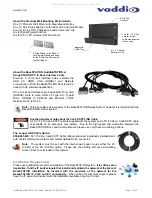
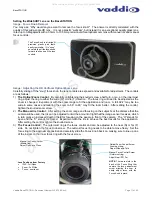
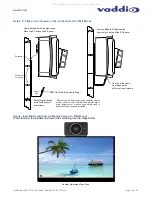
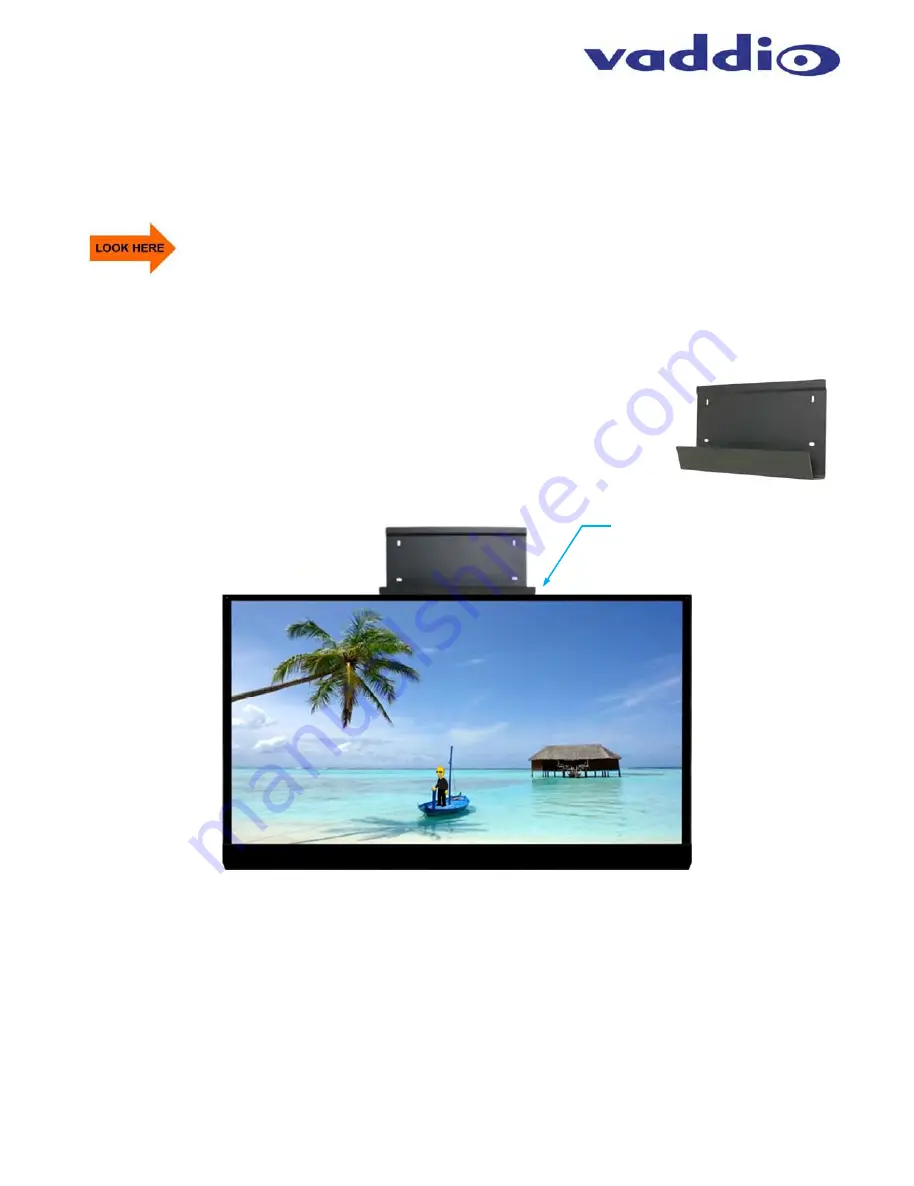
Image: Mounting the Camera Module using the Premium Wall Mount
The Camera Module will cover the cable tray and connections. In this illustration the
monitor is shown with the cable tray tucked in behind the monitor (recommended
deployment), where all the cables are hidden from view allowing for a super clean
installation. Use the provided hardware to attach the wall mount to the wall. The cable
tray on the mount has two 1.125” (28.6 mm) cut-outs for in-wall cable management. The
cable tray also has 2” x .75” (50.8 mm x 19.05 mm) cutout to allow the cables to drop
down directly behind the monitor (again, the recommended deployment).
Step 1: (continued)
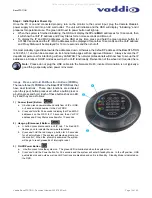
a) Determine optimum location of the BaseSTATION Camera Module in respect to the room’s LCD/LED display
(see above recommended deployment). Location of the BaseSTATION Camera Module should be based upon
a position that yields the best eye contact for the participants in the meeting.
b) Once the optimized location is selected, hang the wall mount centered on the LCD display.
c) Connect the LINK cable between the BaseSTATION Dock and the Camera Module.
d) Connect the Network to the building’s LAN
e) Connect the HDMI A/V Out to the HDMI IN of the Monitor (the monitor will receive both audio and video)
f) Place the Camera Module Z-clips on the wall mount Z-channel and dress the cables for a clean installation.
Simulated Video Feed
Wall mount cable
tray tucked in
behind monitor
All manuals and user guides at all-guides.com


