ClearVIEW HD-20
SE
QUSB
S
YSTEM
ClearVIEW HD-20
SE
QUSB
S
YSTEM
,
Document Number 342-0936 Rev C
Page 14 of 46
Q
UICK
-C
ONNECT
USB
I
NSTALLATION
I
NSTRUCTIONS
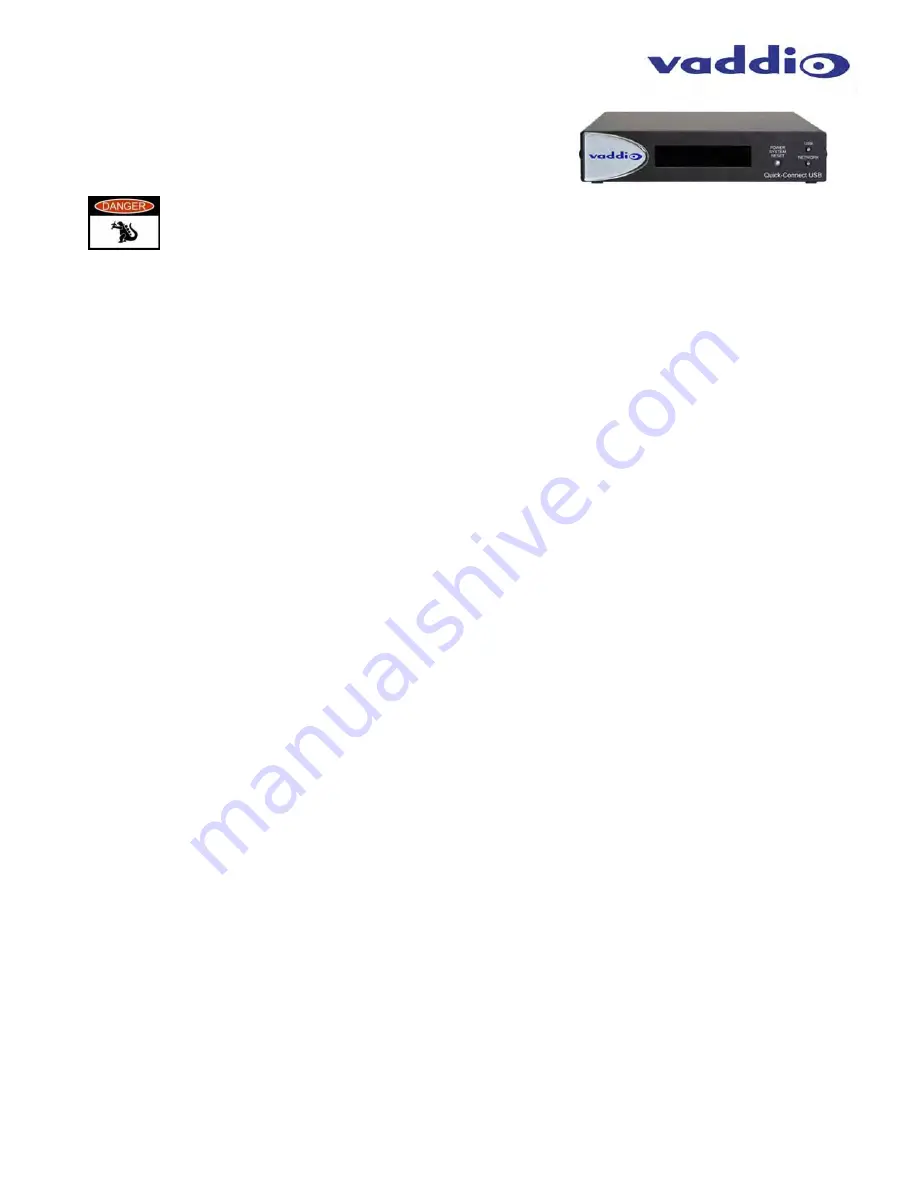
Follow the sample wiring diagram for connecting the Cat-5e cables to the
cameras and Quick-Connect USB Interface (Diagram on page 9, but read
and understand the rest of these instructions especially the next note).
NOTE:
Check all Cat-5 cables for continuity in advance of the final connection. Label the
Cat-5 cables. Please do not use the “trial and error” method of connectivity. Know what
cable goes where prior to termination.
Connecting System Power
Connect the DC side of the 24 VDC power supply to the Quick-Connect USB Interface and the AC plug into an AC
outlet. The Quick-Connect USB will initialize, Power will travel down the EZ-POWER VIDEO Cat. 5 cable to the
camera. The camera will boot up and in a few seconds, differential HD video will travel back down the Cat-5 cable
to the Quick-Connect USB. When an image is available, the camera is ready to accept control information from
the IR remote control or RS-232 camera controller, however it is always best to choose and use IR or RS-232 and
not both concurrently. If connected to the Network, the Quick-Connect USB will display the Hardware (HW) MAC
Address and the IP address on the front display.
Controlling the Quick-Connect USB
RS-232 Control:
An API is provided for control of the cameras over RS-232 through the Quick-Connect USB. The
camera RS-232 commands are in the back of this manual).
Telnet Control
The cameras can be controlled through the Quick-Connect USB via Telnet session. These exciting commands are
listed at the back of the manual.
Built-in Webserver Control
The Quick-Connect USB has a built-in webserver that auto-loads the control protocols of the Vaddio camera
attached (pretty cool huh?). Full camera controls including CCU image controls are available from any approved
browser on any computer. The IP address is always displayed on the front panel display of the Quick-Connect so
access to the internal webpages is super accessible and easy. The Screen Shot Tour will provide guidance for
operation, but jumping in and looking at the web server pages directly is a better way to learn the operation of the
system.
Quick-Connect USB Details
The Quick-Connect USB Interface uses UVC (Universal Video Class) drivers for USB 2.0 video and does not require
the loading of any other drivers to run on the PC. As long as the operating systems and soft-client software support
UVC drivers, no additional software/drivers, other than the application is required.
Boot Order Notes
When using a joystick controller or external control system, in order to ensure proper continuity of camera control,
the RS-232 controller should be powered-on after the camera and Quick-Connect. In most, if not all cases, the
camera needs to be on and running in order for communication to take place between the camera and controller.
When plugging a new camera into a RS-232 controller/joystick that has already been powered up, a system reboot
or camera rescan may be necessary to find the camera


