Initial Device Set-Up Using the Vaddio Device Controller
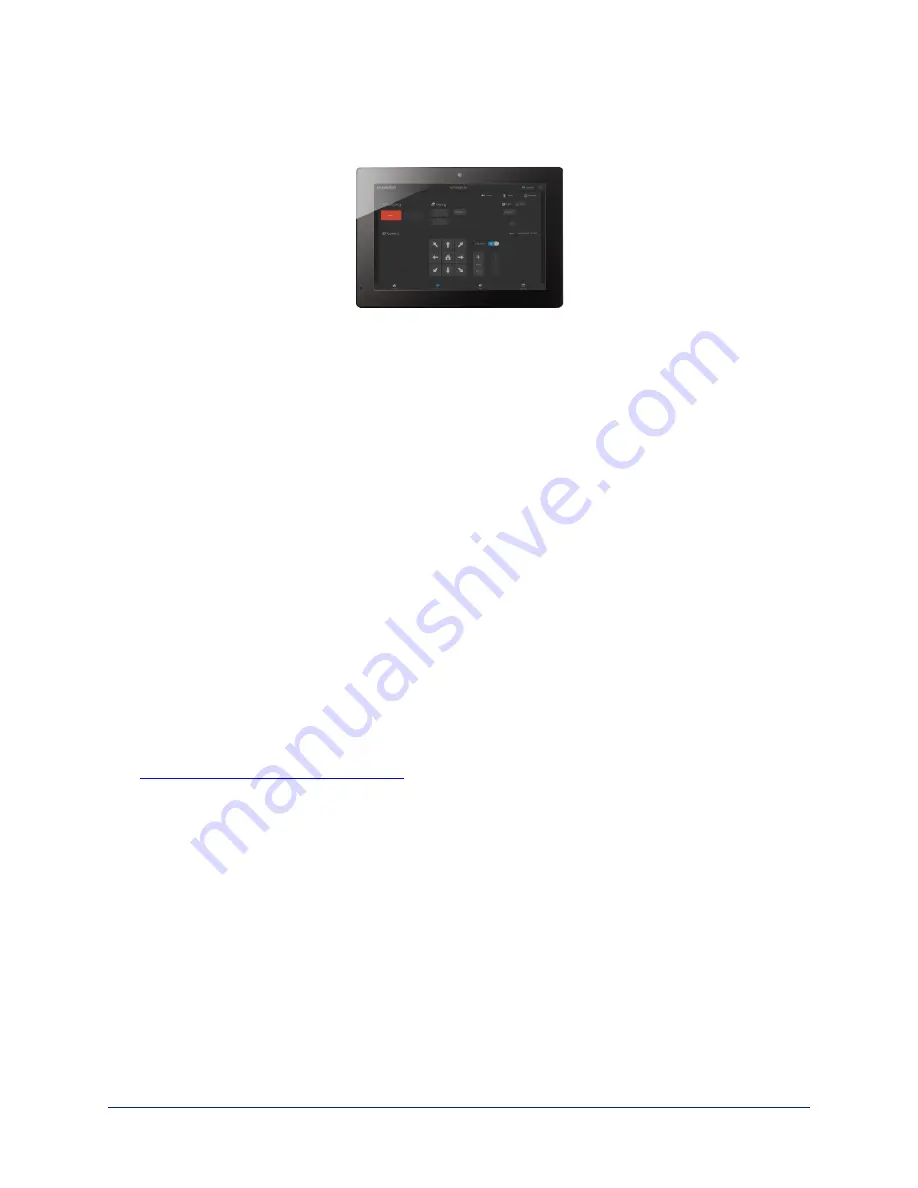
The Vaddio Device Controller is a stand-alone appliance for working with Vaddio products' web interfaces.
Ways the Vaddio Device Controller makes your tasks easier:
n
Easily scan your network for Vaddio devices – no more complicated procedures for discovering
devices' IP addresses.
n
Following the scan, select a device and exit straight to its web interface.
n
No annoying messages about HTTPS connections - you automatically connect via HTTPS.
Unlike the Vaddio Deployment Tool, it does not need to be updated to support new products. For detailed
instructions on installation and use, refer to the Vaddio Device Controller's manual.
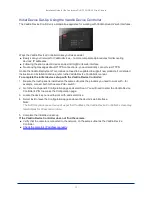
To complete the initial device set-up with the Vaddio Device Controller:
1. Be sure the touch-panel is installed on the same subnet as the products you need to work with – for
example, connect both to the same PoE+ switch.
2. Go to the touch-panel's Configuration page and select Scan. You will need to enter the Vaddio Device
Controller's PIN to access the Configuration page.
3. Locate the device you need to work with, and select Use.
4. Select Exit to leave the Configuration page and open the device's web interface.
Note
The first time you access a device at a specific IP address, the Vaddio Device Controller's screen may
remain blank for 20 seconds or more.
5. Complete the initial device set-up.
If the Vaddio Device Controller does not find the camera:
n
Verify that the camera is connected to the network, on the same subnet as the Vaddio Device
Controller.
n
Check the camera's IP address manually
13
Installation Guide for the ConferenceSHOT FX USB 3.0 Fixed Camera


