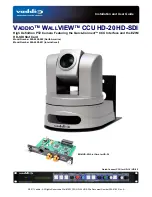
WallVIEW CCU HD-20 HD-SDI
WallVIEW CCU HD-20 HD-SDI Manual 342-0182 Rev. A
Page 11 of 24
Installation Basics:
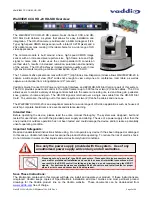
The WallVIEW CCU HD-20 camera was specifically designed for installation on a vertical wall surface with Cat-5e
cable connectivity for Video, Power and Control signaling (three Cat-5e cables are required). Installation is
simplified in that no custom 8-Pin mini-din cables or expensive plenum coax cables are needed and no power
outlets are required near the camera bracket. All cabling is routed to the head-end using Cat-5e cables. “Pass-
thru” type RJ-45 connectors should never be used (see notice on page 3 and comments below).
Before Installing:
•
Locate the camera mounting location paying close attention to camera viewing angles, lighting conditions,
possible line of site obstructions, and checking for in-wall obstructions where the camera is to be mounted.
Pick a mounting location that will optimize the performance of the camera.
•
The Thin Profile Wall Mount for the WallVIEW HD-20 can be mounted directly to a 2-gang wall box or can be
mounted to the drywall using four dry wall anchors.
•
Pre-wire all cabling as required. Test and mark the Cat-5e cables POWER and CONTROL. Test and mark
the coax cable as well. Do not guess at the Cat-5e cable’s function and try the “process of elimination
method” and plug the POWER cable into all the RJ-45 jacks on the camera to see which one cable powers
the camera. In all likelihood, this method will cause damage to your system and your warranty will be voided
which is not way good.
RS-232 Cabling:
•
For RS-232, use a standard straight through Cat-5e cables (568B termination) from the RS-232 port on the
back of a Vaddio camera controller or switcher to the camera. If the camera is connected to a third-party
control system (such as AMX or Crestron), a DB-9 to RJ-45 control adapter cable is supplied.
•
Please do not use “pass-thru” type RJ-45 connectors. The Vaddio Cat-5e wiring standard uses pins 7
and 8 on both the video and the control Cat-5e cables. The pass-through connectors have proven to
provide insufficient connectivity for these important signals. They are “ok” for voice and data, but
not for video and control.
Videoconferencing Codecs and RS-232:
•
Depending on the videoconferencing codec and RS-232 port used, special DB-9 to RJ-45 adapters may
sometimes be required. Refer to Vaddio’s price list or website for part numbers and codec compatibilities.
Any special adapters and configuration information will be noted.
•
When using a videoconferencing system, remember to always power up the cameras before booting
up the codec.
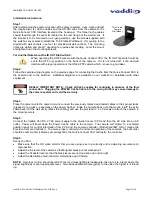
Another Note about the IR OUT Dip Switch 4:
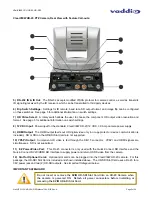
When operating the HD-20 camera with the Quick-Connect CCU, the IR OUT dip switch must be
set to the OFF (up) position on the back of the camera. If it is not turned off, it can/will interfere
with proper operation of the HD-20 PTZ camera. This would be, not so good, so please turn the
IR OUT switch OFF.

