Instructions and settings
28
Ver.07/06/01 07/06/01
3.2
Hitching the seed drill
Figure 3.3
Hitch the drill to the tractor.
Connect the power transmission shaft and check its length. (Applicable to drills with a power-dri-
ven fan, also see section ”2.8 Fitting the PTO shaft” on page 14.)
Mount the hydraulic pump on the tractor’s hydraulic connector and connect the torque rod. (App-
licable to drills with PTO-driven hydraulic fan. Also se section ”3.15.5 PTO driven hydraulic fan,
mftg. no. 10 199-10 949 (accessory)” on page 45.
Don’t forget to raise the supporting leg.
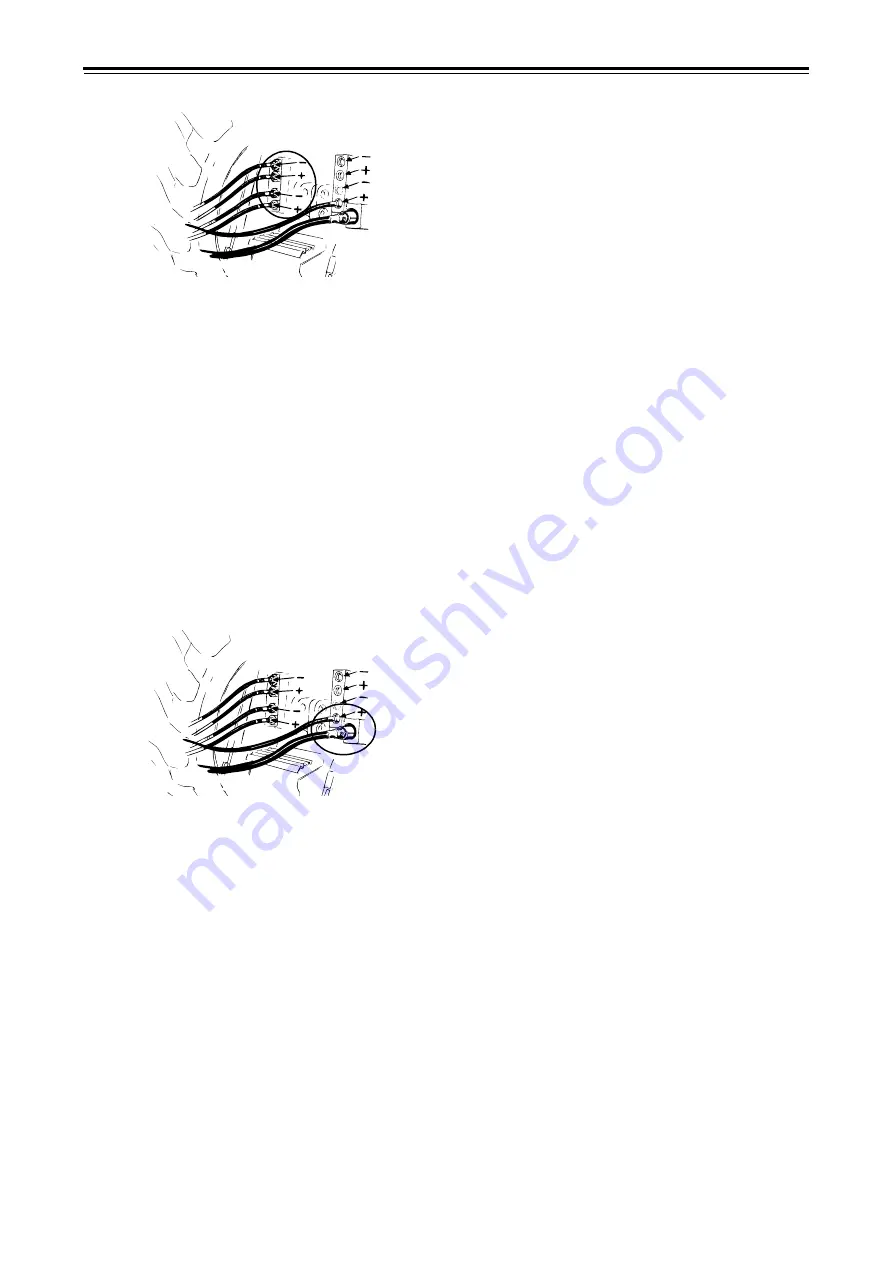
Connect the hydraulic hoses. The two large-dimension 3/8" hoses with plastic rings are used to
raising and lowering the seed drill and to operate the markers. The two thin 1/4" hoses marked
with plastic rings are used to fold down the side wings and adjust the front implements. Make
very sure that the hoses are connected in pairs to the correct hydraulic connectors on the tractor.
The two hoses running to the hydraulic top rod (optional equipment) should be connected to a two-
way hydraulic connector.
3.2.1
Connecting hoses to the hydraulic fan, 2-hose version, mftg. no. -10 323:
Figure 3.4
Connect the thin hose to a hydraulic connector designed for continuous operation of a hydraulic
motor. If available, use a priority connector. The thicker 3/4” hose should be connected to a sepa-
rate no-pressure return entry.
Lock the female quick connector on the return entry. See “Figure 3.6”.
Summary of Contents for RAPID RD 300 F
Page 1: ...Ver 1 3 07 06 01 900107 en Instructions Seed drill RAPID series RD 300 450 F No 10 026 11 999 ...
Page 2: ...2 Ver 1 3 07 06 01 ...
Page 6: ...6 Ver 1 3 07 06 01 ...
Page 16: ...Assembly instructions 16 Ver 07 06 01 07 06 01 ...
Page 23: ...RD 300 450 F Ver 1 3 07 06 01 23 ...
Page 41: ...RD 300 450 F Ver 1 3 07 06 01 41 ...
Page 47: ...RD 300 450 F Ver 1 3 07 06 01 47 ...
Page 108: ...Appendices 108 Ver 07 06 01 07 06 01 7 4 Electrical diagram Figure 7 8 307335 ...


