RD 300-450 F
Ver.1.3 07/06/01
29
3.2.2
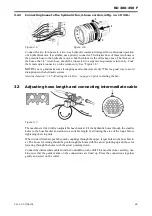
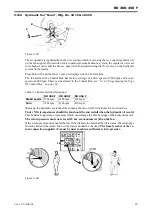
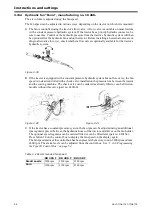
Connecting hoses to the hydraulic fan, 3-hose version, mftg. no. 10 324-:
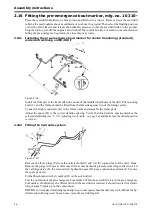
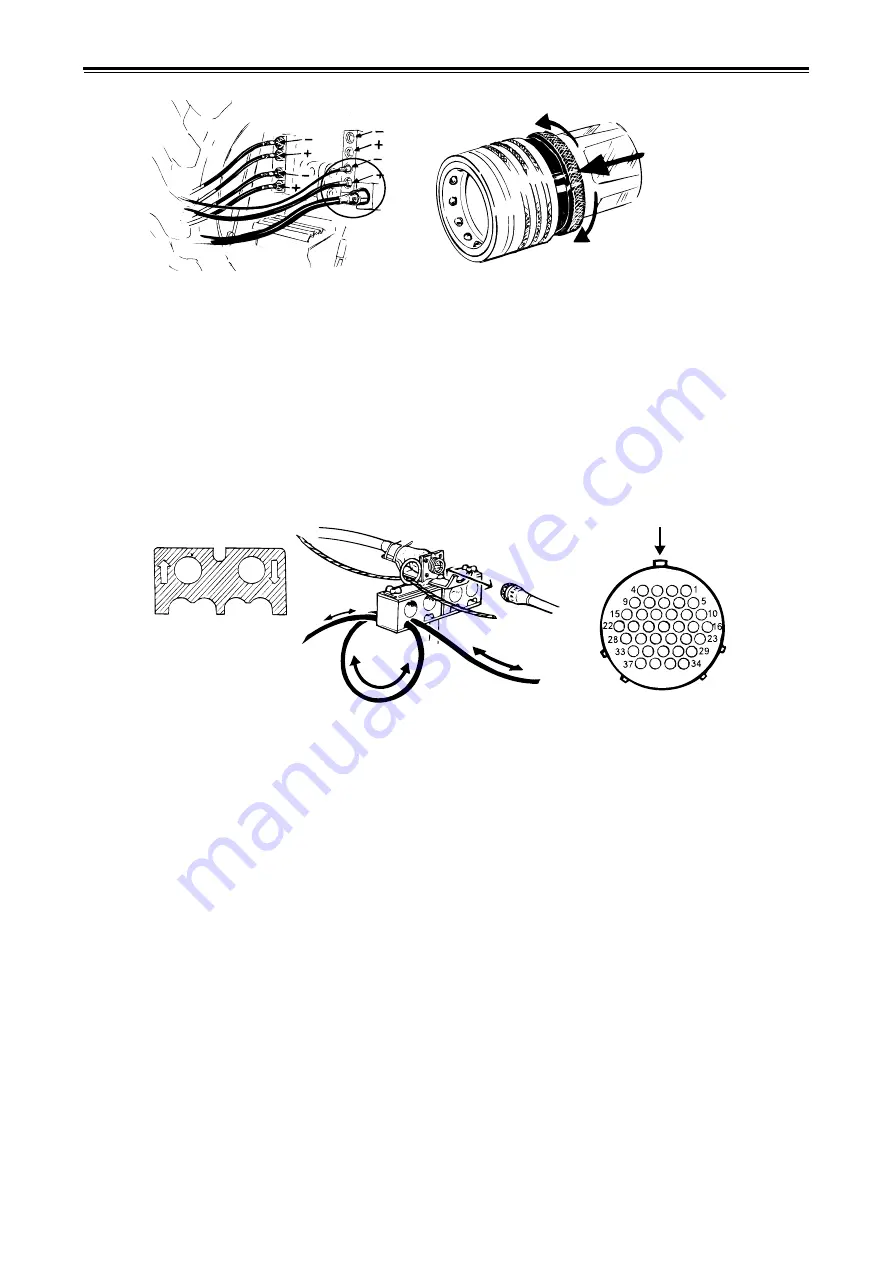
Connect the two thin hoses to a two-way hydraulic connector designed for continuous operation
of a hydraulic motor. If available, use a priority connector. The thicker hose of these two hoses is
the pressure hose to the hydraulic motor, while the thinner is the oil leakage hose. The thickest of
the hoses, the 3/4” return hose, should be connected to a separate no-pressure return entry. Lock
the female quick connector on the return entry. See “Figure 3.6”.
NOTE!
Use a rag and make sure all couplings and connectors are dry! This is a good way to avoid
disruptions in the hydraulic system.
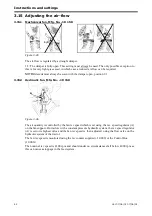
Also read section ”3.15 Adjusting the air-flow” on page 42 prior to starting the fan.
3.3
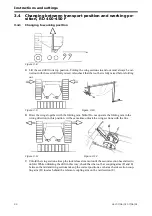
Adjusting hose length and connecting intermediate cable
Figure 3.7
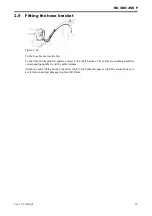
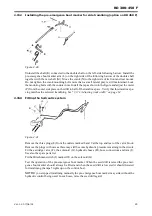
The machine is fitted with an adjustable hose bracket. Fit the hydraulic hoses through the smaller
holes in the hose bracket and adjust to a suitable length by adjusting the size of the loops before
tightening the wing nuts.
When work is finished, push the quick couplings through the upper, larger holes in the hose brack-
et. The hoses for raising should be put through the holes with the arrow pointing up and those for
lowering through the holes with the arrow pointing down.
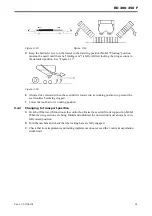
Connect the intermediate cable from the Control Box to the drill. This must be done carefully, ma-
king sure that the guide marks on the connections are lined up. Press the connections together
gently and screw on the collar.
Figure 3.5
Figure 3.6
2
2
1
Summary of Contents for RAPID RD F Series
Page 1: ...Ver 1 3 07 06 01 900107 en Instructions Seed drill RAPID series RD 300 450 F No 10 026 11 999...
Page 2: ...2 Ver 1 3 07 06 01...
Page 6: ...6 Ver 1 3 07 06 01...
Page 16: ...Assembly instructions 16 Ver 07 06 01 07 06 01...
Page 23: ...RD 300 450 F Ver 1 3 07 06 01 23...
Page 41: ...RD 300 450 F Ver 1 3 07 06 01 41...
Page 47: ...RD 300 450 F Ver 1 3 07 06 01 47...
Page 108: ...Appendices 108 Ver 07 06 01 07 06 01 7 4 Electrical diagram Figure 7 8 307335...

