Assembly instructions
12
Ver.07/06/01 07/06/01
2.2
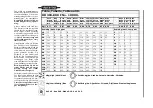
Moving the tool bar tines
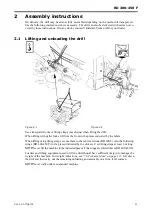
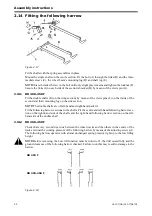
Figure 2.3
Prior to delivery, two or more tines have been removed from the centre section tool bar to aid lo-
ading and unloading. Check carefully that these tines have been replaced in the correct positions
before attaching the drawbar. The tine fitting must be to the right of the mark when viewed from
the rear.
NOTE!
Always check the tine spacing of a new drill on delivery.
2.3
Fitting the pre-implements
Fit the pre-implements as explained in the spare parts manual or, in certain cases, according to the
attached instructions.
2.4
Fitting the drawbar
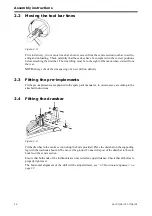
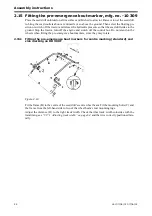
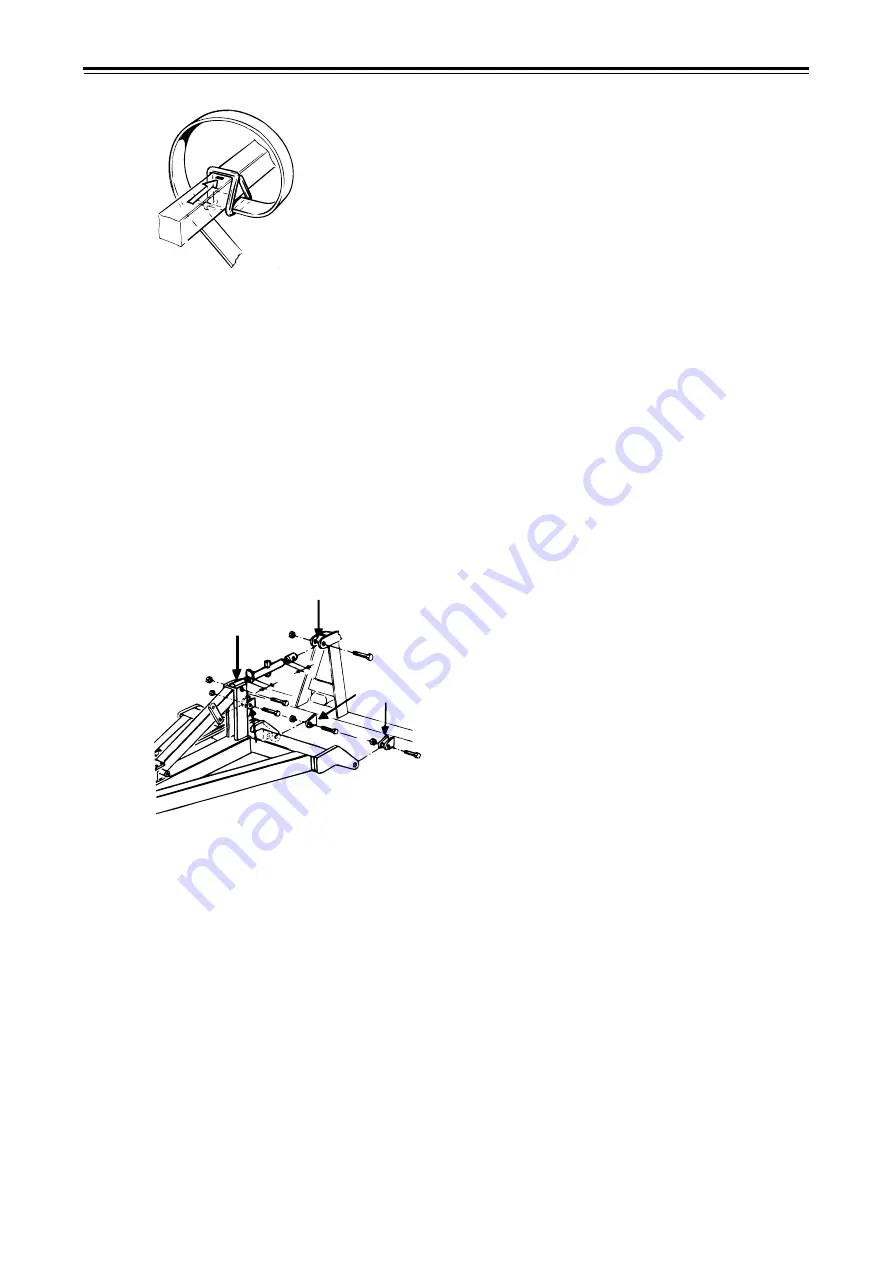
Figure 2.4
Fit the drawbar to the centre section using the bolts provided. Place the drawbar on the supporting
leg with the towhook about 40-50 cm over the ground. Connect the post of the drawbar to the turn
buckle on the centre section.
Ensure that both ends of the turnbuckle are unscrewed an equal distance. Check that all bolts are
properly tightened.
The horizontal alignment of the drill will be adjusted later, see ”3.5 Horizontal alignment” on
page 32.
Summary of Contents for RAPID RD F Series
Page 1: ...Ver 1 3 07 06 01 900107 en Instructions Seed drill RAPID series RD 300 450 F No 10 026 11 999...
Page 2: ...2 Ver 1 3 07 06 01...
Page 6: ...6 Ver 1 3 07 06 01...
Page 16: ...Assembly instructions 16 Ver 07 06 01 07 06 01...
Page 23: ...RD 300 450 F Ver 1 3 07 06 01 23...
Page 41: ...RD 300 450 F Ver 1 3 07 06 01 41...
Page 47: ...RD 300 450 F Ver 1 3 07 06 01 47...
Page 108: ...Appendices 108 Ver 07 06 01 07 06 01 7 4 Electrical diagram Figure 7 8 307335...


