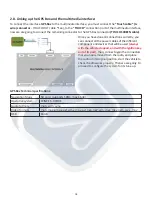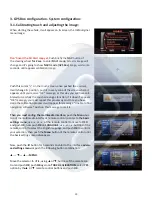
The settings menu “Adjust size” is used to set the image’s height
and width.
20
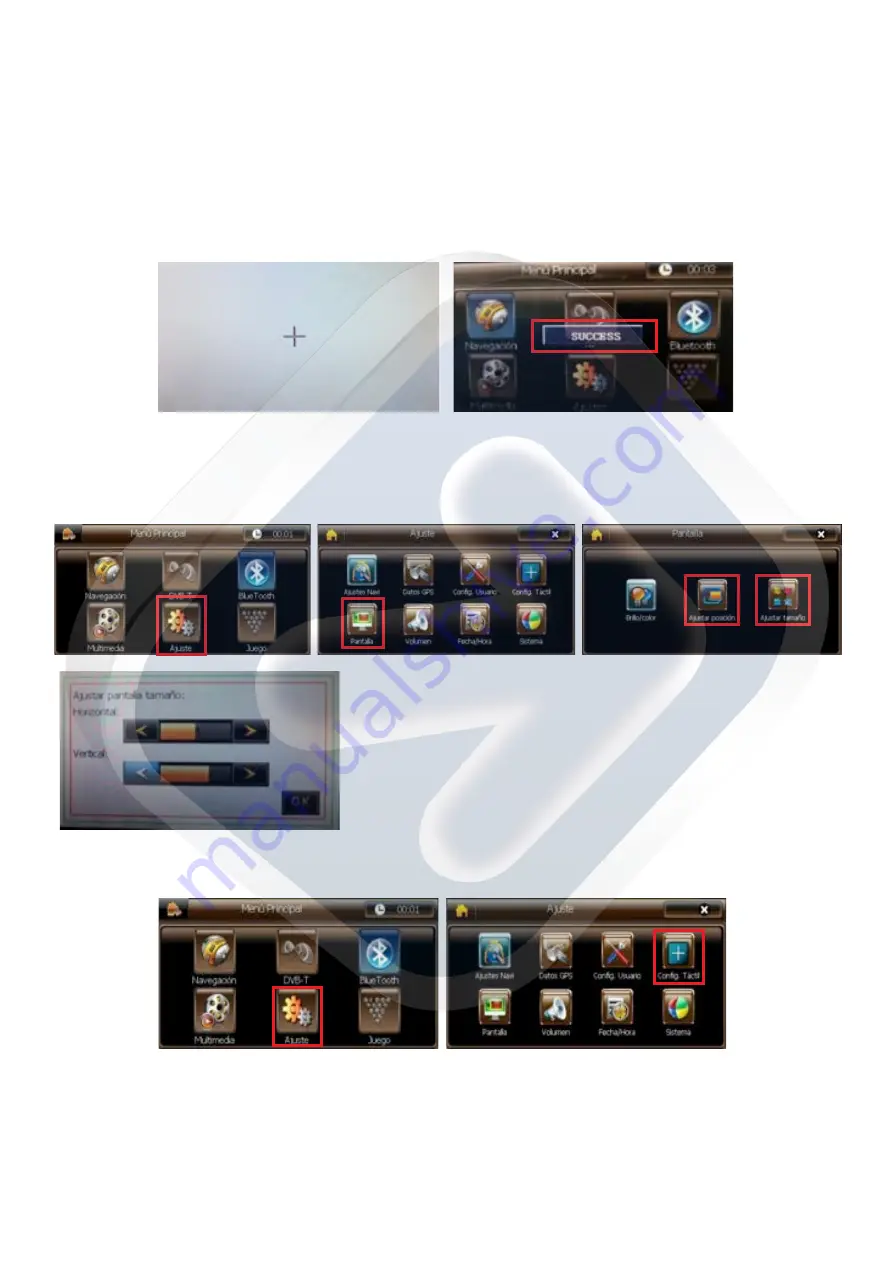
Once the OK button is pushed, it will appear the message “CALIBRATION” in the center of the screen,
then, screen will show a white wallpaper with a cross shape cursor in the center.
Push this cursor for aproximattely 2 sec. in the touch screen, once the cursor "+" is pushed it will change
its position, push it in all the screen zones where it appears until you receive the message “SUCCES”, this
way you will have calibrated successfully the touch screen, if while you are doing the calibration process
appears the message “FAIL”, you must repeat the process again.
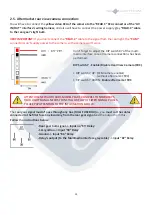
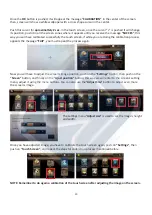
Now you will have to adjust the screen’s image position, push on the “Settings” button, then push on the
“Screen” button, and finally on the “Ajust position” button, this way we will enter to the screen’s setting
menu, adjust it using the menu buttons. You can also use the “Adjust Size” button to adjust even more
the screen's image.
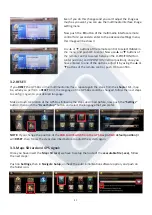
Once you have adjusted image, you have to calibrate the touch screen again, push on “Settings”, then
push on “Touch Screen”, and repeat the steps for calibration process mentioned before.
NOTE: Remember to do again a calibration of the touch screen after adjusting the image on the screen.

