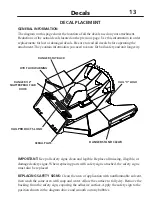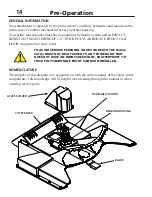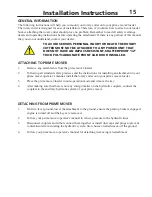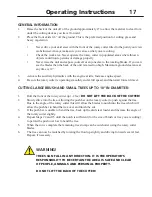
26
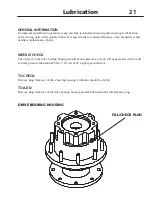
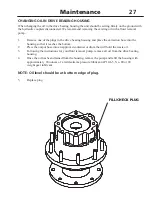
REPLACING DRIVE BEARING HOUSING
6.
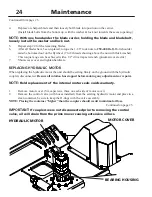
Remove the capscrews holding the motor to the drive bearing housing, and remove the motor,
setting it into a clean container to help prevent any contaminants from entering the hydraulic
system. Check motor O-ring for damage and replace if required.
7.
Remove the hex nuts securing the drive bearing housing to the cutter deck and install new
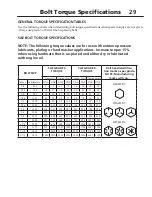
housing using the existing hardware. Torque to specification. See Bolt Torque Specifications
8.
Remove plugs from top of housing and fill with a mild extreme pressure lubricant
API-GL-5, No. 80 or 90 weight gear lubricant. Replace plugs.
9.
Install the motor assembly and O-ring onto the drive bearing housing using the existing
hardware.
10.
Re-install motor cover using existing hardware and torque to specification. See Bolt Torque
Specifications.
11.
Re-attach the hoist to the push bar and slowly lift the rotary cutter and place it upside down.
NOTE:
Be prepared for possible shifting of the rotary cutter as it is clears the ground.
Block the cutter to ensure it is completely stable before proceeding.
12.
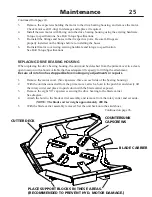
Attach the hoist to the blade carrier assembly and set it into place aligning the holes on the blade
carrier to the ones on the bearing housing.
(NOTE: The blade carrier weighs approximately 400 lbs.)
13.
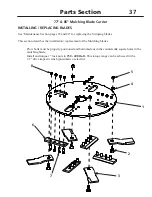
Reinstall the eight 5/8” capscrews securing the drive bearing housing to the blade carrier.
Torque to specification. See Bolt Torque Specifications
14.
Attach the hoist onto the push bar and set the unit back onto the skid shoes.
Follow the installation procedure for attaching the unit onto your prime mover.
Maintenance
Continued from page 25.
Summary of Contents for PXBC2-8515/20
Page 1: ...MADE IN THE U S A OWNER S MANUAL XBC2 8515 20 XBC2 7715 20 Rev 11 9 2022...
Page 2: ...SPECIFICATIONS AND DESIGN ARE SUBJECT TO CHANGE WITHOUT NOTICE AND WITHOUT LIABILITY...
Page 6: ...SPECIFICATIONS AND DESIGN ARE SUBJECT TO CHANGE WITHOUT NOTICE AND WITHOUT LIABILITY...
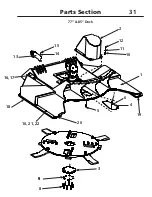
Page 31: ...31 Parts Section 77 85 Deck 8 9 9 13 18 20 10 21 22 16 17 1 19 10 11 14 12 15 2 3 4 6 7 5...
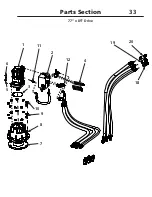
Page 33: ...33 Parts Section 77 x 85 Drive 1 2 12 4 19 20 6 3 7 9 10 18 8 5 11...
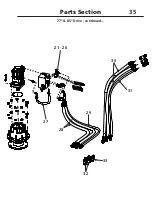
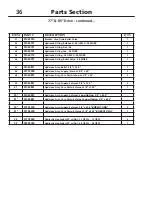
Page 35: ...35 77 85 Drive continued Parts Section 30 21 26 31 27 28 33 32 29...
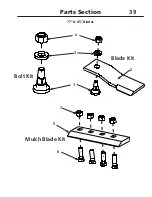
Page 39: ...39 Bolt Kit Blade Kit Mulch Blade Kit 1 2 3 4 5 7 6 77 85 Blades Parts Section...
Page 42: ...42...
Page 43: ...43...
Page 44: ...OWNER S MANUAL OWNER S MANUAL MUST STAY WITH PRODUCT...


