6 Start-up
46
Installation instructions electronicVED exclusive 0020288446_00
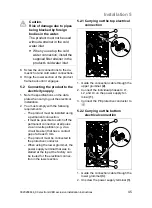
3. Route the power supply terminal, in-
cluding the internal cable, to the lower
position
(2)
in the product.
4. Screw the power supply terminal tightly
to the lower position.
5. Check whether the cables for the
power supply terminal are routed
correctly.
6. Connect the individual phases to L1,
L2, and L3 on the power supply ter-
minal.
7. Connect the PE protective conductor to
.
5.2.3 Installing an optional load-
shedding relay
If required, a load-shedding relay that con-
forms with current standards can be con-
nected to the product. The role of the re-
lay is to switch off other power consumers
while hot water is being drawn off via the
product so that the house installation is not
overloaded. The load-shedding relay must
fulfil the following criteria:
–
Pull-in current < 15 A
–
Continuous current > 50 A
▶
Install the load-shedding relay in the L2
outer conductor.
▶
If the product is a replacement product,
also replace the load-shedding relay.
6 Start-up
6.1 Removing air pockets from the
product
Caution.
Risk of damage from heating
wire dry fire
Air pockets in the pipes may
lead to dry fire on the heating
wires during start-up.
▶
Draw off water using the
product to remove any air
pockets before starting up.
1. Disconnect the product from the power
supply.
2. Open the cold-water isolation valve in
the cold water pipe.
3. Open the domestic hot water isolation
valve for at least one minute.
4. Close and open the domestic hot water
draw-off valve several times.
Note
In normal operating mode,
the product will not need to be
purged again.
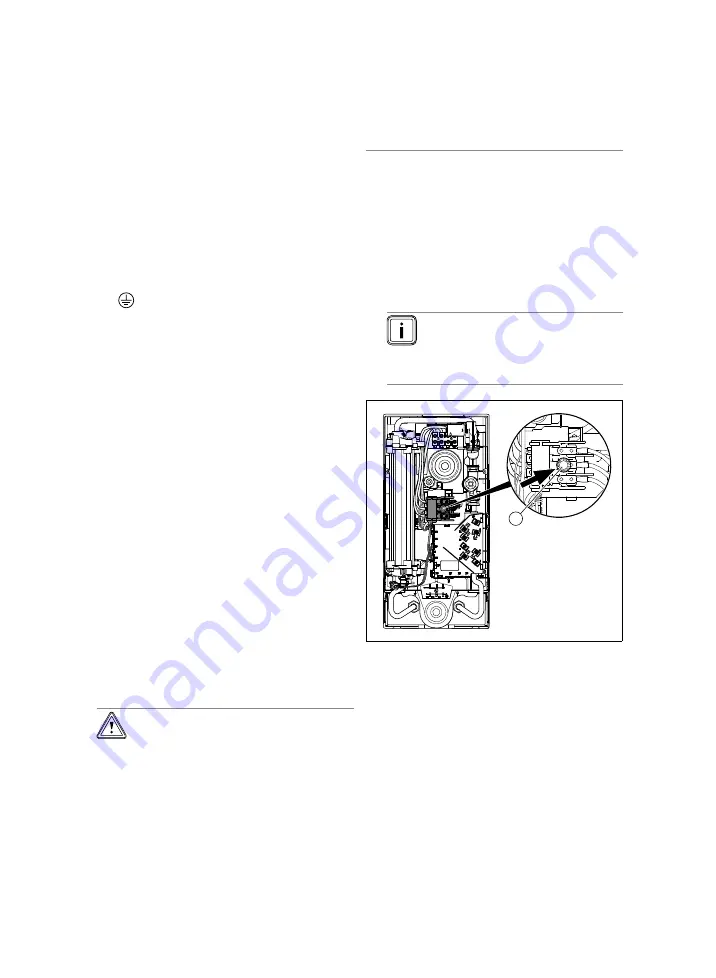
1
5. Press the safety switch
(1)
.
Summary of Contents for 0010023755
Page 113: ...9 Supplier 250 Country specifics electronicVED exclusive 0020288446_00 www vaillant si...
Page 114: ...0020288446_00 electronicVED exclusive Country specifics 251...
Page 115: ...252 Country specifics electronicVED exclusive 0020288446_00...
Page 116: ...0020288446_00 electronicVED exclusive Country specifics 253...


