Start-up 8
0020149486_04 auroFLOW plus Installation and maintenance instructions
21
4.
Press
.
8.2.5
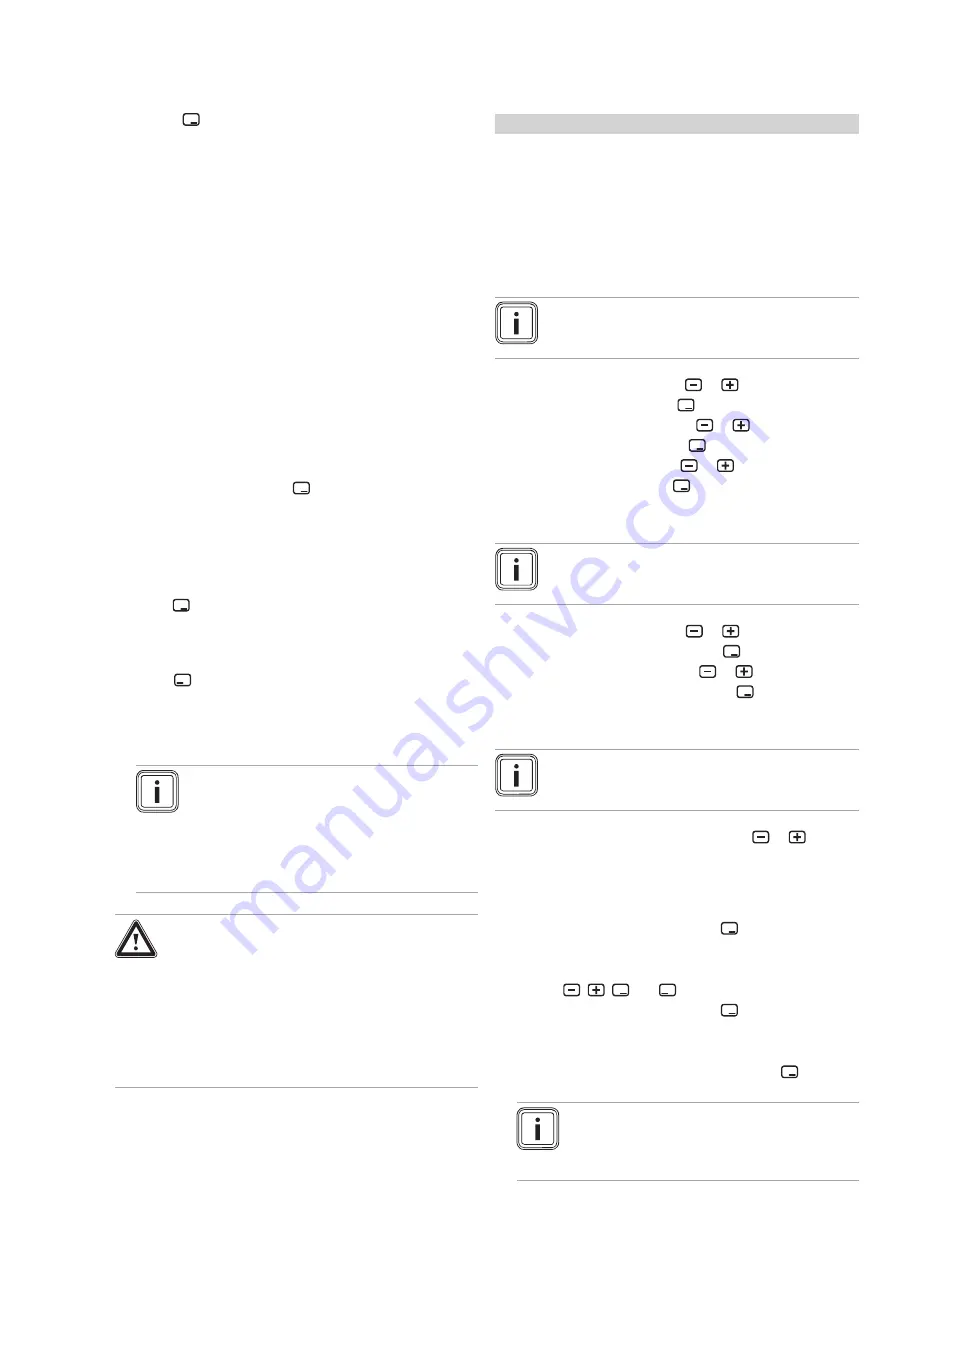
Filling the solar circuit
Each time the solar system starts up again, the solar pump
must run at increased power for a while until the solar line
to the collector field and the collector field is filled with solar
fluid and the solar fluid flows back to the solar charger (filling
phase).
After the specified filling time, depending on the size of the
system, the solar control reduces the rotational speed of the
solar pump to a lower level suitable for ongoing operation.
The length of the filling phase (filling time) depends on the
number of connected collectors. The default setting is for a
filling time of 60 seconds plus an additional 20 seconds per
collector.
The filling time is also dependent, however, on line cross-
sections, the number of elbows and the vertical height
between the highest and lowest point of the solar system.
The filling time must therefore be adjusted as required. The
filling time can be set between 10 seconds and 10 minutes.
▶
Start the filling phase with
.
▶
While the solar pump is running, check to see whether
the solar fluid is flowing back into the storage tank.
When the solar pump is idle again, "Test OK" is shown on
the display.
▶
If you cannot see fluid flowing back into the storage tank,
press
.
▶
Set a longer filling time.
▶
Wait until all the solar fluid has flowed back into the stor-
age tank.
▶
Press
.
▶
Start the filling phase.
▶
Repeat the filling loop until you can see fluid flowing back
into the storage tank.
Note
For the VPM 30 D: It may be that the solar
fluid level is not adjusted quickly enough
between the two storage tanks and that the
solar pumps suck in air. In the installer level,
you can adjust the filling power (
→
Page 24)
and set a compensation time (
→
Page 24).
Danger!
Risk of personal injury due to incorrect
pressure compensation.
Solar fluid or hot vapour escaping from the
purging valve may cause serious scalding.
▶
The following instruction must be followed
when carrying out the pressure compens-
ation.
▶
If you open the purging valve while the solar pump is
running, you must do so carefully.
◁
Some solar fluid may be emitted under pressure from
the hose.
◁
After this, air can be heard being drawn into the solar
system.
Conditions
: The solar pump will continue to run.
▶
Once air has stopped being drawn in after a few
seconds, close the purging valve.
▶
Open the filling connection and drain the solar fluid until
the fluid level reaches the '2' mark.
▶
Seal the filling connection.
▶
Disconnect the filling pump.
8.2.6
Setting the date
Note
If a system controller has been connected, the
date can be set on the system controller.
1.
Set the desired year using
or
.
2.
Confirm the set year with
.
3.
Set the desired month using
or
.
4.
Confirm the set month with
.
5.
Set the desired day using
or
.
6.
Confirm the set day with
.
8.2.7
Setting the time
Note
If a system controller has been connected, the
time can only be set on the system controller.
1.
Set the desired hour using
or
.
2.
Confirm the set hour by pressing
.
3.
Set the desired minute using
or
.
4.
Confirm the set minute by pressing
.
8.2.8
Setting summer time
Note
If a system controller has been connected, sum-
mer time can only be set on the system controller.
1.
Set the desired operating mode using
or
.
–
On:
The time is permanently displayed as summer
time (daylight saving time).
–
Off:
The time is permanently displayed as winter
time.
2.
Confirm this change by pressing
.
8.2.9
Setting contact data
1.
Press
,
,
and
to set your telephone number.
2.
Confirm this change by pressing
.
8.2.10 Completing the installation assistant
▶
To complete the installation assistant, press
.
Note
Once the installation assistant has been com-
pleted and confirmed, it will not start up auto-
matically next time the unit is switched on.


