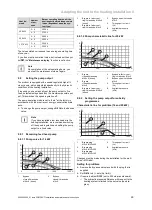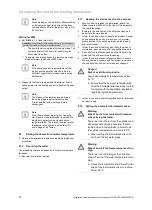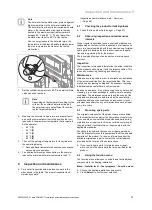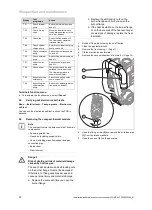
7 Start-up
26
Installation and maintenance instructions auroCOMPACT 0020233500_01
7.16
Checking and adjusting the gas setting
7.16.1 Checking the gas connection pressure (gas
flow pressure)
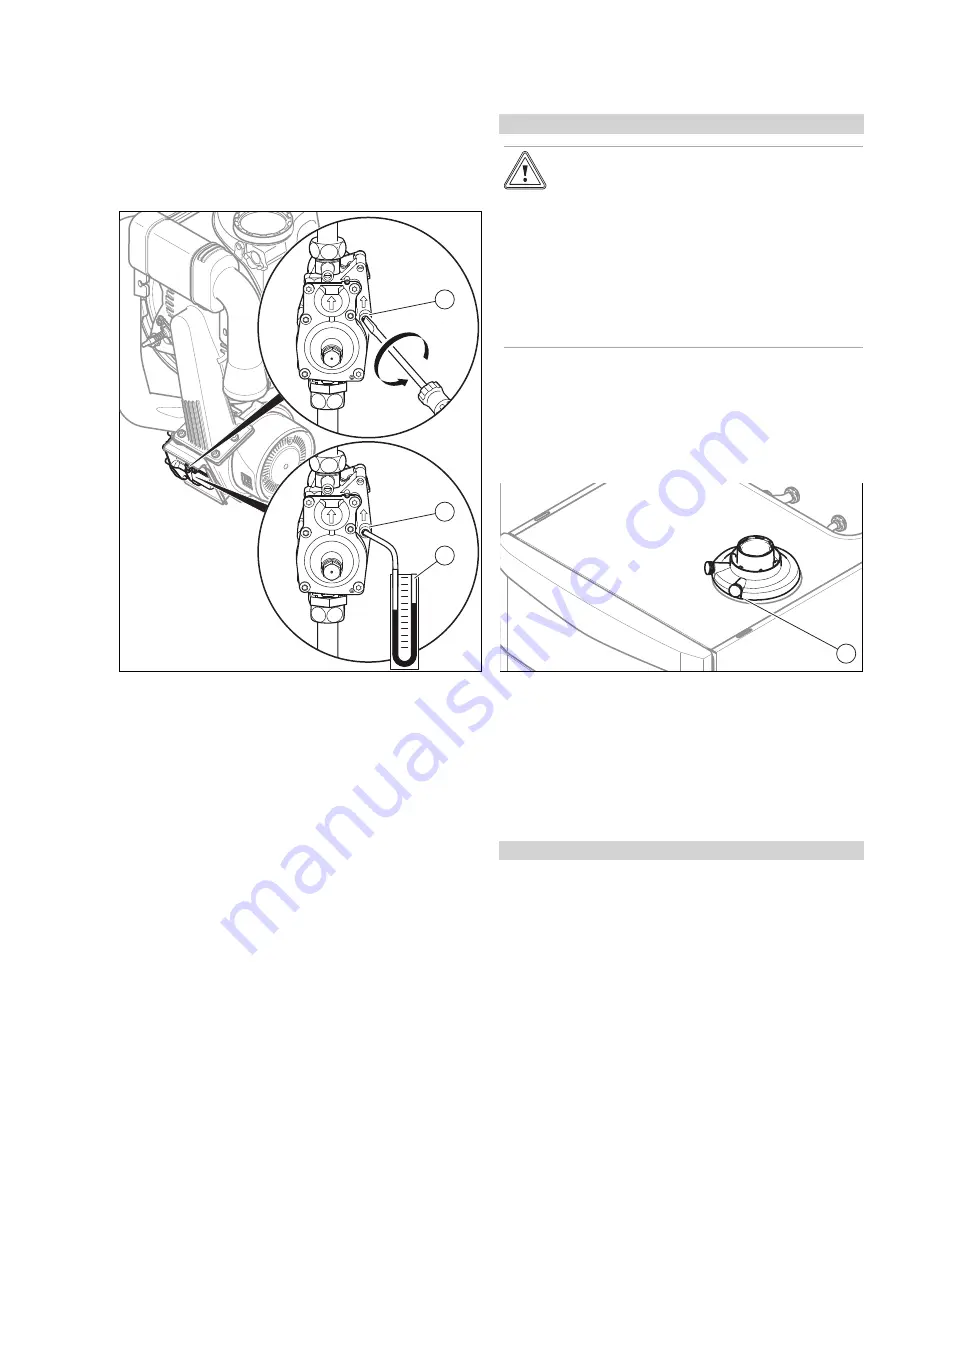
1.
Close the gas isolator cock.
1
1
2
2.
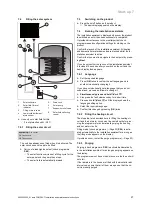
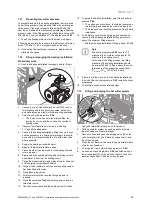
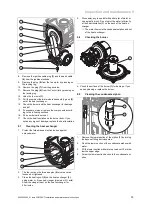
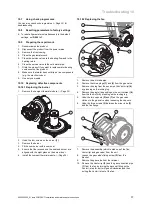
Use a screwdriver to undo the sealing screw on the gas
valve's measuring connection
(1)
(bottom screw).
3.
Connect a pressure gauge
(2)
to the measuring nipple
(1)
.
4.
Open the gas isolator cock.
5.
Start up the product with the check programme
P.01
.
6.
Measure the gas connection pressure against atmo-
spheric pressure.
–
Permissible gas connection pressure for opera-
tion with G20 natural gas: 1.7 … 2.5 kPa
–
Permissible gas connection pressure for opera-
tion with G25 natural gas: 1.8 … 2.5 kPa
–
Permissible gas connection pressure for opera-
tion with G31 liquid gas: 4.25 … 5.75 kPa
7.
Switch off the product.
8.
Close the gas isolator cock.
9.
Remove the pressure gauge.
10. Tighten the screw on the measuring nipple
(1)
.
11. Open the gas isolator cock.
12. Check the measuring nipple for gas tightness.
Conditions
: Gas connection pressure
not
in the permissible range
Caution.
Risk of material damage and operating
faults caused by incorrect gas connec-
tion pressure.
If the gas connection pressure lies outside
the permissible range, this can cause oper-
ating faults in and damage to the product.
▶
Do not make any adjustments to the
product.
▶
Do not start up the product.
▶
If you are unable to remedy the fault, contact the gas
supply company.
▶
Close the gas isolator cock.
7.16.2 Checking the CO
₂
content and, if necessary,
adjusting it (air index setting)
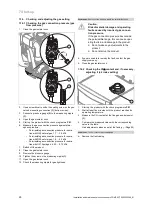
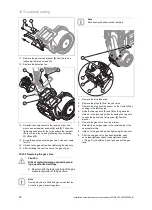
1
1.
Start up the product with the check programme
P.01
.
2.
Wait at least five minutes until the product reaches its
operating temperature.
3.
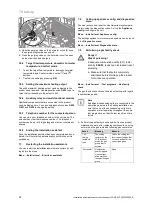
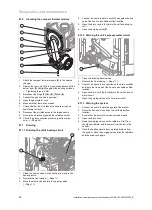
Measure the CO
₂
content at the flue gas analysis point
(1)
.
4.
Compare the measured value with the corresponding
value in the table.
Gas adjustment values as set at the factory (
→
Page 54)
Conditions
: The CO
₂
content must be adjusted
▶
Remove the front casing.


