Instructions for Use, Installation and Servicing ecoMAX pro
32
15 Combustion analysis
16 Fault finding
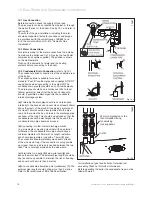
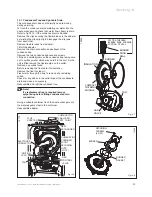
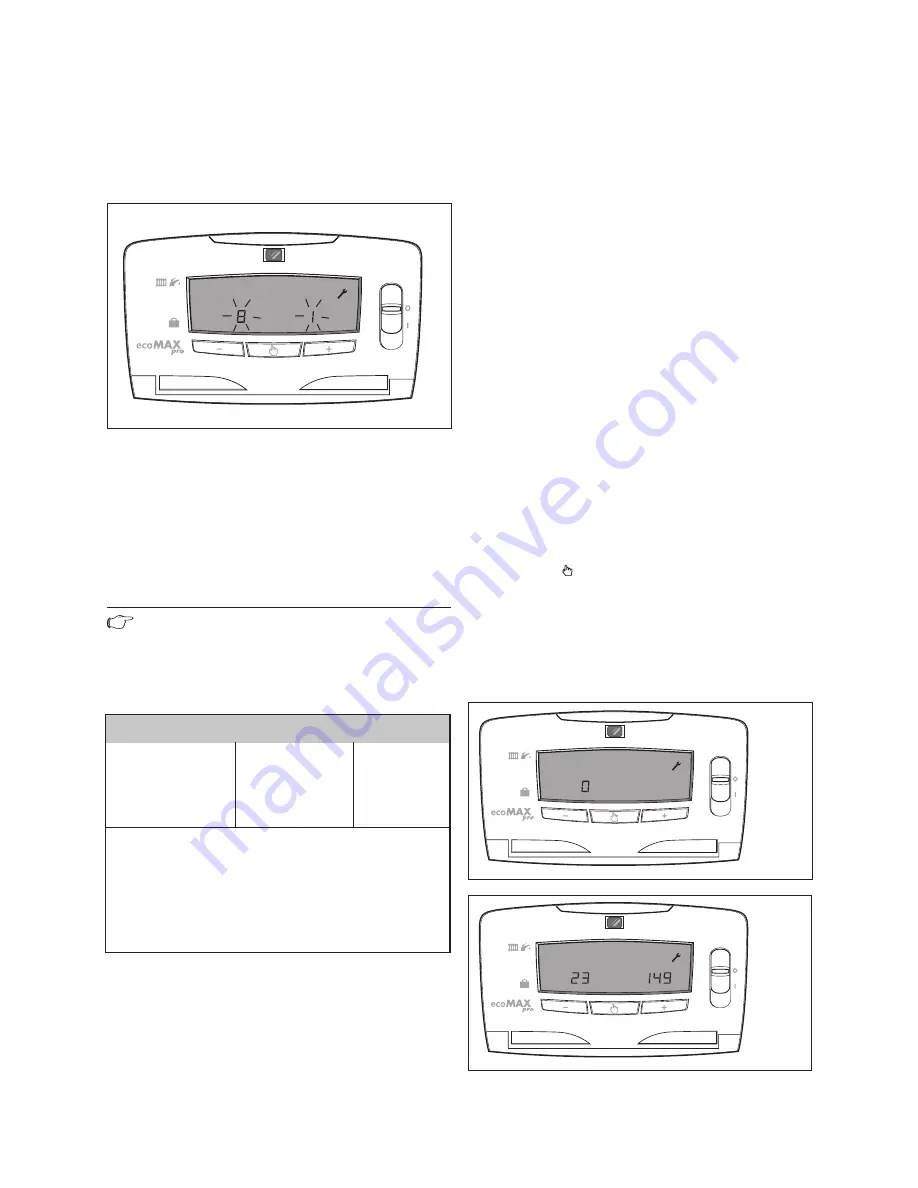
Again in screen ‘8’, Set the appliance fan speed/burner to
minimum by pressing the ‘-‘ key until ‘1’ (burner to Pmin)
is shown on the right hand side of the screen. Press the
‘mode’ button again.
* ecoMAX pro 28E only - for LPG see page 23
Fig 15.5
12706
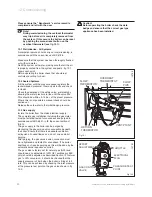
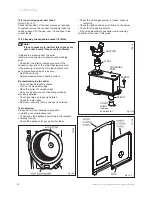
Check the CO2 value, which should be 8.8 % ± 0.2 %. If
adjustment proves necessary then proceed as follows.
Adjustment of the CO2 at minimum rate is very
coarse, so carefully adjust the CO2 with the (‘B’) offset
adjustment using a 2mm allen key to 8.8 %, (rotate
clockwise to increase).
After checking the combustion, press and hold the ‘mode’
button for 10 seconds to return to the normal mode,
showing the current flow temperature. Replace the cap
on the sampling point and refit the outer front case.
Note!
Depending on the time to take the readings, the
display may default back to the normal mode, it
may be necessary to repeat steps 3,4 and 5 to
adjust the appliance fan speed/burner.
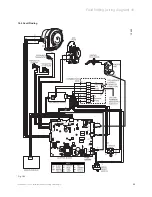
Fault Finding
Logical fault finding procedure
These checks must be carried out before attempting to
use the fault finding guide.
1. Carry out electrical safety checks (see section
‘preliminary electrical checks’ 11.2).
2. Check that the external electricity supply to the boiler is
on, and a supply of 230V is present at the boiler
terminal strip.
3. Check that the gas supply to the boiler is on, that it
has been correctly purged and that an inlet pressure of
20mbar is available at the gas valve (see section ‘gas
supply’ 12.3).
4. Check that the main on/off control is set to the ‘on’
position.
5. Set the central heating temperature to maximum.
6. Check that all external controls are on and calling for
heat.
7. Check that all manual circuit controls ie. bypass,
radiator valves are correctly adjusted.
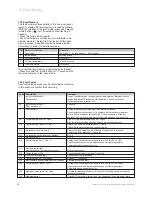
16.1 Status Mode
A series of status mode screens are available for current
boiler operating information.
To display the status mode, proceed as follows:
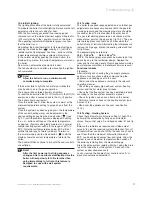
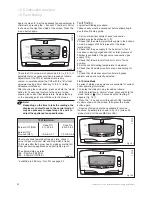
• With the interface in ‘normal’ mode, press and hold the
‘mode’ button (
) for 10 seconds until a flashing ‘0’
appears (fig. 16.1).
• Press the ‘-‘ key and scroll through until ‘96’ (installer
mode) is shown on the screen, then press the ‘mode’
button again.
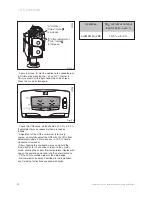
• A series of screens are then available for service
functions. An example is shown in fig 16.2 (screen 23
‘product code’ for the ecoMAX pro 18E).
Fig 16.1
12713
Fig 16.2
12714
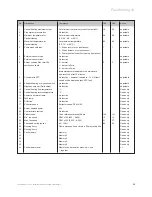
TESTING GAS
Case Off
Case On
Burner CO2 (G20)
9.1+0.2-0.5
9.3+0.3-0.5
Burner CO2
Propane (G31)
10.5+0.3-0.7
10.7+0.3-0.8
Should any doubt exist about the gas rate, check it
using the gas meter test dial and stop watch at least
10 minutes after the burner has lit, making sure that all
other gas burning appliances and pilot lights are off.
The approximate gas rates:
18E : 2.0m3/h (70.6ft3/h)
28E : 3.02m3/h (107ft3/h)
Table 15.1
Summary of Contents for ecoMAX pro 18E
Page 37: ...Instructions for Use Installation and Servicing ecoMAX pro 37 Declaration of Conformity 17...
Page 38: ...Instructions for Use Installation and Servicing ecoMAX pro 38...
Page 39: ...Instructions for Use Installation and Servicing ecoMAX pro 39...
Page 40: ...0020005557_04 GB 08 2006 Subject to alteration...

