5 Installation
16
Installation and maintenance instructions ecoTEC plus 0020261188_00
4.
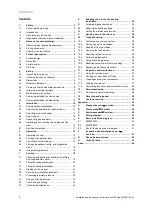
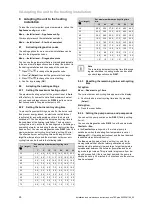
Connect the heating circuit to the connections for the
heating flow and return.
5.
Install an expansion vessel in the heating return
(6)
, as
close to the product as possible.
–
Ensure that the volumetric capacity of the expansion
vessel is sufficient for the system volume.
5.5.4
Connecting the drainage devices
Caution.
Risk of water flowing out below the
product
The water drains for the rainwater collecting
device and the dynamic air separation sys-
tem are not connected to the waste-water
outflow, but water may escape.
▶
Do not place any electrical units or objects
that may be damaged by water below the
product.
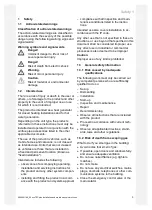
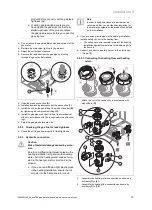
5.5.4.1 Connecting the drain pipework for the
expansion relief valve
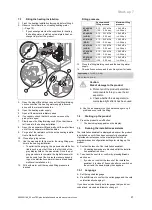
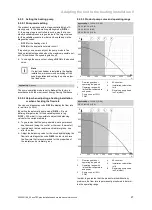
1
1.
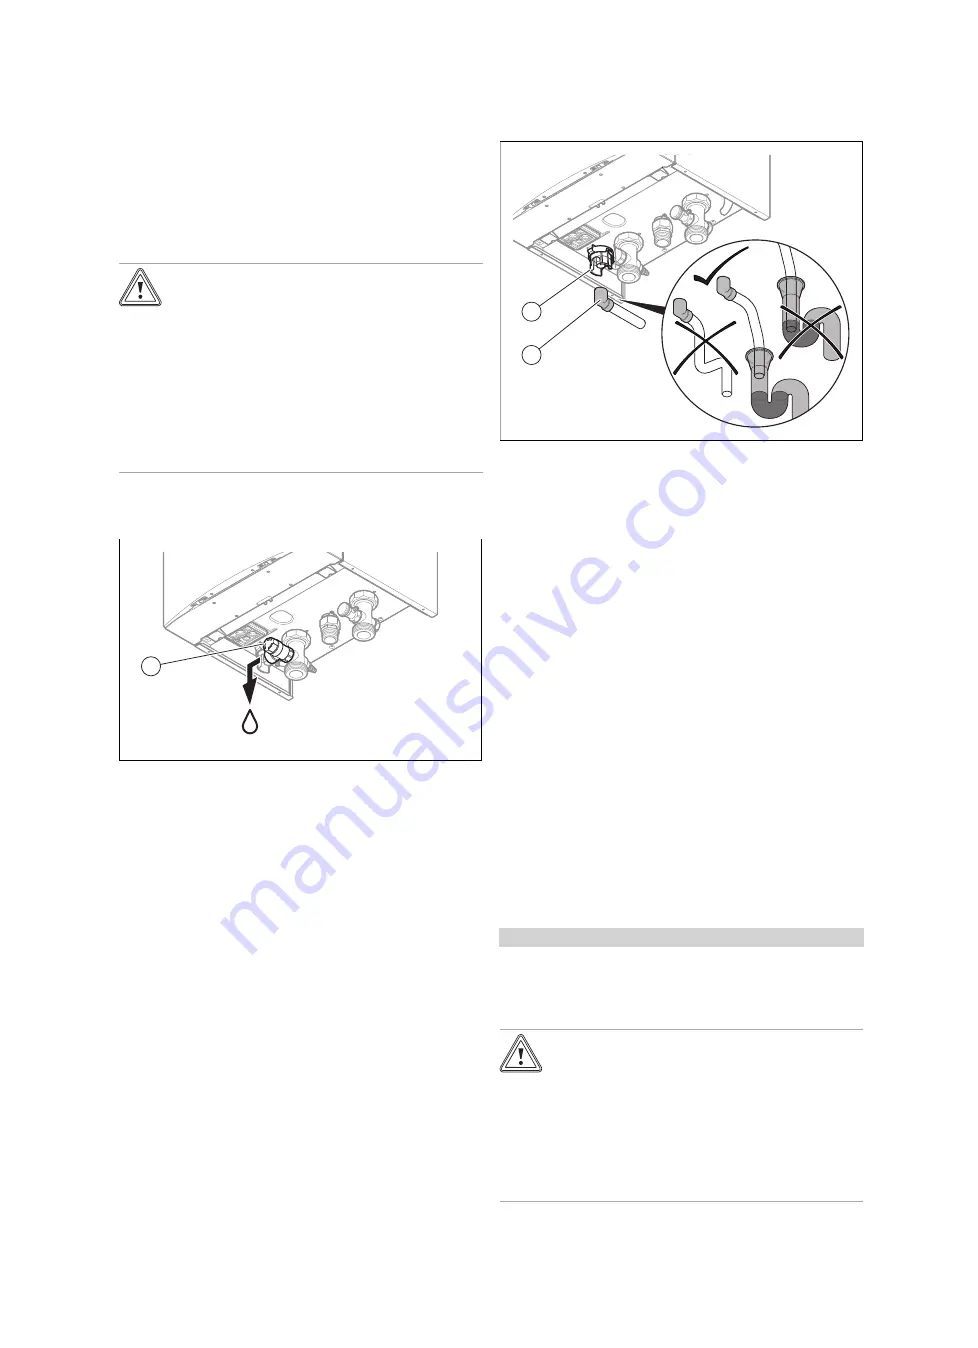
Connect the expansion relief valve
(1)
to a suitable
draining circuit. Make sure that the drain hose remains
open to the surrounding air.
2.
Lay drain pipework for the expansion relief valve that is
as short as possible, at a downward gradient.
3.
Terminate the drain pipework in such a way that escap-
ing water or steam cannot cause injury to persons or
damage to electronic components.
4.
Make sure that the line end is visible.
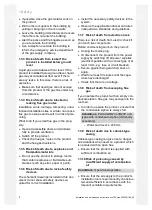
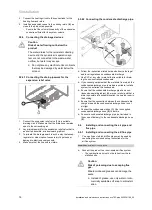
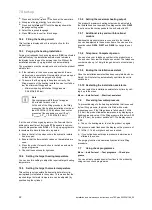
5.5.4.2 Connecting the condensate discharge pipe.
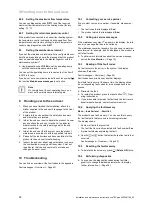
1
2
▶
Follow the instructions listed here and observe the legal
and local regulations on condensate discharge.
▶
Use PVC or any other material that is suitable for drain-
ing the non-neutralised condensate.
▶
If you cannot guarantee that the materials from which the
condensate discharge pipe is made are suitable, install a
system to neutralise the condensate.
▶
Ensure that the condensate discharge pipe has a con-
tinuous downward gradient (45 mm per metre) and that a
drain is possible at a suitable location in a heated room in
the building.
▶
Ensure that the connection between the condensate dis-
charge pipe and the condensate discharge hose is not
air-tight.
▶
Connect the condensate siphon
(1)
. Use the supplied
condensate discharge hose
(2)
to do this.
▶
Connect a condensate discharge pipe (not included in
the scope of delivery) to the condensate discharge hose
(2)
.
5.6
Installing and connecting the air pipe and
flue pipe
5.6.1
Installing and connecting the air/flue pipe
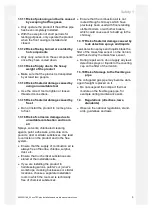
1.
You can find out which air/flue pipes may be used by
consulting the enclosed set-up instructions for the
air/flue system.
Conditions
: Installation in damp rooms
▶
Connect the product to a room-sealed air/flue system.
–
The combustion air must not be taken from the in-
stallation site.
Caution.
Risk of poisoning due to escaping flue
gas.
Mineral-oil-based greases can damage the
seals.
▶
Instead of grease, use only water or com-
mercially available soft soap to aid install-
ation.

