12 Troubleshooting
26
Installation and maintenance instructions HOME 0020224355_00
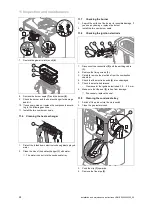
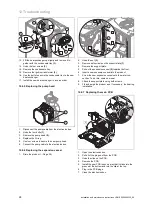
11.13 Installing the gas-air mixture unit
1.
Install the burner.
2.
Install the gas-air mixture unit.
3.
Install the air intake pipe.
4.
Install the flue pipe.
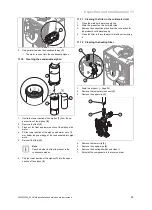
11.14 Draining the product
1.
Close the service valves of the product.
2.
Start check programme P.05 (
→
Page 16).
Check programmes
–
Overview (
→
Page 30)
3.
Open the drain cock.
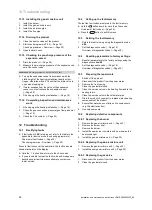
11.15 Checking the pre-charge pressure of the
expansion vessel
1.
Drain the product. (
→
Page 26)
2.
Measure the pre-charge pressure of the expansion ves-
sel at the vessel valve.
Conditions
: Pre-charge pressure < 0.075 MPa (0.75 bar)
▶
Top up the expansion vessel in accordance with the
static height of the heating installation, ideally with ni-
trogen, otherwise with air. Check that the drain valve is
open when topping up.
3.
If water escapes from the valve of the expansion
vessel, you must replace the expansion vessel
(
→
Page 28).
4.
Fill and purge the heating installation. (
→
Page 18)
11.16 Completing inspection and maintenance
work
1.
Fill and purge the heating installation. (
→
Page 18)
2.
Check the gas connection pressure (gas flow pressure).
(
→
Page 19)
3.
Check the CO
₂
content. (
→
Page 22)
12 Troubleshooting
12.1
Rectifying faults
▶
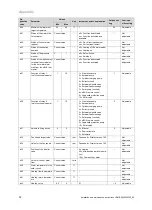
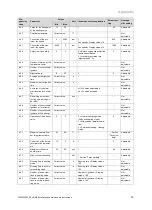
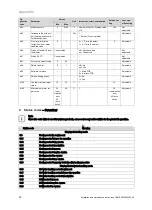
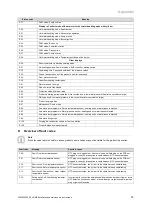
If fault codes (F.
XX
) are present, refer to the table in the
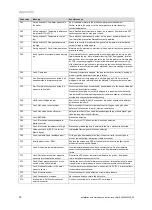
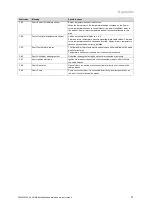
appendix for advice or use the check programme(s).
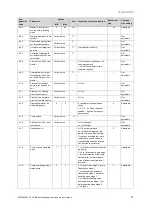
Overview of fault codes (
→
Page 35)
Check programmes
–
Overview (
→
Page 30)
If several faults occur at the same time, the fault codes are
shown alternately on the display.
▶
Hold the
button down for more than 3 seconds.
▶
If you are unable to clear the fault code and it reappears
despite several fault clearance attempts, contact cus-
tomer service.
12.2
Calling up the fault memory
The last ten fault codes are stored in the fault memory.
▶
Hold the
button down for more than 7 seconds.
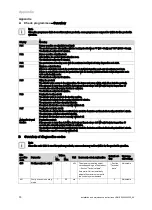
Overview of fault codes (
→
Page 35)
▶
Press the
button to exit this menu.
12.3
Deleting the fault memory
1.
Delete the fault memory using the diagnostics code
d.94
.
2.
Set the diagnostics code. (
→
Page 15)
Overview of diagnostics codes (
→
Page 30)
12.4
Resetting parameters to factory settings
1.
Reset all parameters to the factory settings using the
diagnostics code
d.96
.
2.
Set the diagnostics code. (
→
Page 15)
Overview of diagnostics codes (
→
Page 30)
12.5
Preparing the repair work
1.
Switch off the product.
2.
Disconnect the product from the power mains.
3.
Remove the front casing.
4.
Close the gas isolator cock.
5.
Close the service valves in the heating flow and in the
heating return.
6.
Close the service valve in the cold water pipe.
7.
Drain the product if you want to replace water-bearing
components of the product.
8.
Ensure that water does not drip on live components
(e.g. the electronics box).
9.
Use only new seals.
12.6
Replacing defective components
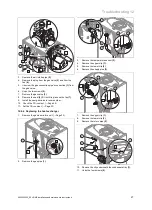
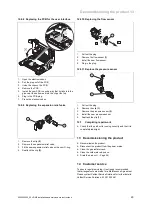
12.6.1 Replacing the burner
1.
Remove the gas-air mixture unit. (
→
Page 23)
2.
Remove the burner seal.
3.
Remove the burner.
4.
Install the new burner complete with new seal on the
heat exchanger.
5.
Install the gas-air mixture unit. (
→
Page 26)
12.6.2 Replacing the gas-air mixture unit
1.
Remove the gas-air mixture unit. (
→
Page 23)
2.
Install the new gas-air mixture unit (
→
Page 26).
12.6.3 Replacing the gas valve
1.
Disconnect the product from the power mains.
2.
Close the gas isolator cock.
Summary of Contents for home combi
Page 51: ......

