Set-up 4
0020188110_03 recoVAIR Installation and maintenance instructions
9
4.4
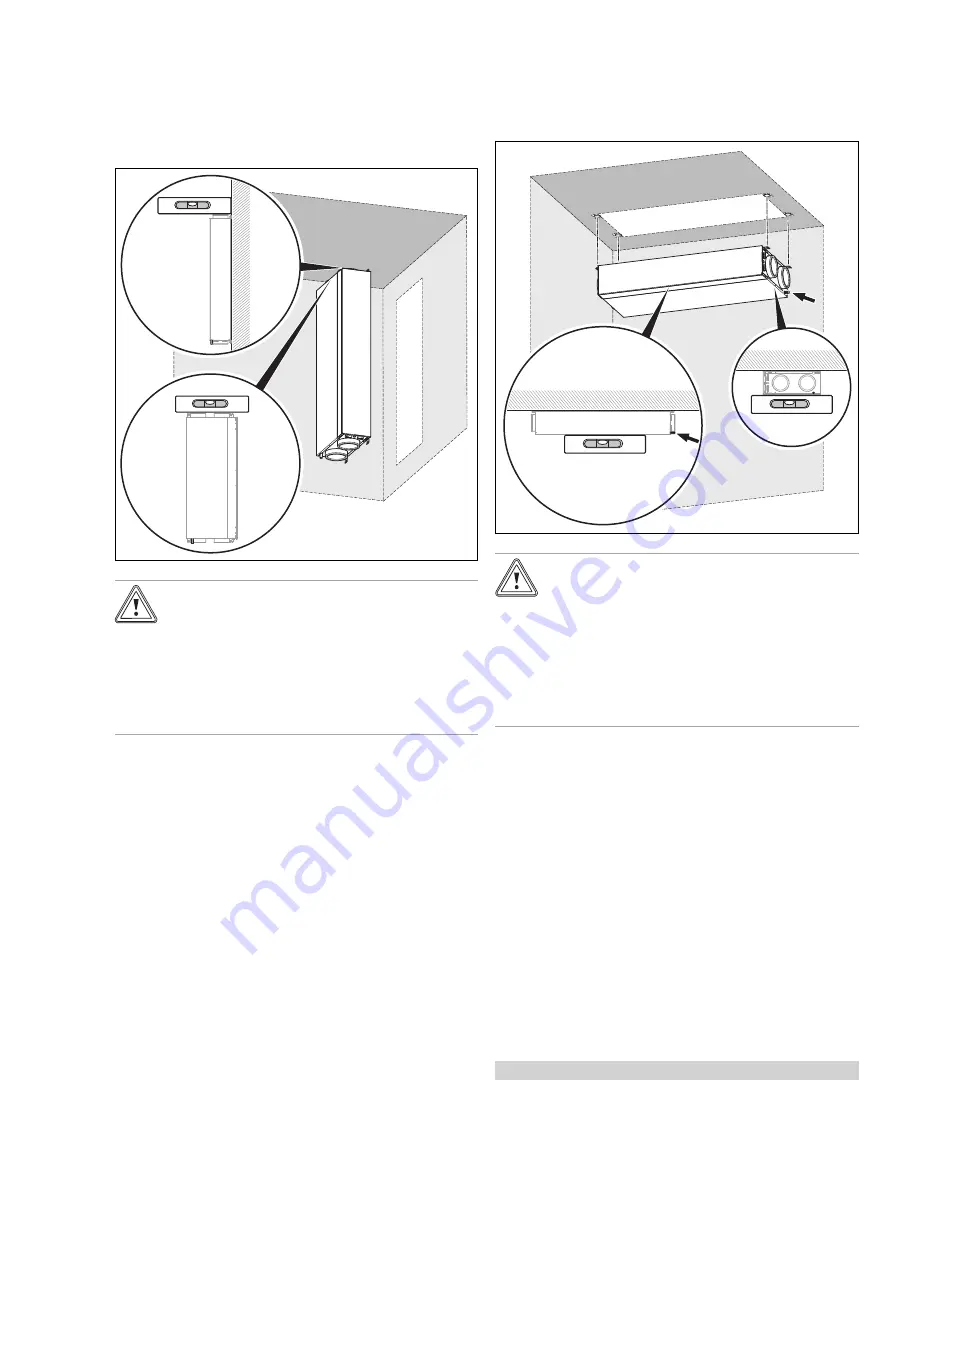
Installing the product
4.4.1
Installing the product on the wall
Caution.
Risk of material damage caused by con-
densate.
If the condensate cannot drain from the
product, this may damage the product.
▶
Install the product such that the condens-
ate drain pipe points downwards.
1.
Drill the holes for the fixing screws.
–
Drilled holes (
→
Page 6): 4
2.
Insert the rawl plugs into the drilled holes.
3.
Screw two fixing screws halfway into two drilled holes
(on the product side with the condensate drain pipe).
4.
Position the lower screw openings of the product onto
the fixing screws and press the product against the wall.
5.
Insert two fixing screws into the upper drilled holes and
screw the product in tightly.
6.
Screw the lower fixing screws in tightly.
4.4.2
Installing the product on the ceiling
Caution.
Risk of material damage caused by con-
densate.
If the condensate cannot drain from the
product, this may damage the product.
▶
Install the product such that the side of the
product with the condensate drain pipe
has a downward gradient.
1.
Drill the holes for the fixing screws.
–
Drilled holes (
→
Page 6): 4
2.
Insert the rawl plugs into the drilled holes.
3.
Screw two fixing screws halfway into two drilled holes
(on the product side with the condensate drain pipe).
4.
Position the screw openings of the product onto the
fixing screws to mount it.
5.
Press the product against the ceiling and hold it in
place.
6.
Insert two fixing screws into the two other drilled holes
and screw the product in tightly.
7.
Screw the remaining fixing screws in tightly.
–
Product position: Horizontal, with no downward
gradient
4.4.3
Turning the display and operator control
elements
Conditions
: Product is wall-mounted
▶
Open the product. (
→
Page 11)
▶
Loosen the cable connection at the display.
▶
Press the display out of the holding frame.
▶
Press the holding frame out of the cut-out in the operator
control screen.


