Introduction to the HMT140
M211488EN-E
11
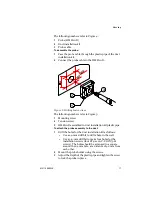
The following numbers refer to Figure 1:
1
HMT140 enclosure
2
Cable bushing: cable gland.
3
Probe cable
4
HMP110D
probe
5
Plastic grid filter
Installation Kit
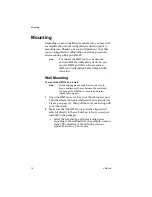
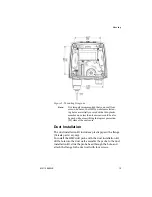
The HMT140 is typically installed mounted on the wall with
up to four screws (not included). See Figure 2 on page 15.
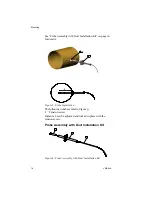
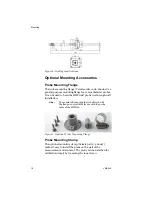
For duct mounting, Duct Installation Kits are available as
accessories. See Options and Accessories, on page 9.
To help you position the screws correctly, use the Drilling
Template, available inside the back cover of the Quick Guide.
HMT140 Utility and Configuration Cable
To connect an HMT140 to your network, you will need to
install the HMT140 Utility software and connect the
HMT140 to your PC with the configuration cable (see,
Connecting to your Network, on page 24).
Summary of Contents for HUMICAP HMT140
Page 1: ...86 5 6 GUIDE Vaisala HUMICAP Humidity and Temperature HMT140 Wi Fi Data Logger M211488EN E...
Page 10: ...Regulatory Compliances 6 VAISALA...
Page 16: ...Introduction to the HMT140 12 VAISALA...
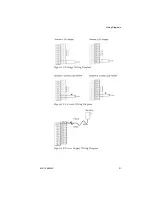
Page 26: ...Wiring Diagrams M211488EN E 23...
Page 56: ...Appendix Specifications and Troubleshooting 54 VAISALA HMT140 Dimensions Fixed Probe...
Page 57: ...M211488EN E 55 HMT140 Dimensions Remote Probe...
Page 70: ...www vaisala com M211488EN...


