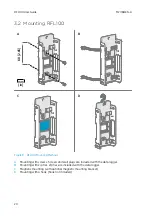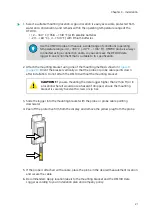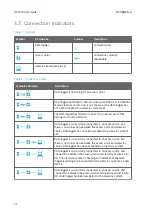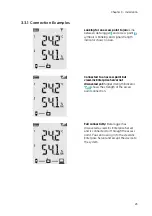
Measurement and data logging is not affected by the release procedure. Existing
data will remain unaffected on the data logger. All remotely managed RFL100
settings will be reset to defaults: threshold alarm indicators will be cleared, and
display and LED will turn on if they have been remotely turned off.
1. Remove the data logger from the mounting bracket.
2. Open the battery cover of the data logger.
3. Press the
Release
button using a pen or a small screwdriver.
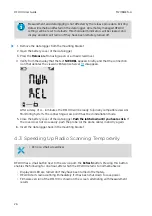
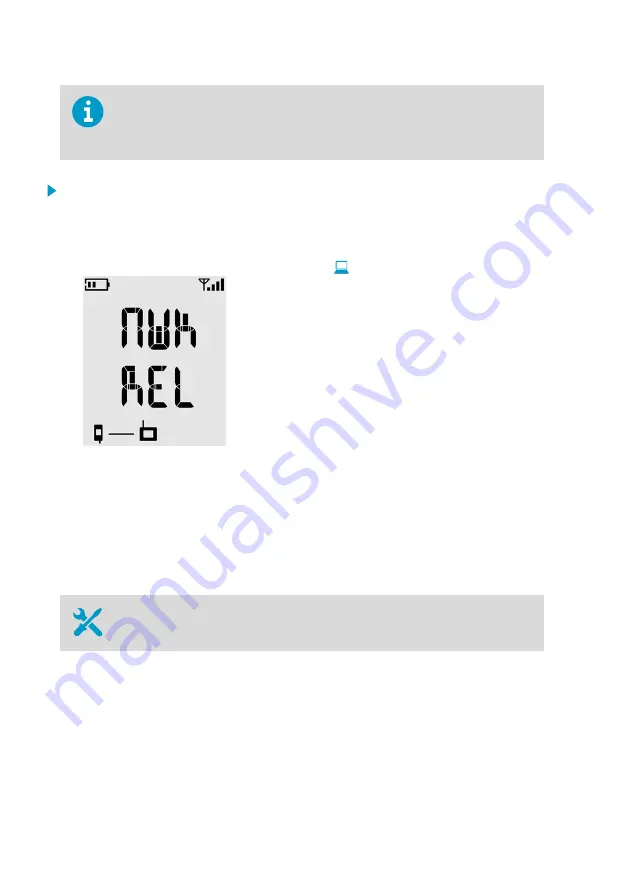
4. Verify from the display that the text
NWK REL
appears briefly, and that the connection
icon that denotes the viewLinc Enterprise Server disappears.
After a delay of 4 … 6 minutes, the RFL100 will be ready to join any compatible viewLinc
Monitoring System. The connecting access point must be in installation mode.
5. Close the battery cover of the data logger.
Push the latch down until you hear a click.
If
the cover does not close easily, push the probe (or the probe cable) in and try again.
6. Insert the data logger back in the mounting bracket.
4.3 Speeding Up Radio Scanning Temporarily
• Pen or a small screwdriver
RFL100 has a small button next to the service port: the
Refresh
button. Pressing this button
enables the following for one hour, after which the RFL100 returns to normal behavior:
• Display and LED are turned on if they have been turned off remotely.
• RFL100 starts radio scanning immediately if it has been shut down to save power.
• Firmware version of the RFL100 is shown on the screen, alternating with measurement
results.
RFL100 User Guide
M211861EN-A
26

