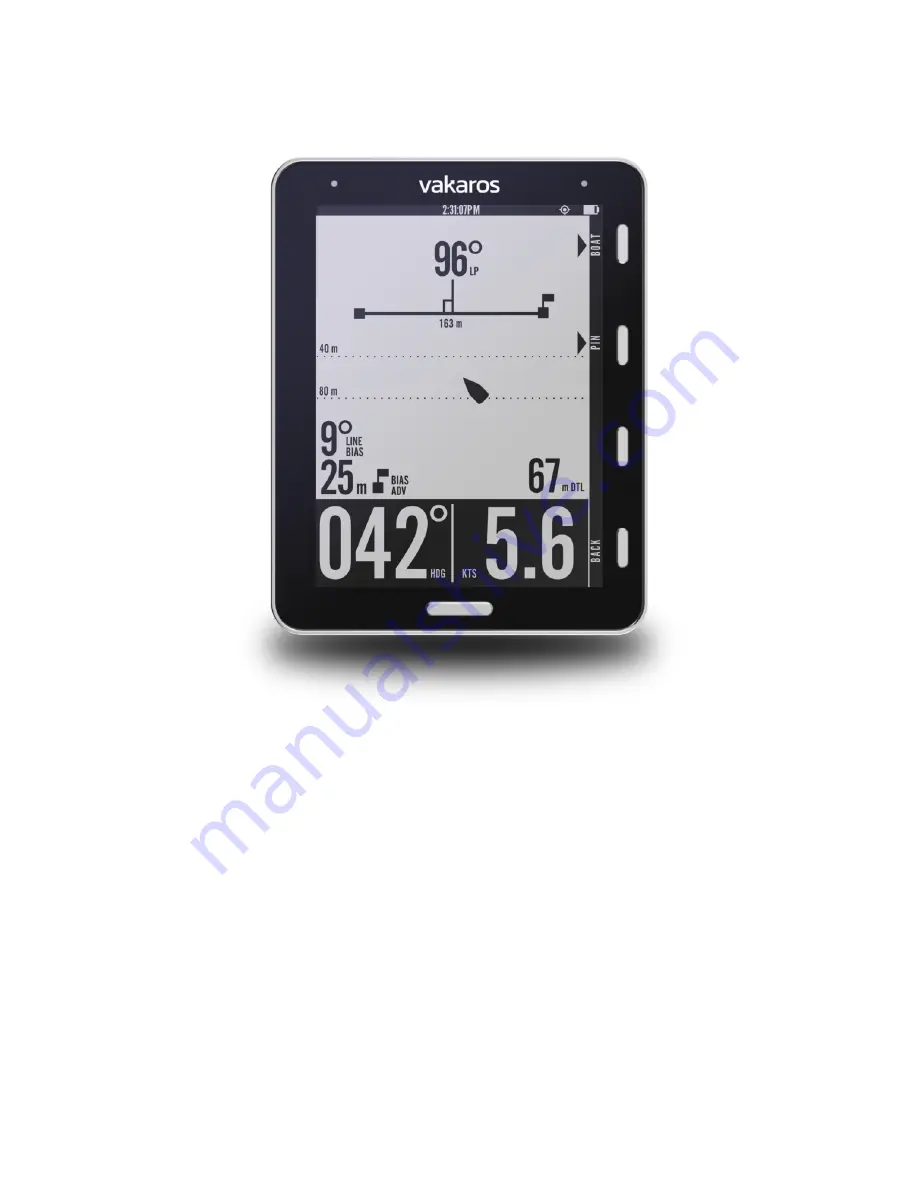
background image

Angle Menu — Shift tracking and reference angles

To set up shift tracking on the Atlas, press the ANGLE button to bring up the
ANGLE Menu. There are two options for setting port and starboard

reference

angles

, an automatic method and a manual method:

1.

Automatic method

Start automatic reference angle capture by pressing the AUTO button on the
ANGLE menu. The Atlas will walk you through sailing a short upwind leg,
recording data while you sail and determining your reference angles

automatically.

Follow the on-screen prompts, and in about a minute, you’ll be

all set to track shifts. In most conditions, this method will provide the best
results, as it minimizes the impact of small oscillations and waves, while

Summary of Contents for Atlas 1

Page 1: ...will receive many of the same software features via continuing updates Welcome to the future of sailing The Atlas is the culmination of years of work and the cornerstone of a growing ecosystems of sen...

Page 2: ...common functions are LINE ANGLE RESET and START LINE is used to set the starting marks see Line Menu below ANGLE is used to set and view reference angles for tracking shifts RESET and START control t...

Page 3: ...ng how steady the boat has been in heel and trim Other layouts are shown at right including the starting screen with the start timer and distance to line as well as a graphical starting screen which s...

Page 4: ......

Page 5: ...nd perpendicular heading Line bias and advantage information is displayed if shift tracking reference angles are set see below Exit the Line Menu by pressing the Back button or the Home button Once th...

Page 6: ...matic method Start automatic reference angle capture by pressing the AUTO button on the ANGLE menu The Atlas will walk you through sailing a short upwind leg recording data while you sail and determin...

Page 7: ...reen to record the current heading Keep in mind that an instantaneous snapshot can introduce some error in the reference angles We recommend checking your reference angles before every race and resett...

Page 8: ...running a velcro strap through the hole in the side The mount can be installed in either orientation with the release tab facing up or down Be sure that the release tab will be accessible with the At...

Page 9: ...pull on the quick release tab tilt the Atlas away from the mount to remove it For maximum mounting security tie a safety line to the lanyard loop on the bottom left corner of the Atlas In order to use...

Page 10: ...th Dampen cloth with water if necessary Don t leave the Atlas outdoors when not in use Don t leave the Atlas submerged in water for extended periods Vakaros Connect App Vakaros Connect is available in...

Page 11: ......

Reviews: