


Service manual
20
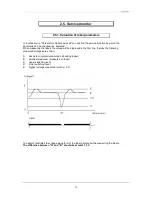
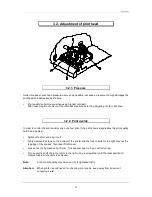
3.2. Adjustment of print head
3.2.1. Pressure
Avoid increase of print head pressure as much as possible, because a pressure too high damages the
print head and decreases its life time.
Print quality too faint (even when using highest contrast):
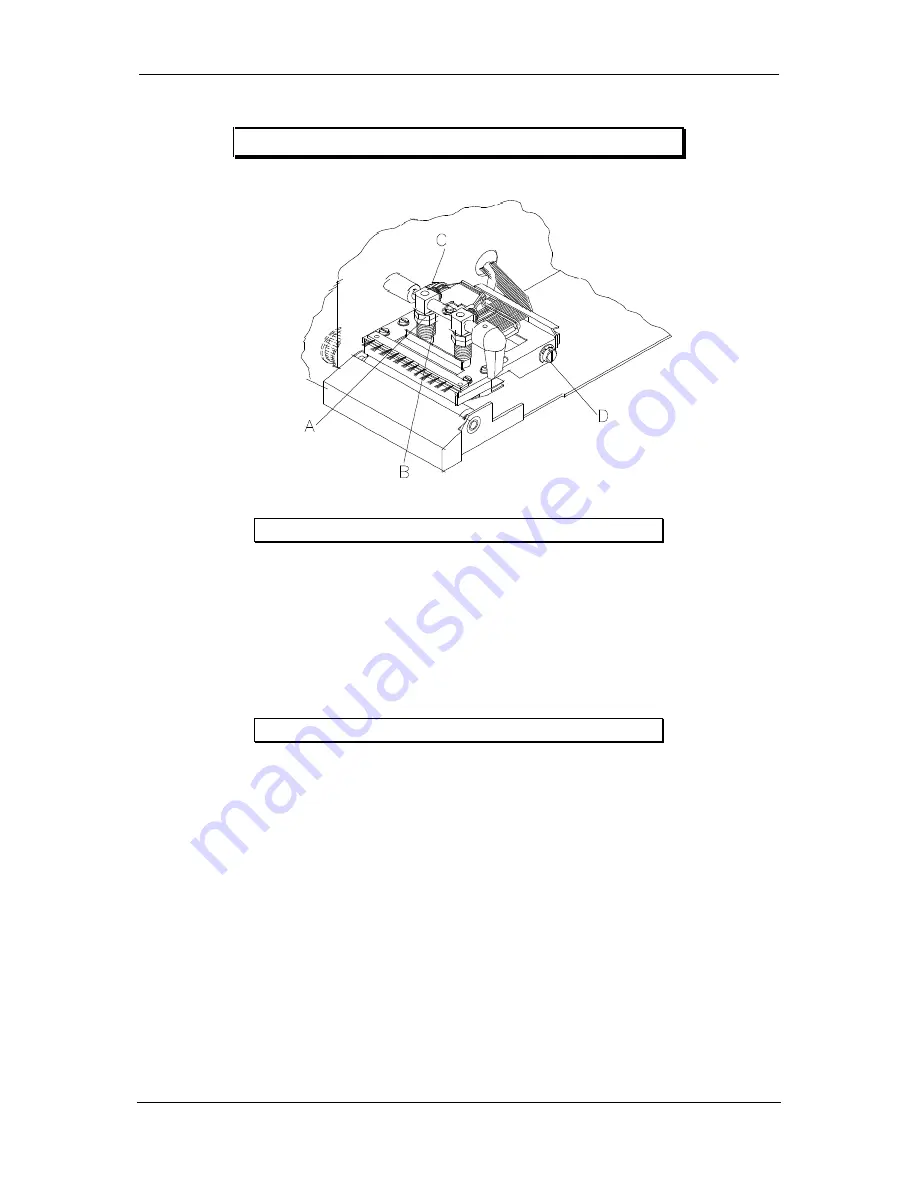
After loosening the counter nut (A), increase pressure by turning adjusting nut (B) clockwise.
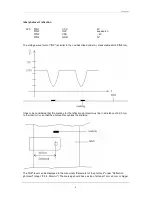
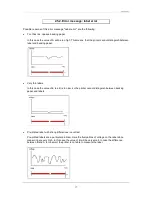
3.2.2. Print quality
In order to control the print quality carry out a test print. If the print shows irregularities the print quality
has to be adjusted.
Switch off printer and plug it out!
At first remove 2 screws on the bottom of the printer and the lock-in bolts for the right cover at the
top edge of the chassis, then take off left cover.
Loosen nut (C) by means of a 10 mm - fork spanner approx. by a quarter turning.
Turn eccentric shaft (D) to the left or to the right using a screwdriver until the ideal position for
irreproachable print quality is achieved.
Note:
Control print quality only when nut (C) is tightened firmly.
Attention:
When printer is switched on for checking print quality, keep away from all current
conveying parts!


