30
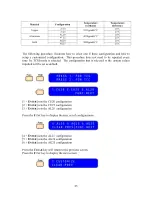
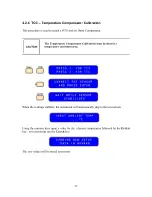
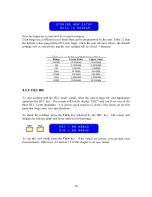
Now the limits are set and will be stored in memory.
Each range has a different set of limits that can be programmed by the user. Table 12 lists
the default values programmed for each range. Once the user sets new values, the default
settings will be overwritten and the user settings will be stored in memory.
Table 12 - Default Comparator Limits
Range
Lower Limit
Upper Limit
20m
Ω
10.000m
Ω
20.000m
Ω
.2
Ω
0.10000
Ω
0.20000
Ω
2
Ω
1.0000
Ω
2.0000
Ω
20
Ω
10.000
Ω
20.000
Ω
200
Ω
100.00
Ω
200.00
Ω
2k
Ω
1.0000k
Ω
2.0000k
Ω
20k
Ω
10.000k
Ω
20.000k
Ω
4.3.3 HLC ON
To start working with the HLC mode, simply select the correct range for your application
and press the HLC key. The screen will briefly display “HLC” and you’ll see one of the
three HLC LEDs illuminate. It is always good practice to check if the limits set for that
particular range meet your specifications.
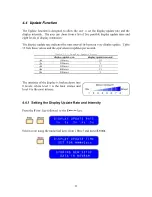
To check the readings, press the
V
IEW
key followed by the HLC key. The screen will
display the both the upper and lower limit set for that range.
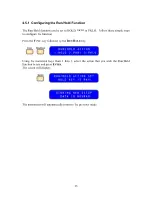
To exit the view mode, press the
V
IEW
key. If the values are correct, you can start your
measurements. Otherwise, see section 3.2 of this chapter to set new values.


