12
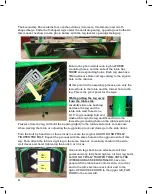
At this point in the assembly process, use the center
hole in the table and the leg.
Pull the leg away from the table
and slide one bushing between
the leg and the table side wall.
Take care when installing the
bushing to keep from
damaging the side decal. Insert
one 5/16” leg mounting bolt
and washer through the leg and thread it into the
upper leg mounting hole on the table’s side wall.
Repeat this process for the other leg, then tilt the
table to where the bolts just inserted face down and
the other side of the table faces up. The CPU
ACCESS DOOR should now be to the lower right, and
FAN DOOR should be to the upper right.
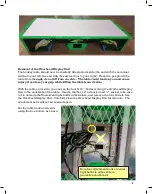
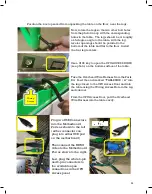
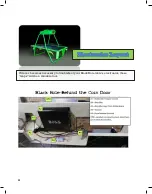
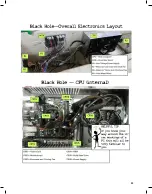
Use a #106 key to open the FAN DOOR (see photos)
on the bottom surface of the table.
Take the Overhead AC Harness from the Parts Kit.
Feed the end marked “TABLE SIDE / B” into the leg
closest to the Fan Door and into the table using the
Wiring Access Hole in the leg and cabinet.
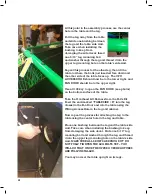
Now repeat the process for attaching the leg to the
table using the center hole in the leg and table.
Place one bushing between the leg and the table side
wall. Take care when installing the bushing to keep
from damaging the side decal. Slide one 5/16” leg
mounting bolt and washer through the leg and thread
it into the upper leg mounting hole on the table’s side
wall. MAKE SURE ALL 8 BOLTS ARE SNUG BUT DO
NOT FULLY TIGHTEN THE LEG BOLTS YET – YOU
WILL DO THAT ONCE THE UPPER OVERHEAD TUBES
ARE FULLY INSTALLED.
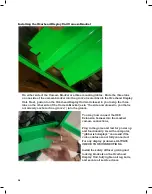
You may now set the table upright on its legs..


