Front Panel REM Lever
Replacement Procedures
Force EZ-C Series Service Manual
8-13
Front Panel REM Lever
1.
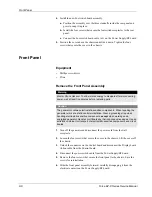
Remove the front panel assembly (observe all warnings and cautions). Refer
to
Front Panel
earlier in this section.
2.
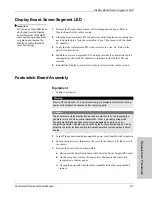
Remove the Display board.
a.
Remove the eight screws that secure the board to the front panel. Set the
screws and ground clips aside for reinstallation.
b.
Partially separate the Display board from the front panel and disconnect
the footswitch cable from the Display board.
3.
Note the orientation of the REM lever and spring assembly. Then, slide the
spring off the lever and remove the lever from the Display board.
4.
Install the new REM lever and spring.
a.
Install the lever on the Display board.
b.
Slide the new spring onto the lever, positioning it between the lever and
the board.
5.
Install the Display board.
a.
Position the Display board inside the front panel and connect the
footswitch receptacle cable to the connector on the Display board.
b.
Place the Display board over the standoffs, ensuring that the REM lever is
correctly positioned in the grooves on the front panel.
c.
Carefully install the eight screws and ground clips that secure the board to
the front panel (avoid cutting new threads).
6.
Reinstall the front panel assembly. Refer to
Front Panel
earlier in this section.
Fuses
This section contains instructions for replacing fuses in the fuse drawer, on the
low voltage power supply, and on the Power Supply/RF board.
Replacing Fuses in the Fuse Drawer
Equipment
•
Small screwdriver
Procedure
1.
Turn off the generator. Disconnect the power cord from the wall receptacle.
Disconnect the power cord from the rear panel.
Warning
Fire Hazard
– For continued protection against fire hazard, replace fuses only
with fuses of the same type and rating as the original fuse.

