14. SPILLAGE AND FLAME SUPERVISION CHECKS
14.1 Check for spillage.
IMPORTANT: Only use the smoke match tube supplied with the fire. Do NOT
use other smoke match tubes.
1.
Open the isolating valve on the inlet ‘T’ connector. Test around the sealing cap and
pressure test point for gas soundness with a suitable leak detection fluid.
2.
Close all doors and windows in the room containing the appliance.
3.
Light the appliance and set the control knob to the HIGH position.
4.
Leave the appliance on for five minutes.
5.
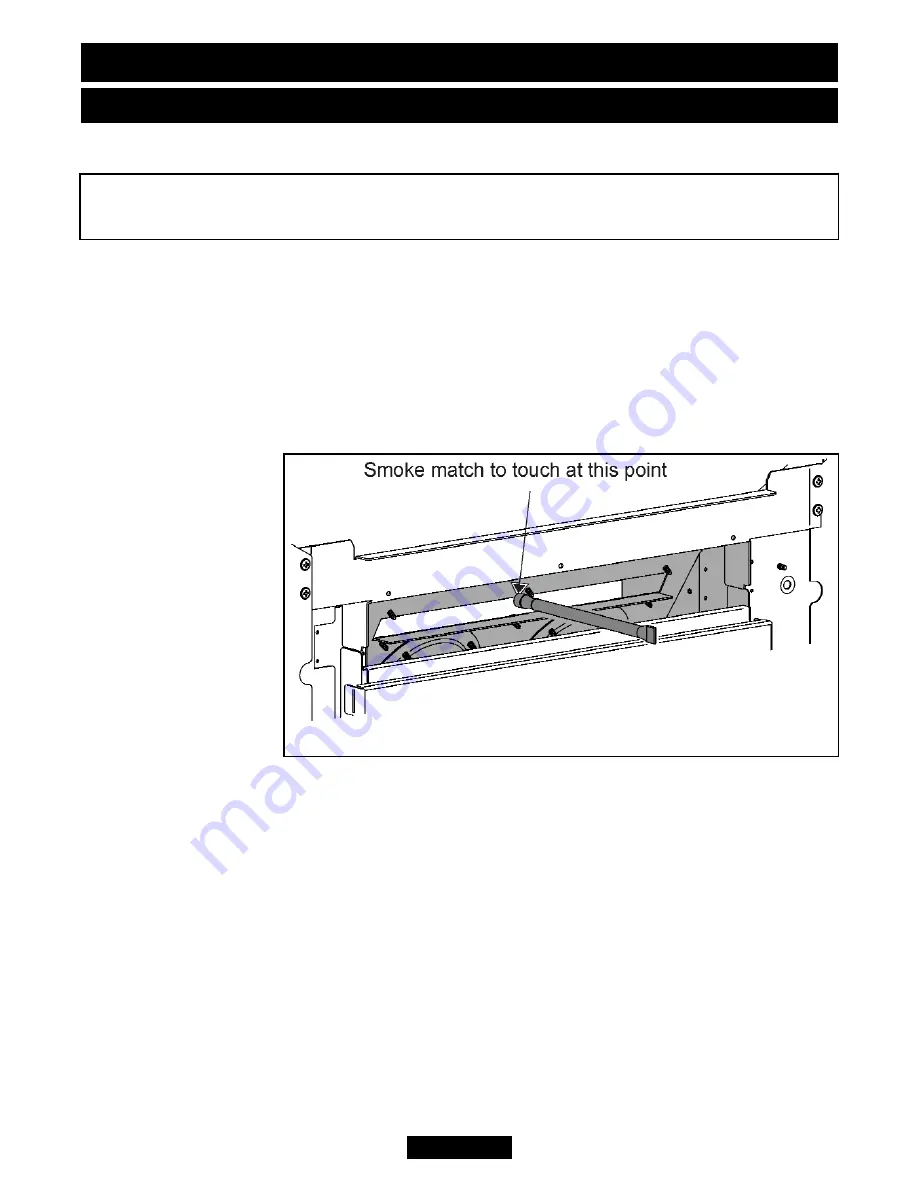
Place the smoke match into the appliance outlet (See figure 24).
6.
The installation is satisfactory if the smoke is drawn into the appliance. If the
smoke is not drawn into the appliance, leave the appliance alight at the ‘HIGH’ setting
for a further ten minutes and then repeat the test. If smoke is still not drawn into the
appliance, inspect the sealing to the fireplace surround. If the sealing is satisfactory
but the appliance is installed with the flue restrictor (See section 9.3), adjust the
restrictor to the fully open position. To adjust the restrictor, locate the central screw at
the rear of the convected air outlet (See figure 14). Loosen the screw and with the
screw driver still in the head of the screw, slide the restrictor to the desired position.
Secure the restrictor by tightening the screw. Retest the fire. If smoke is still not
drawn into the appliance, disconnect the appliance and seek expert advice.
7.
If the above test is satisfactory, open all internal connecting doors, hatches, etc., in
the room. Keep all doors and windows that open to the outside of the building closed.
Recheck for spillage as above. If an extractor fan is installed in the same room as the
appliance or a connecting room, check that spillage does not occur with the fan
operating and all doors and other openings between the fan and the appliance open.
Page 33
©
Baxi Heating U.K. Limited 2010.
INSTALLER GUIDE
A spillage check must be made before leaving the installed appliance with the
customer. Make this with all the ceramic fuel effect pieces and window in position
.
Figure 24.
Summary of Contents for 964
Page 7: ...1 IMAGE Page 7 Baxi Heating U K Limited 2010 INSTALLER GUIDE Blenheim fascia ...
Page 22: ...Page 22 Baxi Heating U K Limited 2010 INSTALLER GUIDE Figure 8 Pack contents ...
Page 45: ...IMAGE Page 45 Baxi Heating U K Limited 2010 OWNER GUIDE Blenheim fascia ...
Page 57: ...Page 57 Baxi Heating U K Limited 2010 OWNER GUIDE ...


