background image

Summary of Contents for 502CN

Page 1: ...ERDINGTON BRMNGHAM 824 9QP ENGLAND Distnbuted by HSINDUSTRiES LTD 829 Third Street West NORTH VANCOUVER BC V7P3K7 Phone 6O4 9843496 INSTALLATION INSTRUCTIONS FOR YOUR SAFETY Do not store or use gasoli...

Page 2: ...vered by any snowdrifts If the outside ventterminal isto be located where it will be accessible to any person we recommend that a guard is fitted over the terminal to prevent damage to the vent and to...

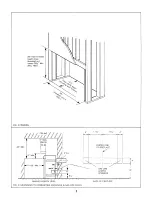
Page 3: ...el Installed unit covers 28 Mm 29 Max CENTER LINE OF FIREPLACE L f GAS UNE ACCESS OPENINGS FIG 2 FRAMING 36 Mm 4 11 1 1 2 4 2 FINISHED HEARTH LEVEL SACK OF FiREPLACE FIG 3 CLEARANCES TO COMBUSTIBLE MA...

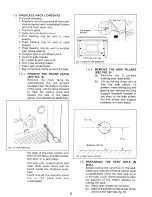
Page 4: ...a completely clear and store in a safe place The vent unit ceramic parts and most other loose items will be found inside the fireplace outer case Check that all the contents listed are in the pack and...

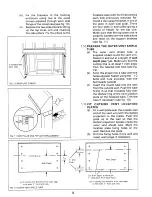
Page 5: ...securing bracket situated above the outer collar see fig 8 Drill into the vent outer tube and secure with the screw c Fit one thin and one thick soft ceramic sealing ring over the vent unit The thin r...

Page 6: ...shield into a tube with the holes aligned Fasten using the 10 bolts and nuts provided with the bolt heads outside c Insert the shield tube into the wall from the outside wall Push the tube firmly in...

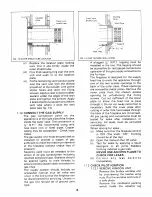
Page 7: ...round joint type A plugged N P T tapping must be installed in the line The tapping should be accessible for test gauge connections upstream of the gas supply connection to the furnace The fireplace is...

Page 8: ...n for a few seconds to allow gas to flow to the pilot 0 14 3 5mm FIG 16 ELECTRODE GAP c While still holding in the control knob depress the ignitor button several times until the pilot lights If the p...

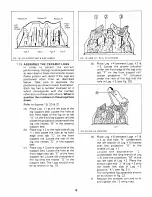
Page 9: ...nto recess D in the support bed c Place Log 4 3 at the right side of the support bed Locate the hole at the front edge onto tab E of the front support rail Locate the underside of the log onto the rec...

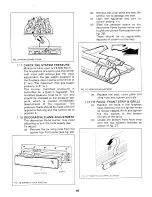
Page 10: ...rners are as in the table below and that the appearance of the flames is correct See figs 23 24 Turn off by pushing in the knob slightly and turning clockwise until the OFF marking is at the top Contr...

Page 11: ...ocal supply gas To adjust a Remove the six wing nuts from the burner box front panel see fig 25 b Remove the cover plate and seal Be careful not to damage the seal c Light the appliance and turn to co...

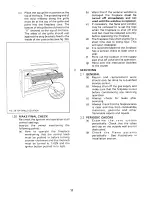
Page 12: ...ow may be removed to re set the logs when the fireplace is shut off and cold but must be replaced securely before operating the fireplace d The fireplace may smell sfightlyfor a short time due to bein...

Reviews: