INSTALLER’S GUIDE
Page 41
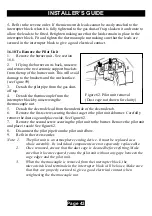
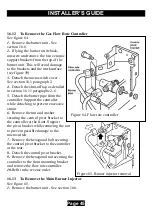
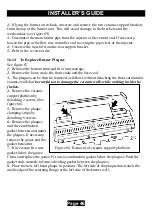
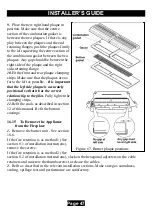
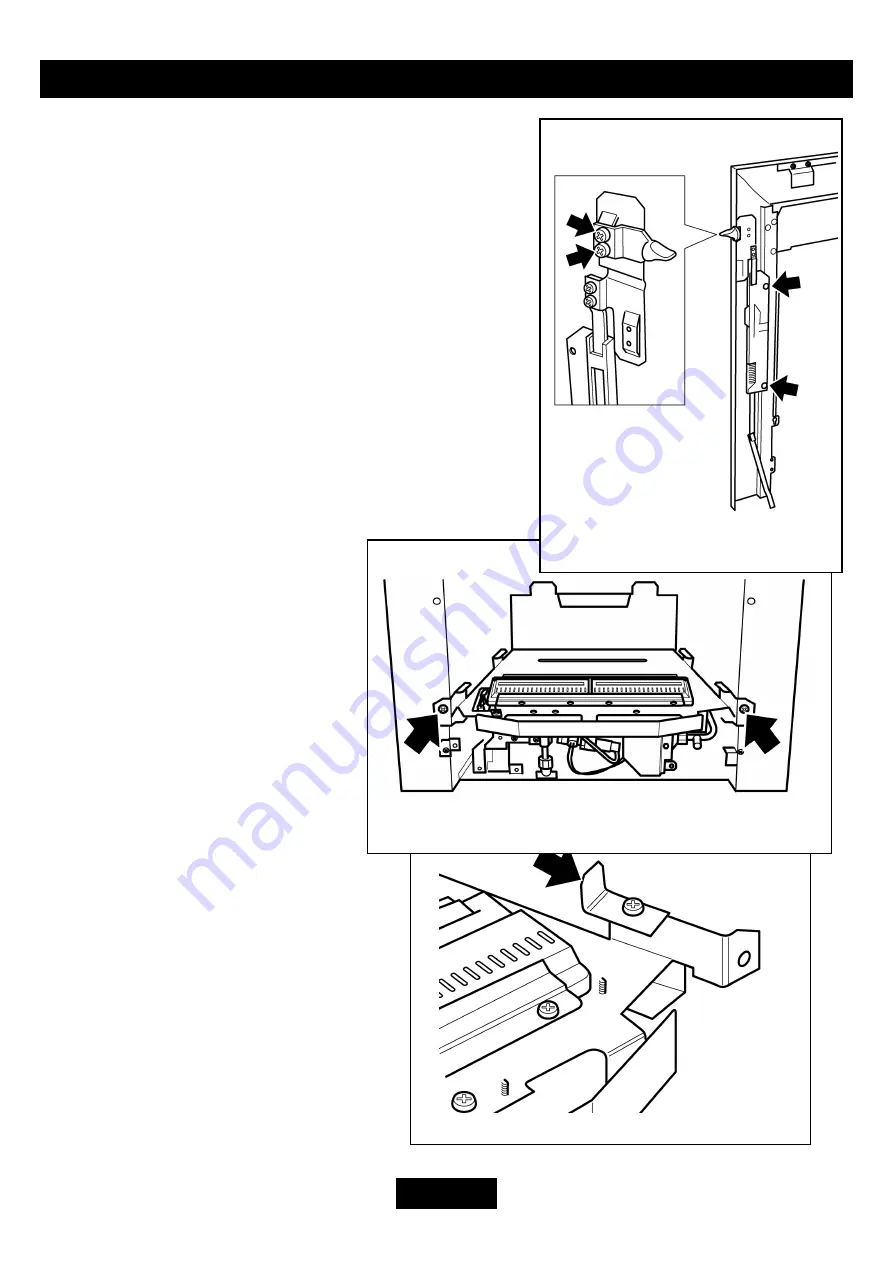
Figure 59. Ceramic support bracket
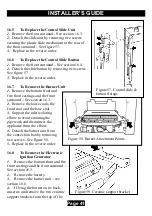
Figure 58. Burner Attachment Points
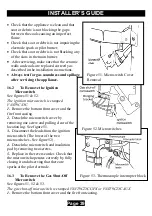
Figure 57. Control slide &
button fixings
16.5
To Replace the Control Slide Unit
1.
Remove the front surround - See section 16.3.
2.
Detach the slide unit by removing two screws
securing the plastic slide mechanism to the rear of
the front surround – See figure 57.
3.
Replace in the reverse order.
16.6
To Replace the Control Slide Button
1.
Remove the front surround – See section 16.4.
2.
Detach the slide button by removing two screws –
See figure 57.
3.
Replace in the reverse order.
16.7
To Remove the Burner Unit
1.
Remove the bottom front and
fire front castings and the front
surround - See section 16.3.
2.
Remove the loose coals, the
front coal and the base coal.
3.
Support the inlet isolating
elbow to avoid straining the
pipework and disconnect the
appliance from the elbow.
4.
Detach the burner unit from
the convection box by removing
two screws –See figure 58.
5.
Replace in the reverse order.
16.8
To Remove the Electronic
Ignition Generator
1.
Remove the bottom front and fire
front castings and the front surround -
See section 16.3.
2.
Remove the battery.
3.
Remove the burner unit – see
section 16.6.
4.
If lying the burner on its back,
unscrew and remove the two ceramic
support brackets from the top of the

