Service and Installation Manual
For warranty service, call 1-888-VALPRO8 / 1-813-502-030
20
the sprinkler back to its original position. Be sure the holes straight down. If
the sprinkler is badly blocked, clean it as follows:
1.
Disconnect power to the unit and open the front door.
2.
Shut off the water supply.
DO NOT use solvent-based cleaning agents or abrasives on the
interior. These cleaners may transmit taste to the ice cubes, or discolor
the interior, or badly damage.
3.
Disconnect the water hose from the sprinkler.
4.
Lift the one side up, and remove the sprinkler. Then disassemble two
ends of the sprinkler.
5.
A de-scaling solution can be prepared in a plastic basin with
Nickel-Safe Ice Machine Cleaner. Mix 4 ounces of the ice machine
cleaner per gallon of warm water.
6.
Thoroughly clean the sprinkler parts by soaking them in the basin
filled with the de-scaling solution until it is free of any deposit; use a
soft brush to remove any thick or stubborn residue and to help the
dissolving action. Rinse the sprinkler parts with clean water.
7.
Reassemble the sprinkler.
8.
Replace the sprinkler and water hose if in need.
9.
Perform Ice-Making System Cleaning procedure as follows.
Ice-Making System Cleaning
Minerals that are removed from water during the freezing cycle will eventually
form a hard, scaly deposit in the water system. Cleaning the system regularly
helps remove the mineral scale buildup. How often you need to clean the
system depends on how hard your water is or how effective your filtration may
be. With hard water of 15 to 20 grains/ gallon (4 to 5 grains/liter), you may
need to clean the system as often as every 3 months
.
1.
Press the STANDBY button to stop the unit work.
2.
Remove all ice cubes from the storage bin.
3.
Remove the front door of the ice maker.
4.
Make sure the unit stop working. (the drain pump stop and standby LED is
on green) Pour 8 oz. of Nickel-Safe Ice Maker Cleaner Solution into the
Service and Installation Manual
9
For warranty service, call 1-888-VALPRO8 / 1-813-502-030
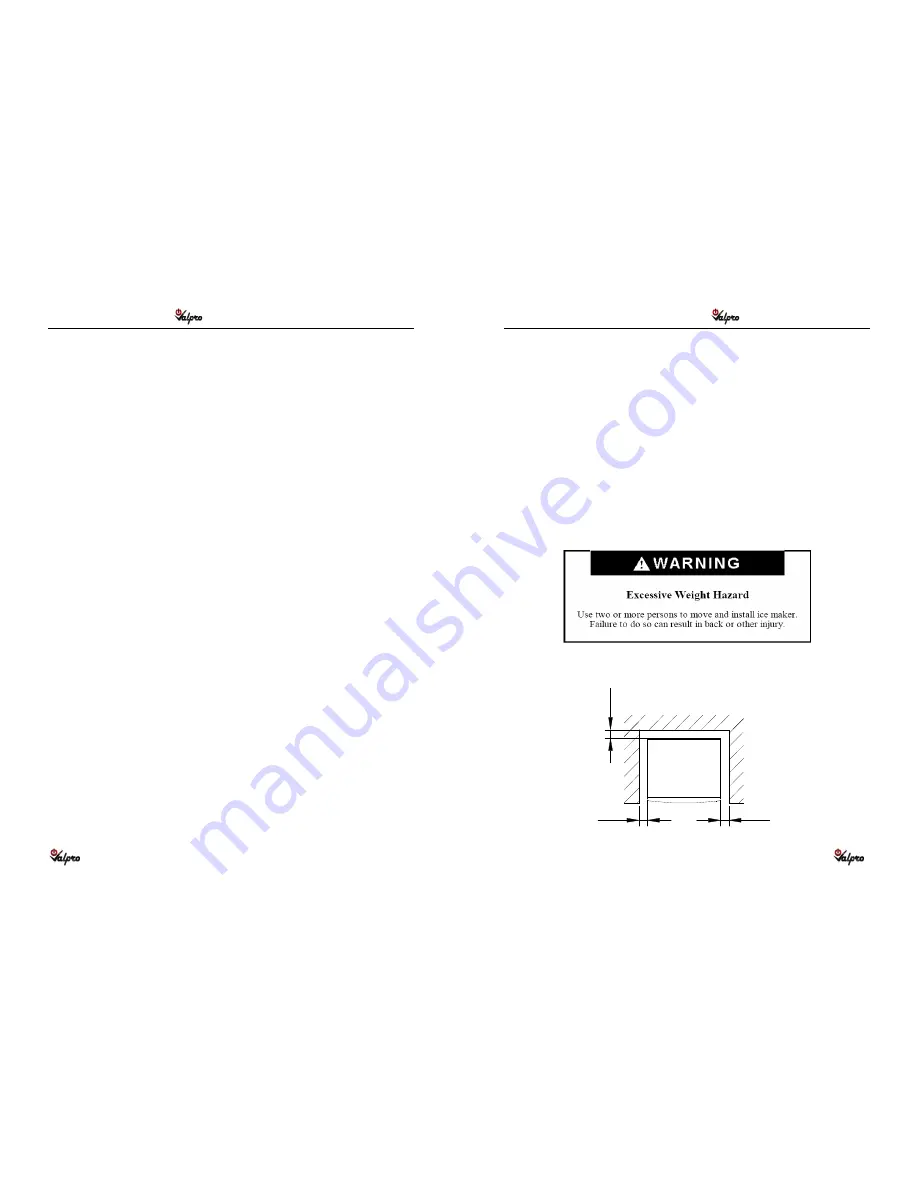
Ice Maker Installation
Unpacking
Remove packaging materials
IMPORTANT: Do not remove any permanent instruction labels or the data
label on your ice maker.
Remove tape and glue from your ice maker before using,
•
To remove any remaining tape or glue, rub the area briskly with your
thumb. Tape or glue residue can also be easily removed by rubbing a
small amount of liquid dish soap over the adhesive with your fingers.
Wipe with warm water and dry.
•
Do not use sharp instruments, rubbing alcohol, flammable fluids, or
abrasive cleaners to remove tape or glue. These products can damage
the surface of your ice maker.
Location Requirements
This ice maker should be installed by qualified personnel.
Installation clearance
Top view
5"
5"
5"
Summary of Contents for VPIM-420
Page 2: ......


