●After the parts replacement is complete...
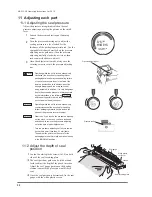
1
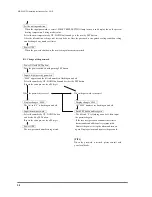
Close the pressure lever. With depressing the
lever, dial the pressure adjusting nut right to the
limit. Adjust the sealing pressure referring to
"11-1 Adjusting the seal pressure" and tighten
the fixing screw.
2
Return the control unit box to the initial
position.
3
Install the frame cover between the white plastic
nut and body frame, and fix the cover with the
nut.
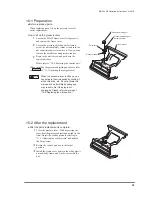
10-1 Preparation
10-2 After the replacement
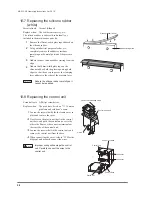
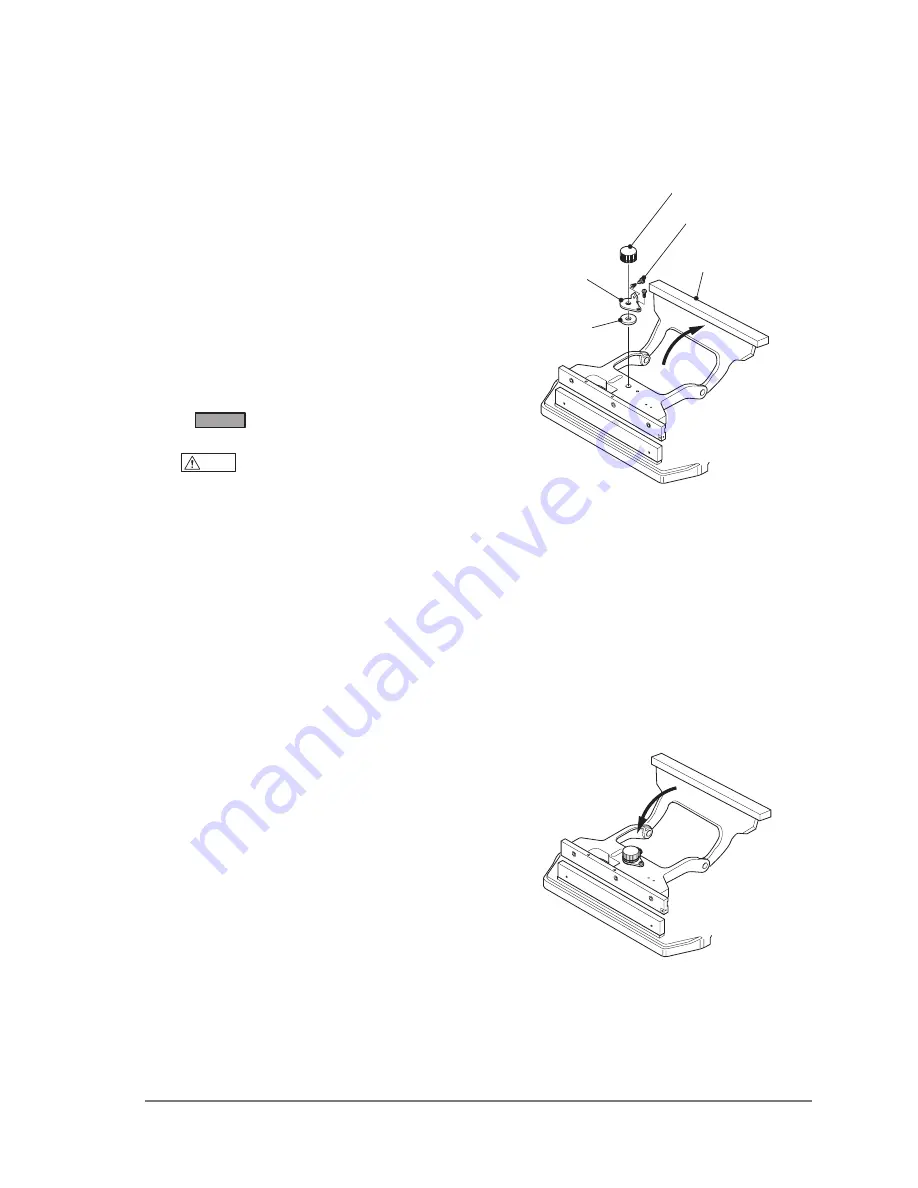
Small lever
Pressure adjusting nut
Pressure rubber
Pressure lever
Pressure adjusting nut
fastening screw
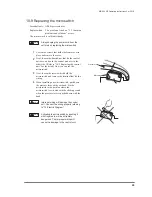
●Before replacing parts...
When replacing parts, lift up the pressure lever for
easier replacement.
How to lift up the pressure lever
1
Loosen the M5x10 frame cover fixing screws,
and remove the frame cover.
2
Loosen the pressure adjusting nut fastening
screw -do not completely remove it and turn the
nut counterclockwise to remove it. Now you can
remove the small lever and pressure rubber.
3
Remove the white screw and put down the
control unit base.
Please refer to “10-8 Replacing the control unit.”
When installing the pressure adjusting nut, please refer
to
Attention!
of “11-1 Adjusting the seal pressure.”
Warning
When the pressure lever is lifted up, you
can activate the microswitch by clicking it
with a thin stick, etc. Do not activate the
microswitch as it will start heating and
may result in fire if the plug is not
unplugged. Please refer to warning of
“10-9 Replacing the microswitch.)
MS-
350
NP Operating Instructions Ver
2
.
01
E
23


