V-460/610 Series Operating Instructions Ver.2.04E
24
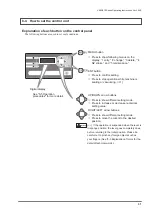
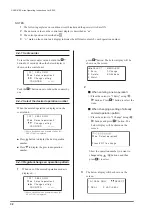
[ 01 ] SEAL ONLY
▼▲ Select operation#
Change setting
COUNTER
xxxxx
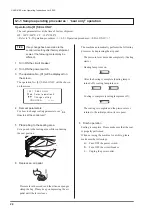
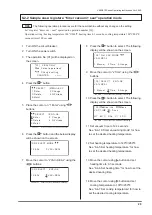
1 Turn ON the circuit breaker.
2 Turn ON the power switch.
3 The operation No. [01] will be displayed on
the screen.
The operation No. [01] SEAL ONLY will be shown
on the screen.
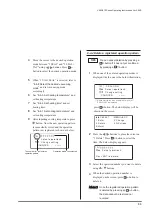
4 Set seal parameters
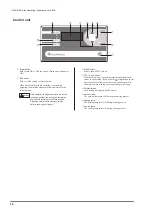
For how to change sealing parameters, see “
8-4
How to set the control unit.
”
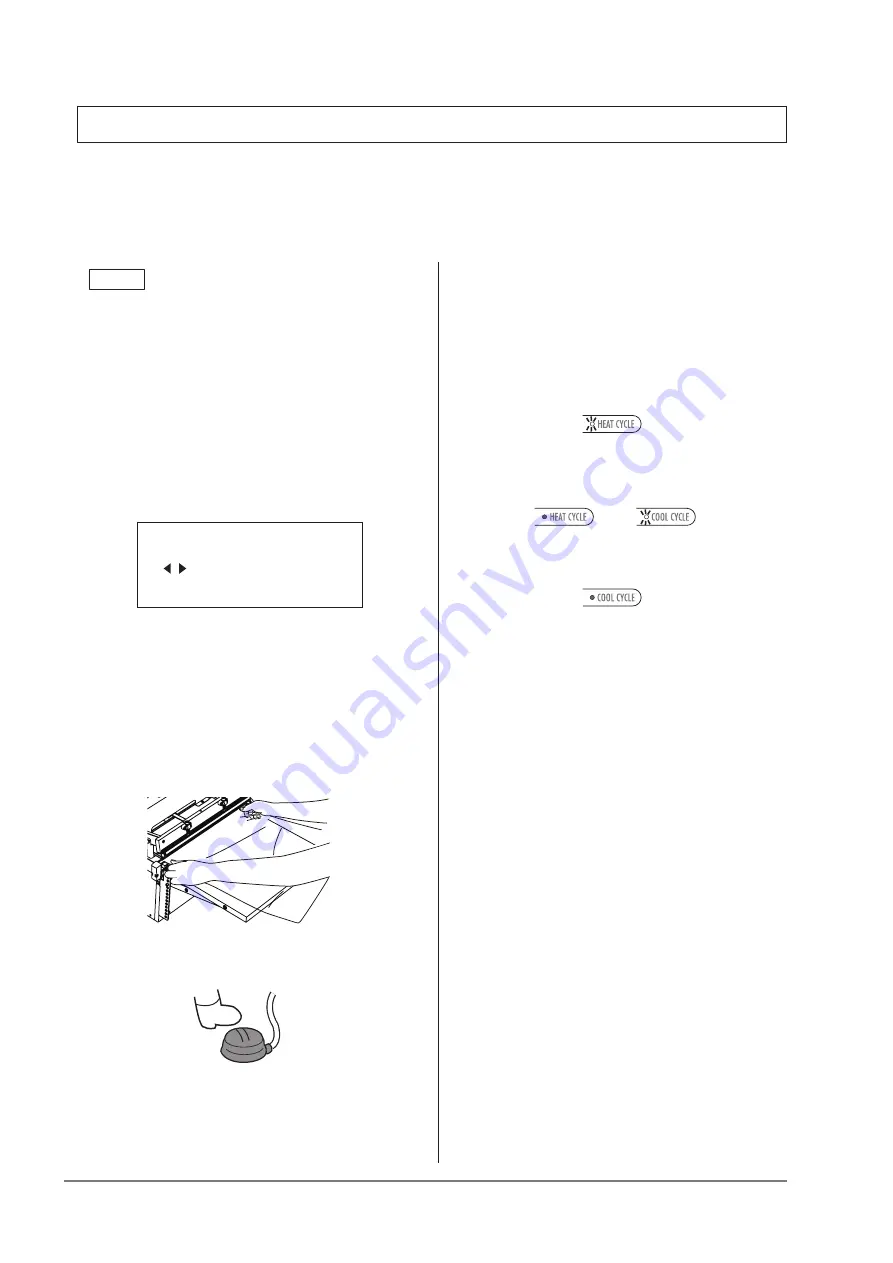
5 Place a bag to the sealing area
Set a pouch to the sealing area while confirming
the seal position.
・
After the heating is complete (heating lamp is
turned off), cooling lamp turns on.
・
Cooling is complete (cooling lamp turns off).
・
The sealing is complete and the pressure lever
returns to the initial position (lever opens).
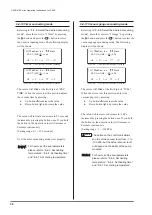
8 Finish operation
Sealing is complete. Please make sure that the seal
is properly performed.
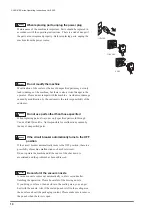
When not using the machine for a while, please
make sure the followings:
a.
Turn OFF the power switch.
b.
Turn OFF the circuit breaker.
c.
Unplug the power outlet.
・
The pressure lever descends completely. (Sealing
starts.)
・
Heating lamp turns on.
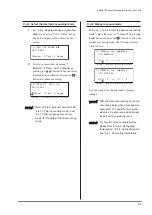
6 Depress an air pedal
Pressure lever descends and the silicone sponges
clamp the bag. Please keep on depressing the air
pedal until the lever closes.
The machine automatically performs the following
processes by depressing the air pedal.
Operation No.[01] SEAL ONLY
The seal parameters set at the time of factory shipment:
HT : 140ºC/280ºF, CT : 100ºC/200ºF
= Refer to “8-5 Operation procedures >>> 8-5-1 Operation procedures <<SEAL ONLY>>.”
8-1-1 Sample operating procedures : “seal only” operation
TIPS
If any change has been made to the
control unit setting after factory shipment,
some of the following content may be
different.
Summary of Contents for V-460 Series
Page 61: ...V 460 610 Series Operating Instructions Ver 2 04E 61 ...
Page 66: ...V 460 610 Series Operating Instructions Ver 2 04E 66 12 Electric diagram 110V ...
Page 67: ...V 460 610 Series Operating Instructions Ver 2 04E 67 220V ...
Page 68: ...V 460 610 Series Operating Instructions Ver 2 04E 68 13 Piping diagram V 460 610 series ...
Page 69: ...V 460 610 Series Operating Instructions Ver 2 04E 69 V 460 610C series ...
Page 75: ...V 460 610 Series Operating Instructions Ver 2 04E 75 ...

