7
Setup
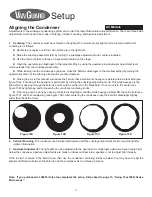
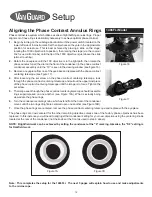
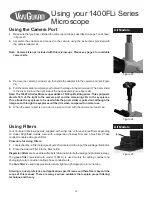
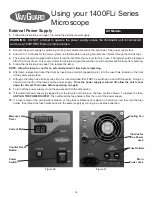
Assembly
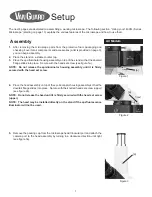
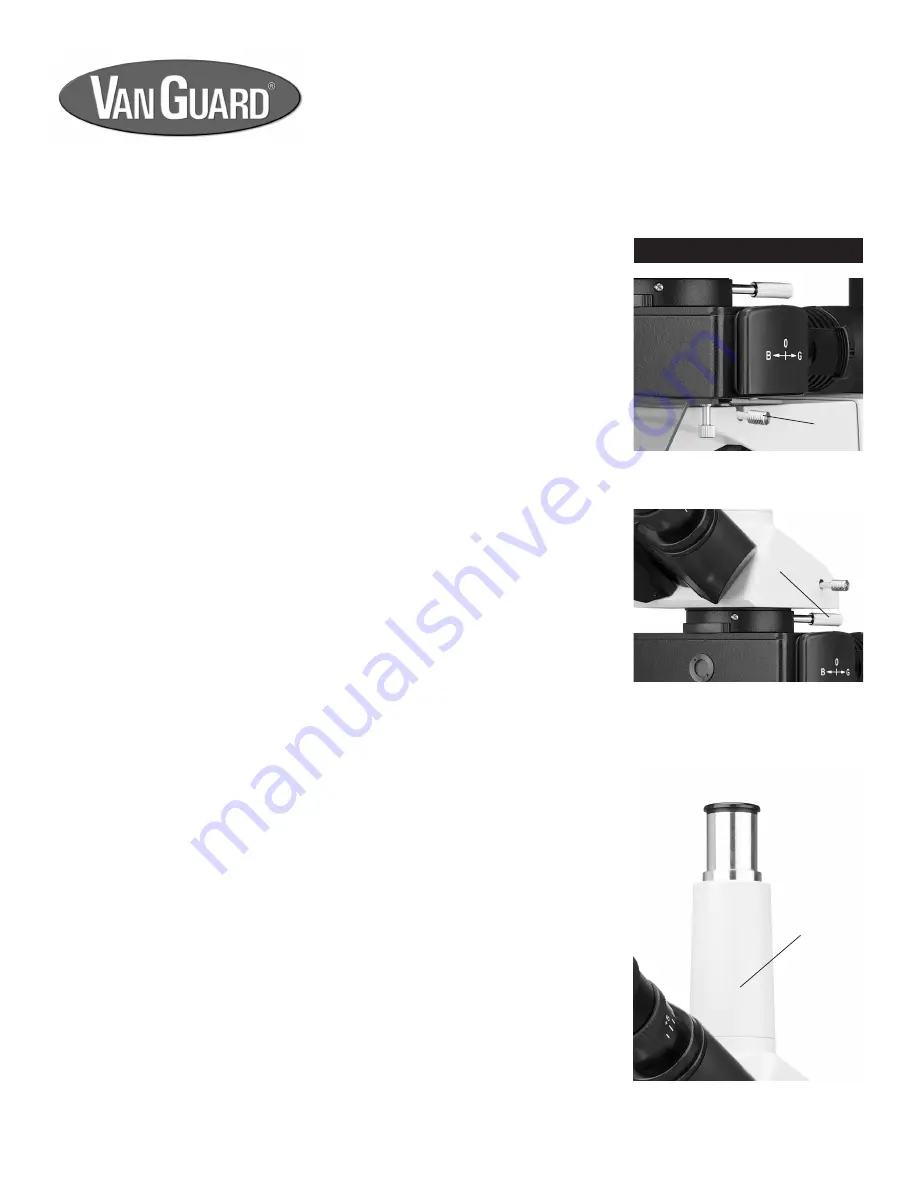
Figure 1
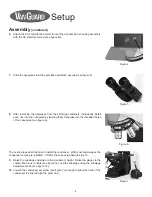
Figure 2
1.
After removing the microscope parts from the protective foam packaging and
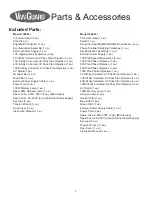
checking it over for all components and accessories (a list is provided on page 3),
you can begin assembly.
2.
Place the stand on a stable counter top.
3.
Place the epi-illuminator housing assembly on top of the stand so that the dovetail
flange slides into place. Secure with the head set screw (see figure 1a).
NOTE: Do not release the epi-illuminator housing assembly until it is firmly
secured with the head set screw.
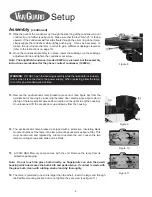
Figure 3
4.
Place the head assembly on top of the epi-illuminator housing assembly so that the
dovetail flange slides into place. Secure with the knurled head set screw (upper)
(see figure 2a).
NOTE: Do not release the head until it is firmly secured with the head set screw
(upper).
NOTE: The head may be installed directly on the stand if the epi-fluorescence
illuminator will not be used.
5.
Remove the packing cap from the microscope head trinocular port and attach the
camera port to the head assembly by turning in a clockwise direction until tight
(see figure 3a).
The next 4 pages are dedicated to assembling a working microscope. The following section, “Using your 1400FLi Series
Microscope” (starting on page 13) explains the various features of the microscope and how to use them.
[a]
[a]
[a]
All Models


