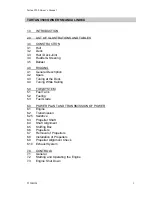


2
w w w . t e a m v a n g u a r d . c o m
Rudder
Locate the two rudder lines and tie a small stopper knot in the longer
one. Feed its other end through the small hole in the leading edge of
the rudder from aft to forward and pull the knot up tight against the
board, making sure there is no extra line sticking outside the recess.
Thread the shorter line through one of the small holes in the top of
the rudder head and tie a stopper knot on the underside; its pin will
hold the tiller in place. Attach the rudder blade to the rudder head
using the supplied bolt. Make sure one washer is assembled on either
side of the rudder head, and tighten the nut down enough so that
the rudder will remain up or down.
Tiller
Line up the tiller with the slot in the rudder head and insert, making sure
the tiller extension attachment faces up. You may need to use a rubber
mallet to line up the hole in the tiller with the hole in the rudder head.
Install the retaining pin (attached to the short line you tied into the rud-
der head) into the holes to prevent the tiller from pulling out. Because
the tiller is a tight fit, you may wish to store it in the rudder head per-
manently. Tape over the retaining pin, to keep it in place and prevent the
mainsheet from catching on it. Lead the rudder downhaul line up
through the forward and topmost blue spacer and then forward to the
cleat on the tiller. Slide the tab on the tiller extension into the slot on the
tiller. Make sure it clicks into place and the cover snaps over the top.
Tape around the cover plate and tiller to prevent unexpected extension
removal.
Assemble mast and sail
Line up the rivet in the collared end of the top section with the
gooseneck and insert the top section into the bottom section until
the collar is tight against the aluminum. After checking that there are
no sharp objects in the area, slide the sleeve of the sail over the mast,
aligning the cunningham grommet with the gooseneck and remov-
ing any twists in the sleeve. The head of the sail does not rotate eas-
ily on the masthead, so double check the aft edge of the head is lined
up with the gooseneck before stepping.
Insert the battens.
Step mast
Make sure the bow of the boat is pointing into the wind and that
there are no overhead electrical wires in the area. Also make sure the
mast step hole and mast butt are perfectly clean; any sand or dirt in
the mast step will grind into the gelcoat and eventually damage the
boat. Place the mast butt against a solid object, lift the top end, and
walk toward the butt, raising it hand over hand until the mast stands
vertically. Rotate the mast until the gooseneck points toward the
stern. Keep your hands a good distance apart while lifting the mast
over the hole. Let the mast slide into the step, but do not drop it as
you may damage the step. Remove any wraps in the sail sleeve.
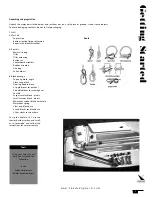
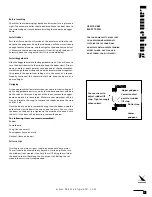
Assembly
Rudder & Tiller
Assembled and Mounted
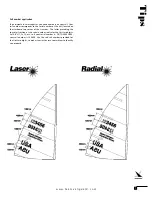
Rudder, Tiller and Traveller
Assembled and Mounted
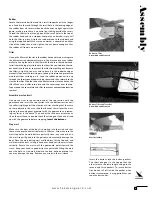
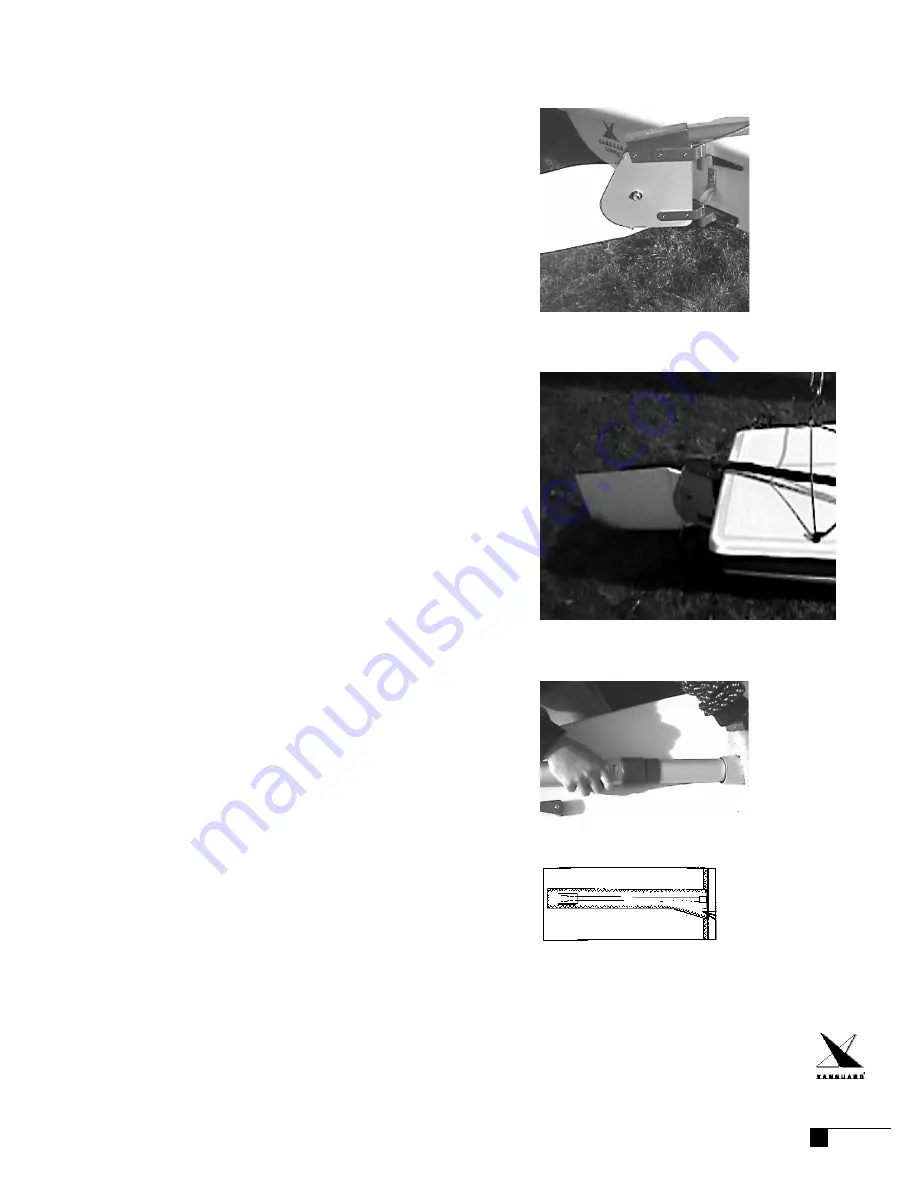
Insert the battens into the batten pockets.
The short one goes in the top pocket; the
other two are the same length and go in the
second and third pockets. To insure batten
tips do not fall off inside the pocket when
battens are removed, it is suggested that you
tape the batten tips.
Mast Assembly