- 21 -
EN
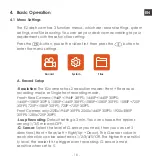
3, the lowest is 0, and the highest is 5.
-Prompt Tone:
According to different situations, the dash cam is set with 5
kinds of prompt tones, which are power-on/off sound, keys sound, file
locked sound, format sound, and abnormal stop recording reminder. All
prompt tones are turned on by default.
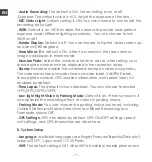
-Frequency:
Different countries have different frequencies. In order to
avoid affecting the video, you can choose 50Hz or 60Hz frequency
according to different regions.
-System Info:
Check the current model, firmware version, and the
Vantrue official website.
-Certifications:
You can view the certification information of E2 camera.
-Default Settings:
Reset the device back to factory settings.
C. Files
Review the video and photo files recorded by the camera.
-Event:
Critical event videos detected by G-Sensor activity or manually
locked by user.
The file name format is 20300128_140633_0008_E_A.MP4
-Normal:
Standard videos recorded. This folder saves loop recording
video, parking mode video, and time-lapse video. The file name format
of Loop Recording video is: 20300128_140633_0008_N_A.MP4,
20300128_140633_0008_N_B.MP4; the file name format of Parking Mode
video is: 20300128_140633_0007_P_A.MP4,
20300128_140633_0007_N_B.MP4; the file name format of Time-Lapse
video is: 20300128_140633_0006_T_A.MP4,
20300128_140633_0006_N_B.MP4.
-Photo:
Photos files. The file name format of Loop Recording video is:
20300128_140633_0005A.JPEG
、
20300128_140633_0005B.JPEG.
-All:
All the standard videos and critical event videos recorded.
Note:
The suffix A represents the files recorded by the front camera, the
suffix B represents the files recorded by the rear camera.
Summary of Contents for E2
Page 1: ...Element 2 User Manual 122mmX130mm 70g Voice Controlled Dual Dash Cam ...
Page 2: ......
Page 3: ...Hey find us here www vantrue net contact facebook com vantrue live ...
Page 227: ... 222 PL www vantrue pl facebook com vantruePolska Skontaktuj się z nami ...
Page 279: ... 274 CN 因为每款车型的车窗玻璃角度不一致 请根据实际需要 上下调整主机以及后 镜头的录影角度 6 5 拔掉车充后 将车充线沿图示方向收纳好后 再通电开机 ...
Page 309: ......


