8. Install the GC end of the column into the GC injector (see GC manual for
instructions).
9. Purge the column inside the GC oven with carrier gas for at least 15 minutes
to remove residual air.
10. It is advised that you condition the column in the GC oven before connecting
to the MS to prevent contamination. Do not exceed maximum allowable
operating temperature for the column.
11. Insert the MS end of the column through the transfer line hole in the right
side of the GC.
12. Slide a brass nut onto the column and slide the nut several inches down the
column. The wide, threaded opening of the nut should face the end of the
column.
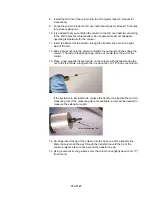
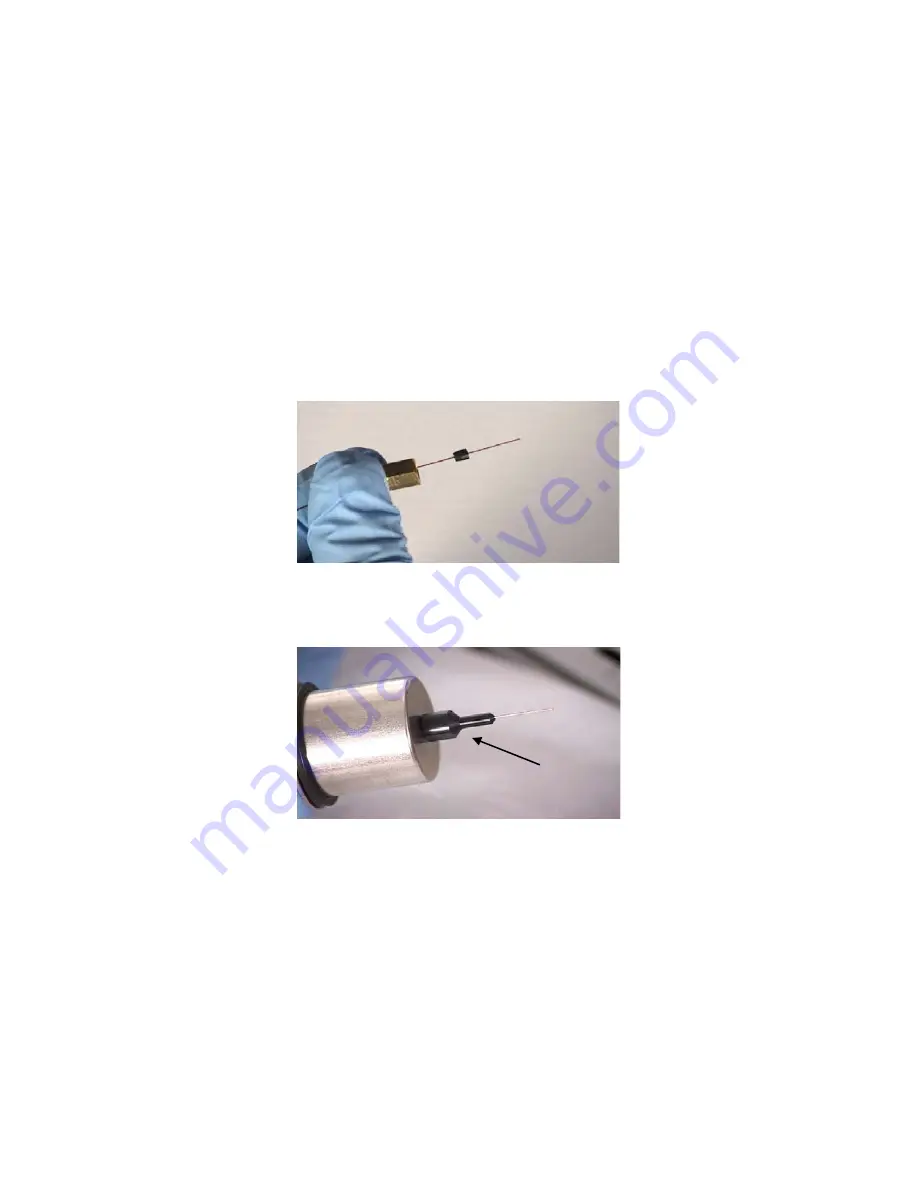
13. Place a new graphite/Vespel ferrule on the column with the taper facing the
nut. Slide the ferrule, along with the nut, about 30 cm (12") down the column.
If the system is in internal mode, replace the transfer line tip with the column-
measuring tool. If the measuring tip is not available, a ruler will be needed to
measure the extension length.
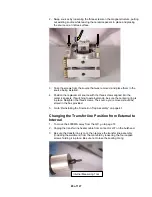
Column Measuring Tool
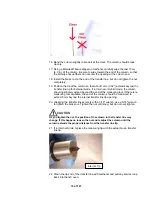
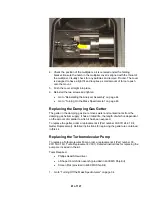
14. Carefully insert the tip of the column into the nose end of the transfer line.
Slide the column all the way through the transfer line until the tip of the
column projects a few inches beyond the transfer line tip.
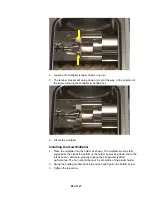
15. Using a ceramic scoring wafer, score the column once lightly about 2 cm (1")
from its end.
73 of 127
Summary of Contents for 4000 GC
Page 4: ......
Page 40: ...6 of 127...
Page 77: ...3 Check source connection pins for proper alignment and straighten as necessary 43 of 127...
Page 124: ...90 of 127...
Page 148: ...114 of 127...

