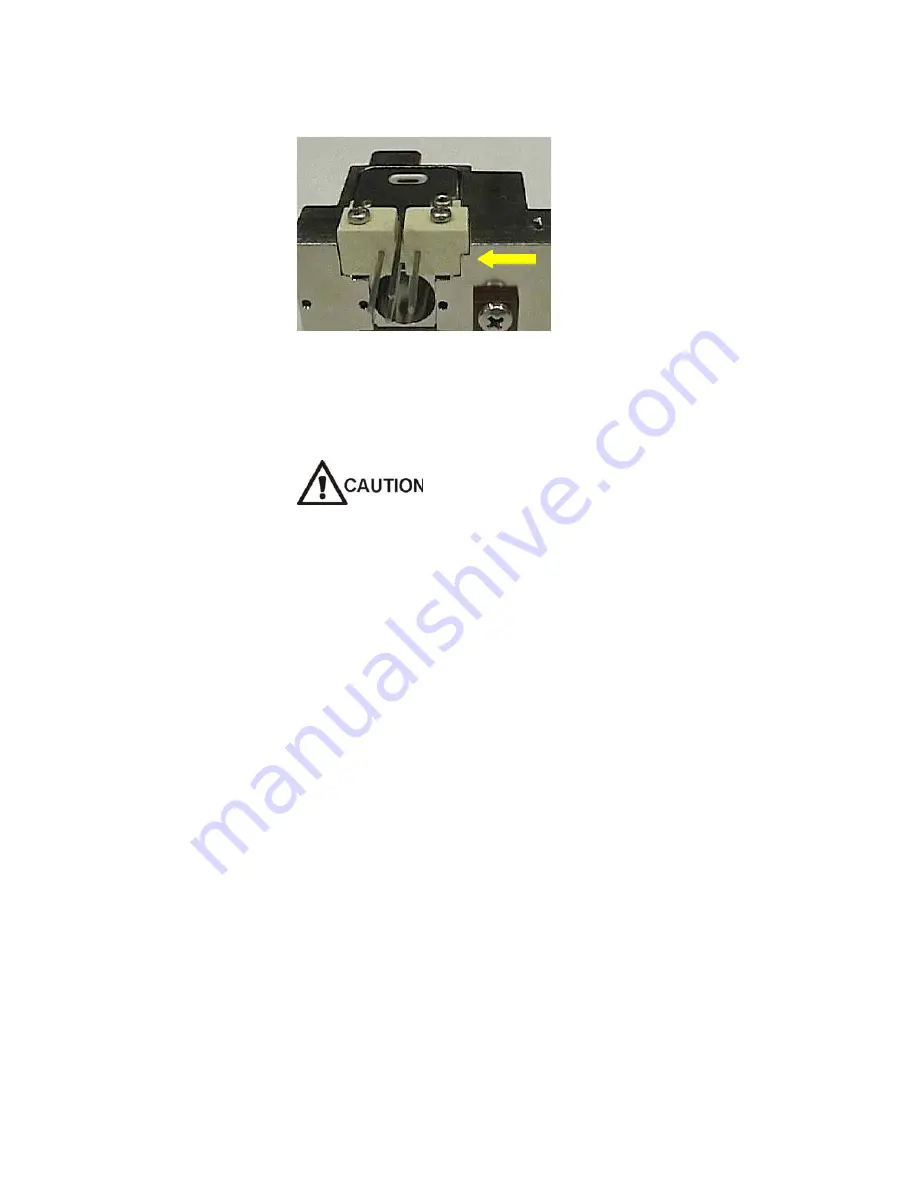
Installing a New Filament Assembly
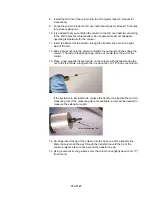
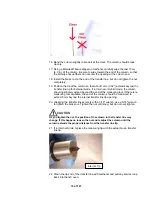
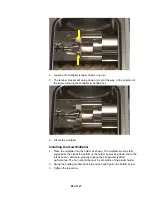
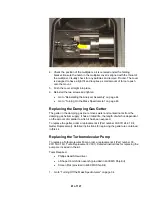
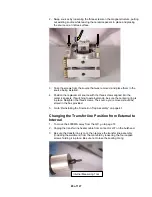
1. Place the new filament into the source holder with the notched side down. Be
sure the filament is seated firmly in place.
2. Place the two screws into the screw holes and tighten each screw evenly. Do
not over tighten.
3. Turn the assembly over and repeat the steps for the other filament.
New filaments undergo conditioning in the first few days of operation. It is
recommended that filament tuning be checked daily during the first few days of
full operation until the filaments remain solidly in tune.
•
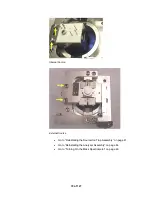
Go to “Reinstalling the Source/Ion Trap Assembly” on page 41.
•
Go to “Reinstalling the Analyzer Assembly” on page 44.
•
Go to “Turning On the Mass Spectrometer” on page 46.
Conditioning the Filaments
1. Run Auto Tune of electron lens voltage three times.
2. Run the method External_Filament_Conditioning.mth that applies multiple
cycles of turning the filaments on/off.
3. Re-run the Auto Tune twice. Filaments are ready to go at this point.
4. Over the next four days, re-tune the lens voltages as required. Refer to the
Ion Source indicators on the diagnostics page. If the Ion Source deviation
number is larger than 2
μ
Amps, the filament is probably off tune.
Replacing Internal Source Filaments
•
Go to “Turning Off the Mass Spectrometer” on page 34.
•
Go to “Removing the Analyzer Assembly” on page 37.
•
Go to “Removing the Source/Ion Trap Assembly” on page 40.
77 of 127
Summary of Contents for 4000 GC
Page 4: ......
Page 40: ...6 of 127...
Page 77: ...3 Check source connection pins for proper alignment and straighten as necessary 43 of 127...
Page 124: ...90 of 127...
Page 148: ...114 of 127...

