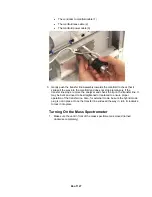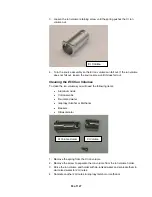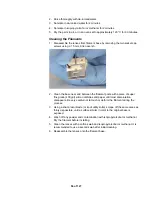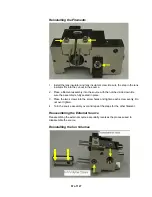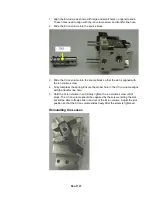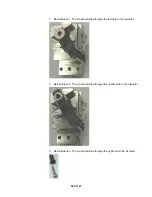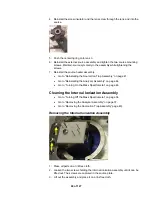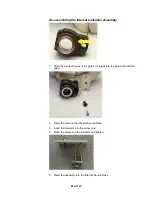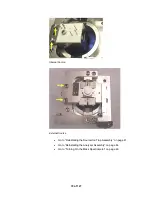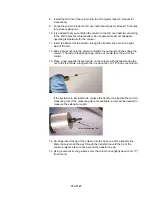
4. Reinstall the screw insulator and the lens screw through the lens and into the
source.
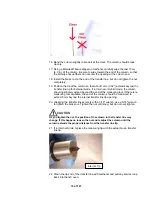
5. Push the centering ring onto lens 3.
6. Reinstall the external source assembly and tighten the two source mounting
screws. Maintain source symmetry in the assembly while tightening the
screws.
7. Reinstall the source heater assembly.
•
Go to “Reinstalling the Source/Ion Trap Assembly” on page 41.
•
Go to “Reinstalling the Analyzer Assembly” on page 44.
•
Go to “Turning On the Mass Spectrometer” on page 46.
Cleaning the Internal Ionization Assembly
•
Go to “Turning Off the Mass Spectrometer” on page 34.
•
Go to “Removing the Analyzer Assembly” on page 37.
•
Go to “Removing the Source/Ion Trap Assembly” page 40).
Removing the Internal Ionization Assembly
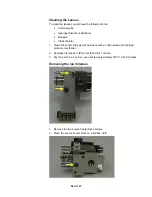
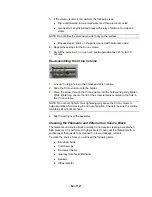
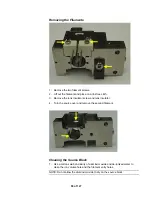
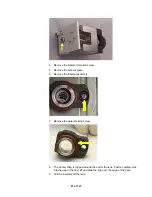
1. Place all parts on a lint-free cloth.
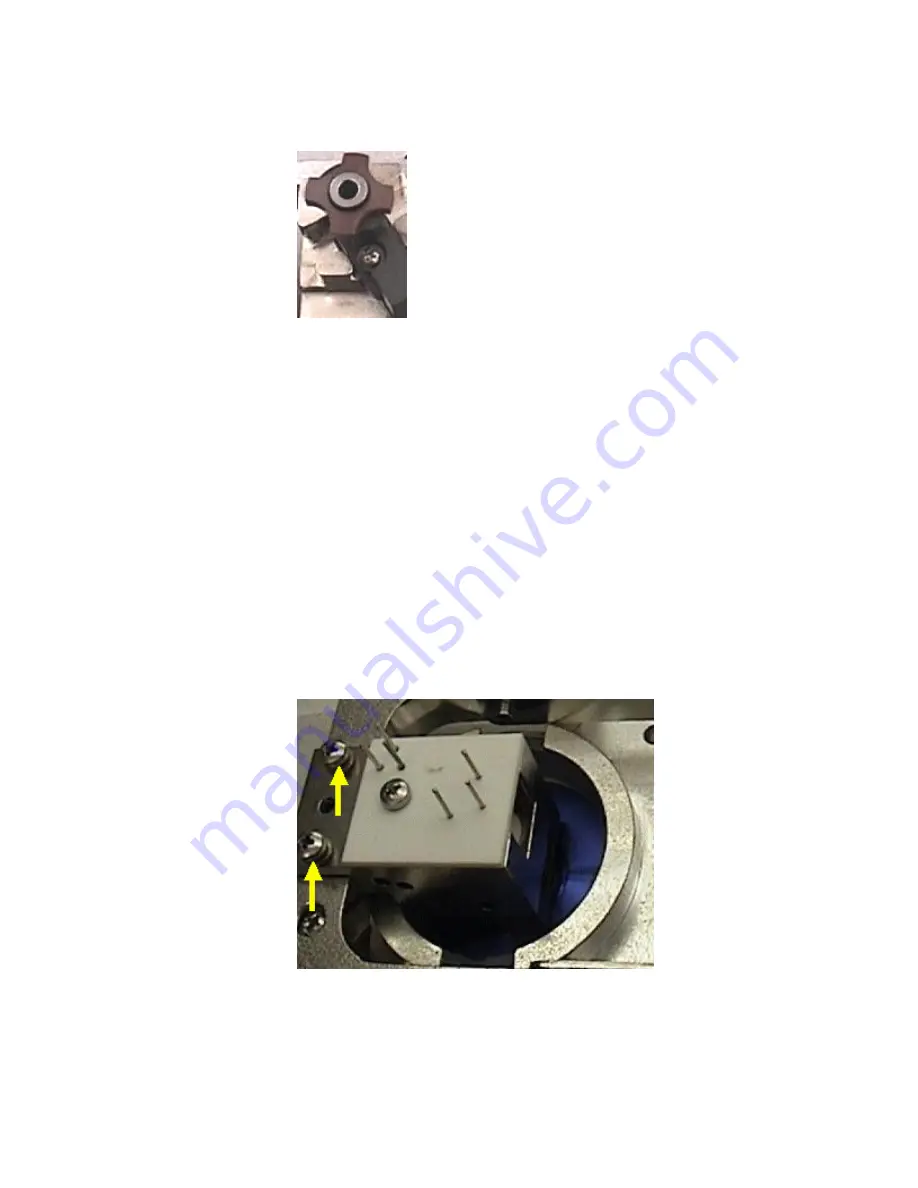
2. Loosen the two screws holding the internal ionization assembly until it can be
lifted out. The screws are captured in the source plate.
3. Lift out the assembly and place it on a lint-free cloth.
60 of 127
Summary of Contents for 4000 GC
Page 4: ......
Page 40: ...6 of 127...
Page 77: ...3 Check source connection pins for proper alignment and straighten as necessary 43 of 127...
Page 124: ...90 of 127...
Page 148: ...114 of 127...

