959D Leak Detector
3-17
3.4.5 Cleaning the Preamplifier Cavity
CAUTION
Wear a ground strap while handling the preamplifier. The
preamplifier is a static-sensitive device.
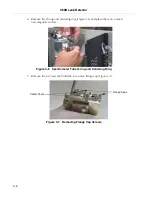
1. Remove the four screws that hold the preamplifier flange cap.
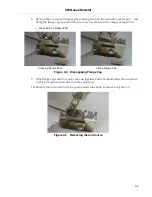
2. Remove the preamplifier flange cap by pressing down on the preamplifier center post
and lifting the flange cap up and off of the preamplifier.
3. If the flange cap and preamplifier come up together, hold one hand under the
preamplifier to catch it, and push down on the center post to remove the flange cap
from the preamplifier.
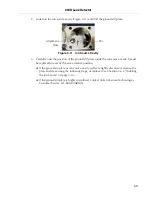
4. Carefully remove the preamplifier from the spectrometer tube body and place it on a
clean, non-magnetic surface.
5. Remove and discard the O-ring from the preamplifier.
6. Clean the preamplifier cavity if discoloration is present.
3.4.6 Replacing the Preamplifier
CAUTION
The preamplifier is a static-sensitive device. Wear a grounding
device while the preamplifier is being handled.
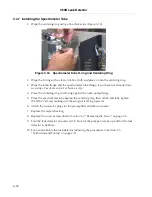
1. Wipe the new O-ring and mating surfaces.
2. Place the preamplifier in its cavity with the new O-ring in place.
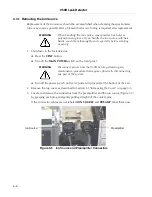
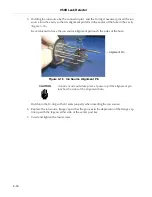
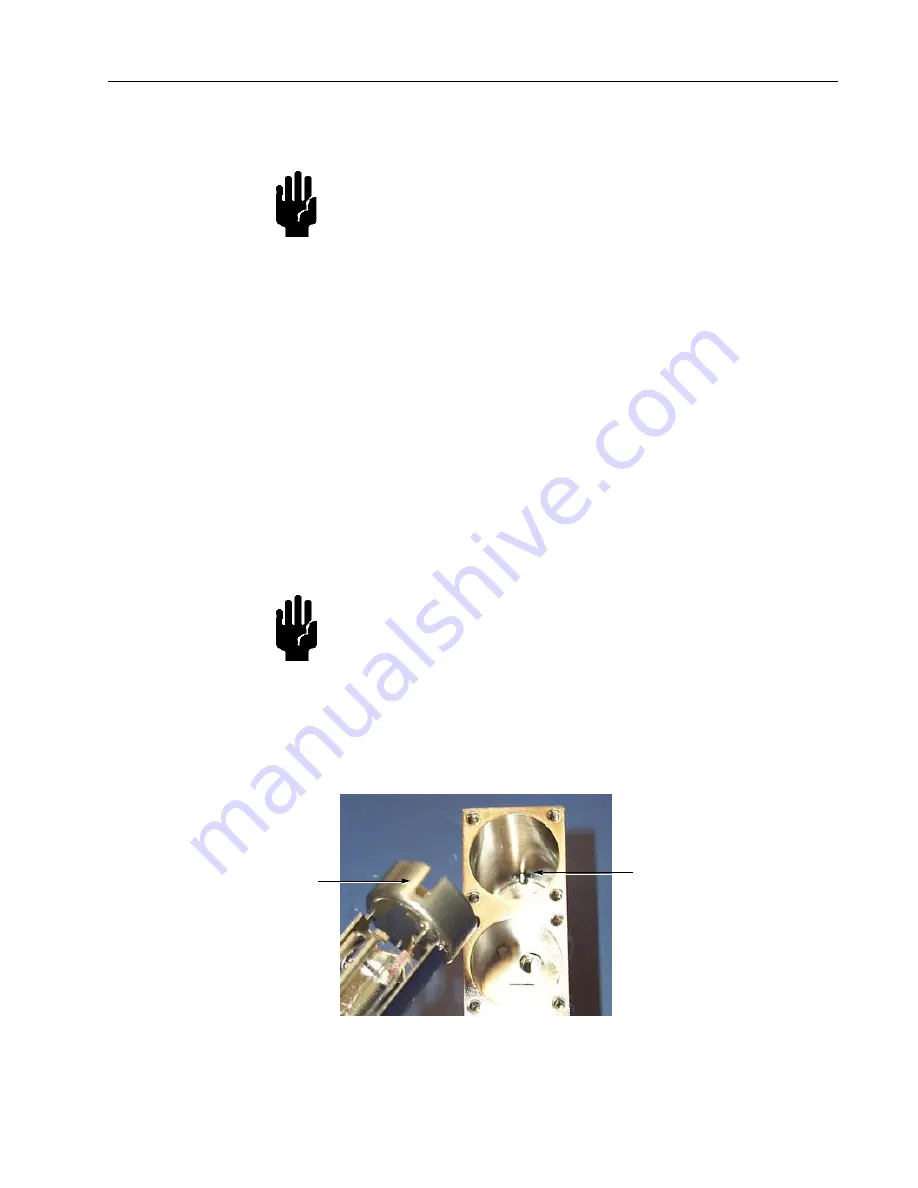
3. Orient the preamplifier so that the vertical slot in the preamplifier engages the pin in the
spectrometer tube body.
Figure 3-17
Replacing the Preamplifier
4. Tighten the flange cap evenly and firmly using the four screws.
Alignment
Preamplifier
Slot
Pin
Summary of Contents for 959D
Page 16: ...959D Leak Detector 1 2 D R A F T 9 1 3 0 2 Figure 1 1 Model 959D Leak Detector ...
Page 28: ...959D Leak Detector This page intentionally left blank D R A F T 9 1 3 0 2 ...
Page 48: ...959D Leak Detector This page intentionally left blank D R A F T 9 1 3 0 2 ...
Page 68: ...959D Leak Detector This page intentionally left blank D R A F T 9 1 3 0 2 ...
Page 78: ...959D Leak Detector This page intentionally left blank D R A F T 9 1 3 0 2 ...
Page 81: ......

