I
NSTALLATION
Column Installation and Conditioning
CP-3800 GC Getting Started Manual
29
Column Installation and Conditioning
Connect
Column to
Injector
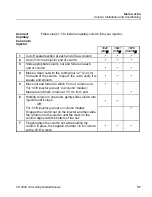
Your GC arrives ready for installation of an analytical column. On first
installation, a new column needs to be conditioned. Conditioning is
performed with the detector end of the column unattached.
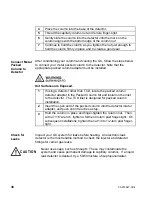
Hot surfaces are exposed.
You may need to install and condition a new column after your GC has been
in use for some time. Reset all injector, detector and column ovens to
≤
50
°
C to avoid burn hazards when connecting column to injector and
detector parts inside the oven.
Prior to installing your column, check that the factory-installed injector is
equipped with the proper insert for your application. Factory-installed
injectors, other than the 1041, have a glass insert suitable for a variety of
applications. If your application calls for a different insert, replace the
factory-installed insert prior to installing your column. Refer to the Injector
section of the Operator’s Manual for instructions to replace the insert. The
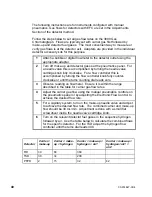
factory-installed inserts for the injectors are shown below.
Injector
Insert Information
Part Number
1061
4 mm ID Flash (530
µ
)
03-918339-00
1079
Open 2 mm ID Splitless
03-918466-00
Nuts and
Ferrules for
Capillary
Columns
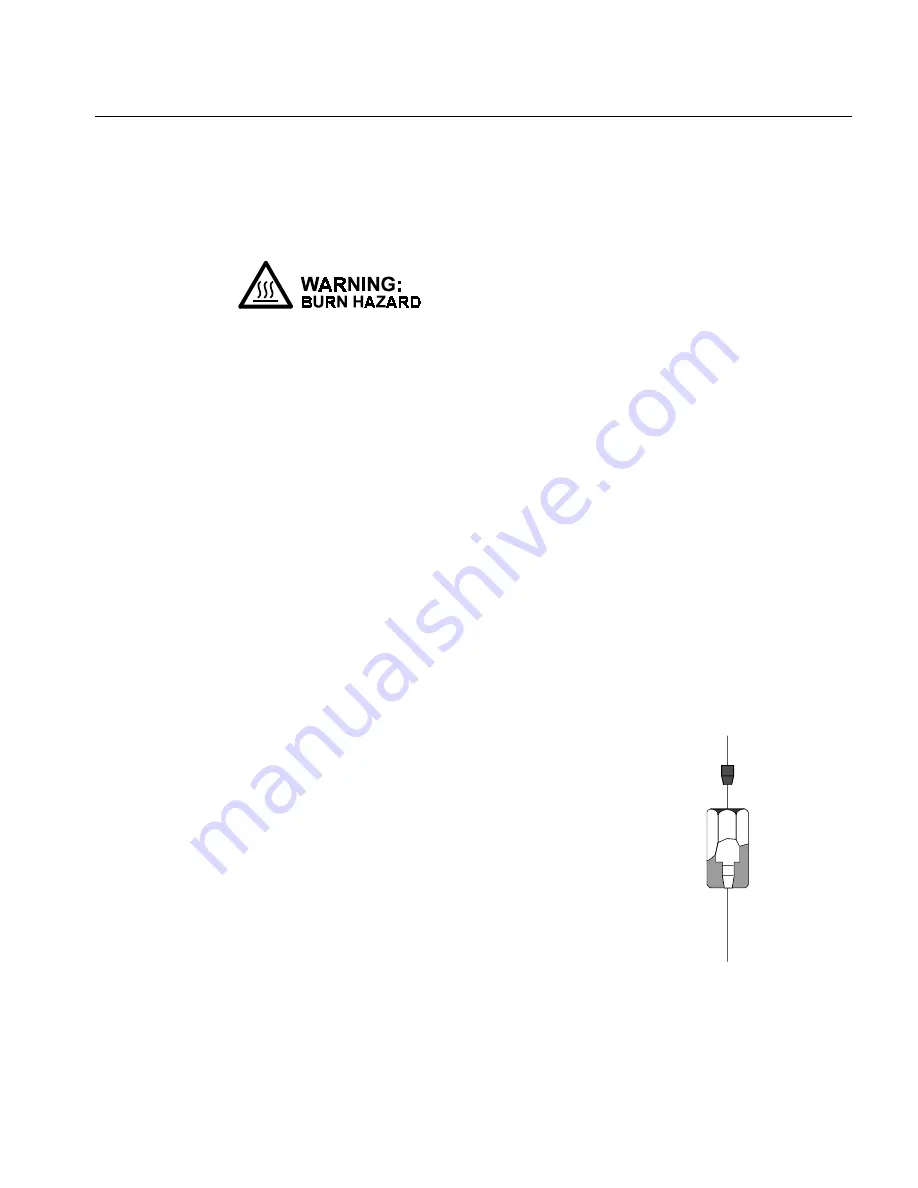
Capillary columns are generally installed with a
capillary column nut (P/N 03-949551-00) and a
single reversed ferrule, as shown in the
diagram. For connection to the TCD, a special
capillary adapter (P/N 03-925605-01) is used.
•
A Quick Connect Kit (P/N 03-925355-90)
facilitates easy connection of capillary
column to injector and detector. The kit
comes with instructions and contains:
column depth scale, knurled split nuts (2),
and graphite jacketed ferrules (2 each of 0.4,
0.5 and 0.8 mm ID, for 250 µm, 320 µm, and
530 µm columns respectively).
Reversed
Ferrule
Capillary
Column
Nut
Fused Silica
Column


