34
03-914647-00:4
1079 Split Vent
Flow and
Septum Purge
Flow
Whether you are making an injection in the split or splitless mode, a split
vent flow rate needs to be set. In this example, the split vent flow is set to
100 mL/min. The split state is set in the Injector section of the 3800
method if EFC is installed and in the VALVE TABLE section of SAMPLE
DELIVERY if manual pneumatics are installed. In addition to a split state a
septum purge flow rate should also be set. The following information is for
setting a split vent flow rate with EFC installed. For a 1079 with manual
pneumatics see the Injector section of the Operator’s Manual for further
information.
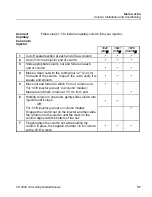
1. Press the FLOW PRESSURE key and set the appropriate head
pressure for your analytical column.
2. Press the INJECTOR key in the GC CONTROL section of the 3800
keyboard and select the 1079 injector by location.
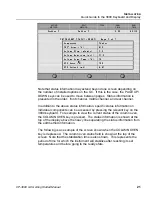
3. Press the PAGE down key to access the SPLIT STATE screen (page 3
of 3). When Electronic Flow Control is installed, in addition to
programming the split state, the split ratio can also be programmed.
4. Set the initial split state to ON and set the split ratio to 100.
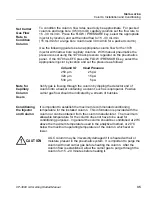
5. Open the column oven door and adjust the septum purge needle valve
located above the column oven until the flow rate is in the range 3 - 5
mL/min. For EFC equipped systems this value has to be entered in the
septum purge calibration routine. Use the following procedure to carry
out septum purge calibration:
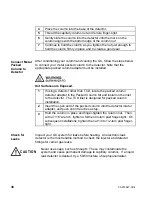
•
Press the STATUS key and note the current column pressure for
the channel you are using (front, middle, or rear).
•
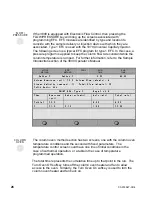
Select the edit SETUP option and select EFC. Select the injector
you are setting up by specifying the location (front, middle or rear).
•
Press the SEPTUM PURGE CALIBRATION softkey. You will be
prompted to enter the injector pressure and septum purge flow
rate. Enter the pressure value noted above and the septum purge
flow rate measured earlier. The septum purge calibration is
completed automatically when you press the “Save and Exit”
softkey.

