36
03-914647-00:4
In this example the injector and column are conditioned at 250°C for two
hours. The column is programmed to 250°C at 5°C/min as a gentle
temperature program is generally recommended for column conditioning.
After this conditioning is complete, allow the column oven to cool and re-
tighten the column nut attaching the column to the injector. This is especially
important when graphite ferrules are used.
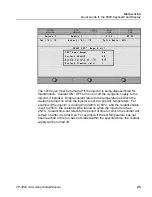
To condition the injector press the INJECTOR key in the GC CONTROL
section of the 3800 keyboard. Set the injector temperature to 250 (initial
temperature for a 1079). If a 1079 injector is being used, ensure that the
initial split state is ON and that no program is present to time program the
split state (the split state table should only consist of the initial line). Verify
that the split ratio is set to 100.
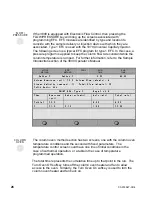
To condition the column press the COLUMN key in the GC CONTROL
section of the 3800 keyboard and build the following column oven method.
Initial Column Temperature: 50°C
Hold Time: 5 min
Step 1 temperature: 250°C
Step 1 ramp rate: 5°C/min
Step 1 Hold Time: 120 min
When the 3800 reaches the READY state indicated by the READY LED being
lit, press the START key to begin the conditioning process.
Connect
Capillary
Column to
Detector
After the column has been conditioned, follow the steps below to connect the
capillary column to the detector.
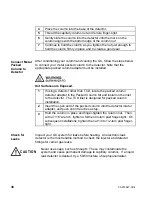
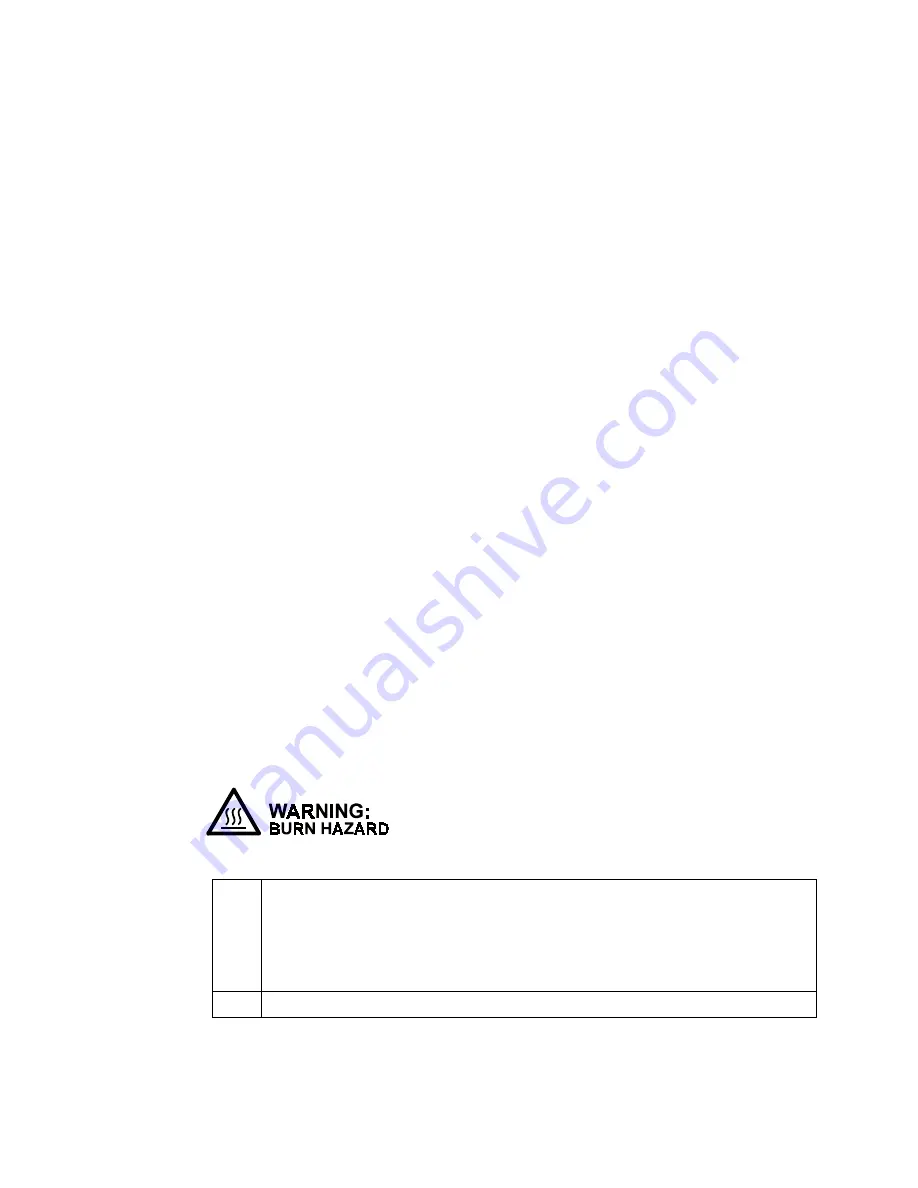
Hot surfaces are exposed.
1
Check that the capillary column nut and ferrule are installed on the
column. Note that if the TCD is used with capillary columns, a
special capillary adapter (PN 03-925605-01) is used on the TCD
inlet.
DO NOT use graphite ferrules with the ECD.
2
Uncoil about 20 cm from end of column.


