CP-3800 GC Operator’s Manual
85
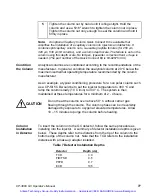
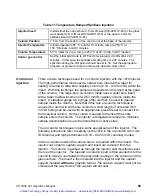
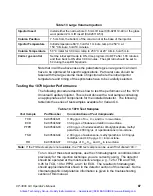
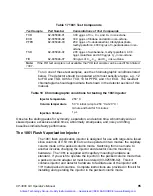
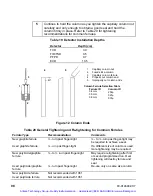
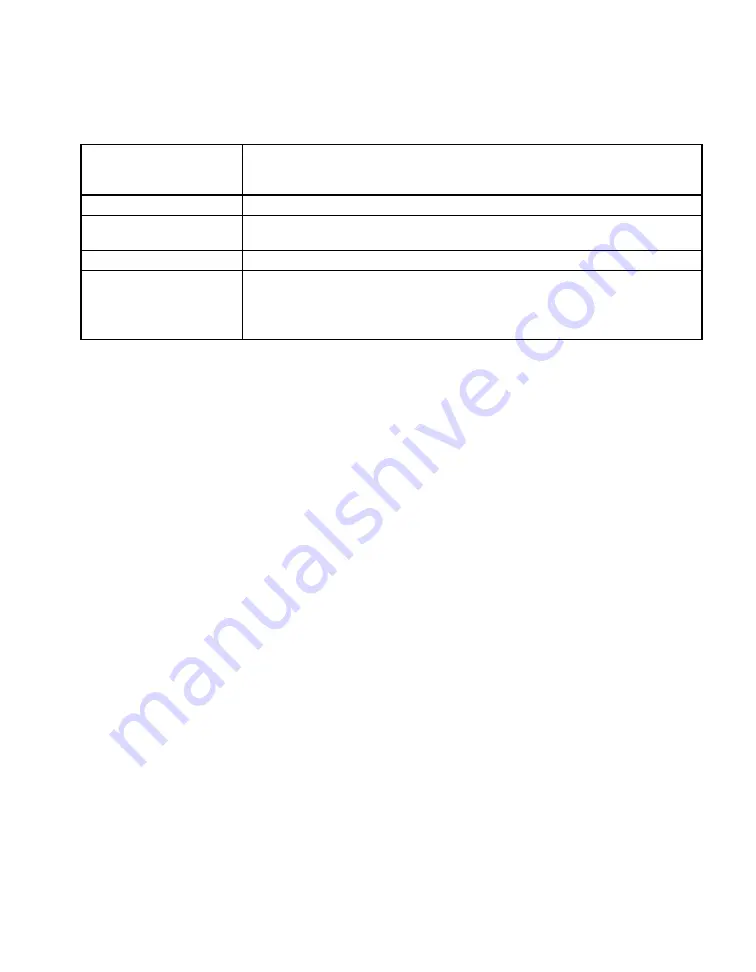
Table 11 Temperature Ramped Splitless Injection
Injector Insert
Install either the narrow bore 0.5 mm ID insert (03-926119-49) or the glass
wool packed 2 mm ID insert (03-926119-53) or the open 3.4 mm ID
splitless insert (03-926119-45).
Column Position
7.5 cm from the bottom of the column nut at the base of the injector.
Injector Temperature
Initial temperature 65 °C, hold for 0.1 minute, ramp to 250 °C at
150 °C/minute, hold 10 minutes.
Column Temperature
50 °C initial for 2 min, ramp to 250 °C at 20 °C/min, hold 5 minutes.
Carrier gas control
Set the initial split mode to OFF and time program it to ON after 2.00
minutes. In this case the splitless sampling time is 2.00 minutes. The
split ratio during the ON period should be set to 50. Set the appropriate
pressure or pressure ramp to achieve the desired column flow.
On Column
Injection
There are two techniques used for on column injection with the 1079 injector.
The high performance mode used a narrow bore insert with a taper for
sealing a narrow to wide bore capillary column (0.18 - 0.32 mm ID) within the
insert. With this technique the sample is deposited on the insert at the head
of the column. The large-bore on-column mode uses a wider bore insert
with a taper to allow insertion of a 0.53 mm ID capillary column inside the
insert. A standard gauge GC syringe (26s) can then be used to deposit
sample inside the column. Note that if this true on-column technique is
required for narrow to wide bore columns a short length of uncoated 0.53
mm ID tubing can be used with an appropriate press-fit seal to connect it to
the analytical column. As the column is sealed to the insert the entire
sample enters the column. The injector is temperature ramped to minimize
sample decomposition due to thermal effects or active sites.
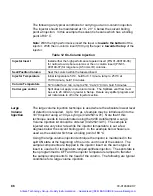
The on column techniques involve some special setup of the injector. The
following instructions refer to setting up the 1079 in the on-column (0.53 mm
ID columns) and high performance (0.18 - 0.32 mm ID columns) modes.
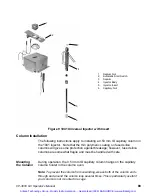
In the on-column modes the column has to be sealed within the insert. The
injector nut, septum, septum support and insert are removed from the
injector. The column is pushed up through the injector until it protrudes past
the top of the injector. The tapered on-column insert is then pushed onto the
column to make a seal between the polyimide coating on the column and the
glass surface. The insert is then lowered into the injector and the septum
support installed
without
a graphite ferrule. The septum support must not be
screwed all the way down or the septum will not seal.
Artisan Technology Group - Quality Instrumentation ... Guaranteed | (888) 88-SOURCE | www.artisantg.com

